Sometimes, it feels almost silly to write a recipe for something that is so simple to make. Though, as simple as something may sound to me, maybe it’s not a given for others. I’ve been making a sugar-free protein hot chocolate for so long now that I think it’s necessary I share it.
As far as I’ve seen, there are two camps: those who like cooking with protein powder and those who don’t care for it. For this recipe, you’ll need to be in the first camp because protein powder is essential to the sugar-free protein hot chocolate. BTW I like this brand of protein powder.
I’ll explain why I’m using protein powder:
Protein powder naturally has thickening properties so this helps give the beverage some body without making it heavy on milk.
It is also necessary for the sweetness factor. We’re not adding any sugar to this hot chocolate so we’re relying on the sweetener from the protein powder.
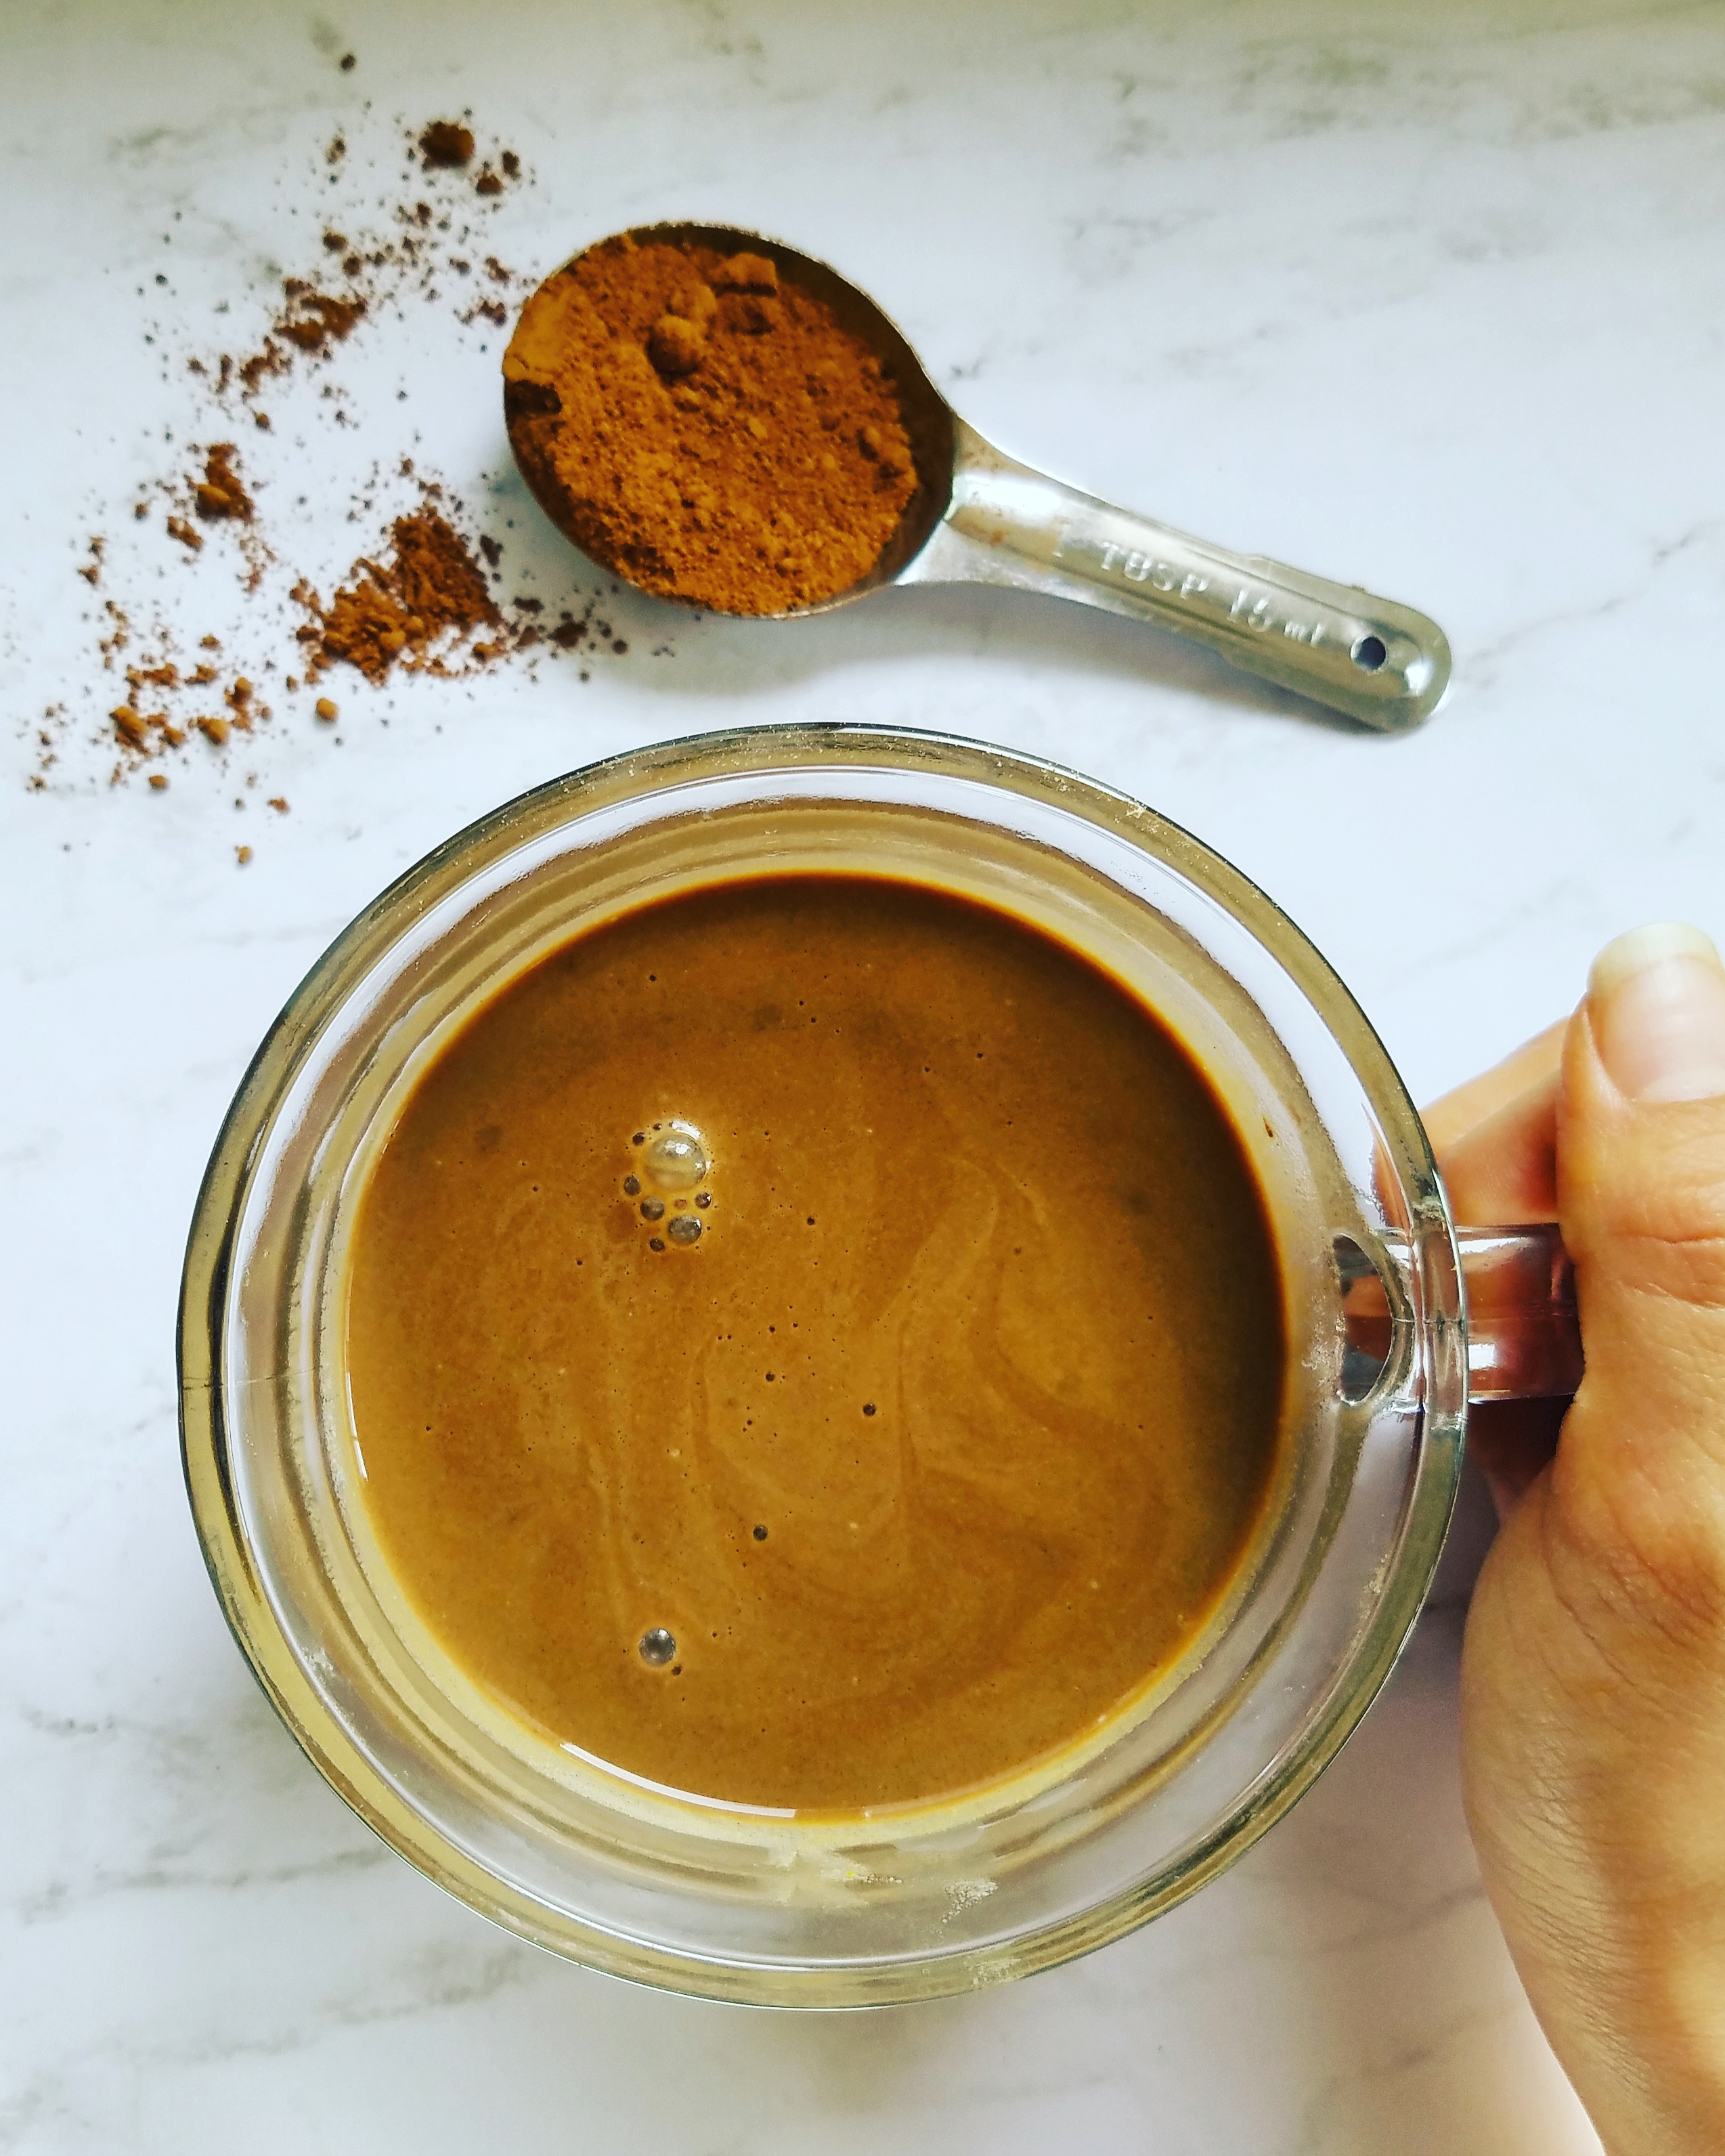
I’m a fan of drinking this when I want to get my protein in after a workout but don’t feel like swallowing a cold smoothie. #wintervibes
I’ve also been known to make this beverage in the afternoon for a natural pick-me-up. The cacao powder provides a mental energy boost and the protein helps tie me over ’til dinner.
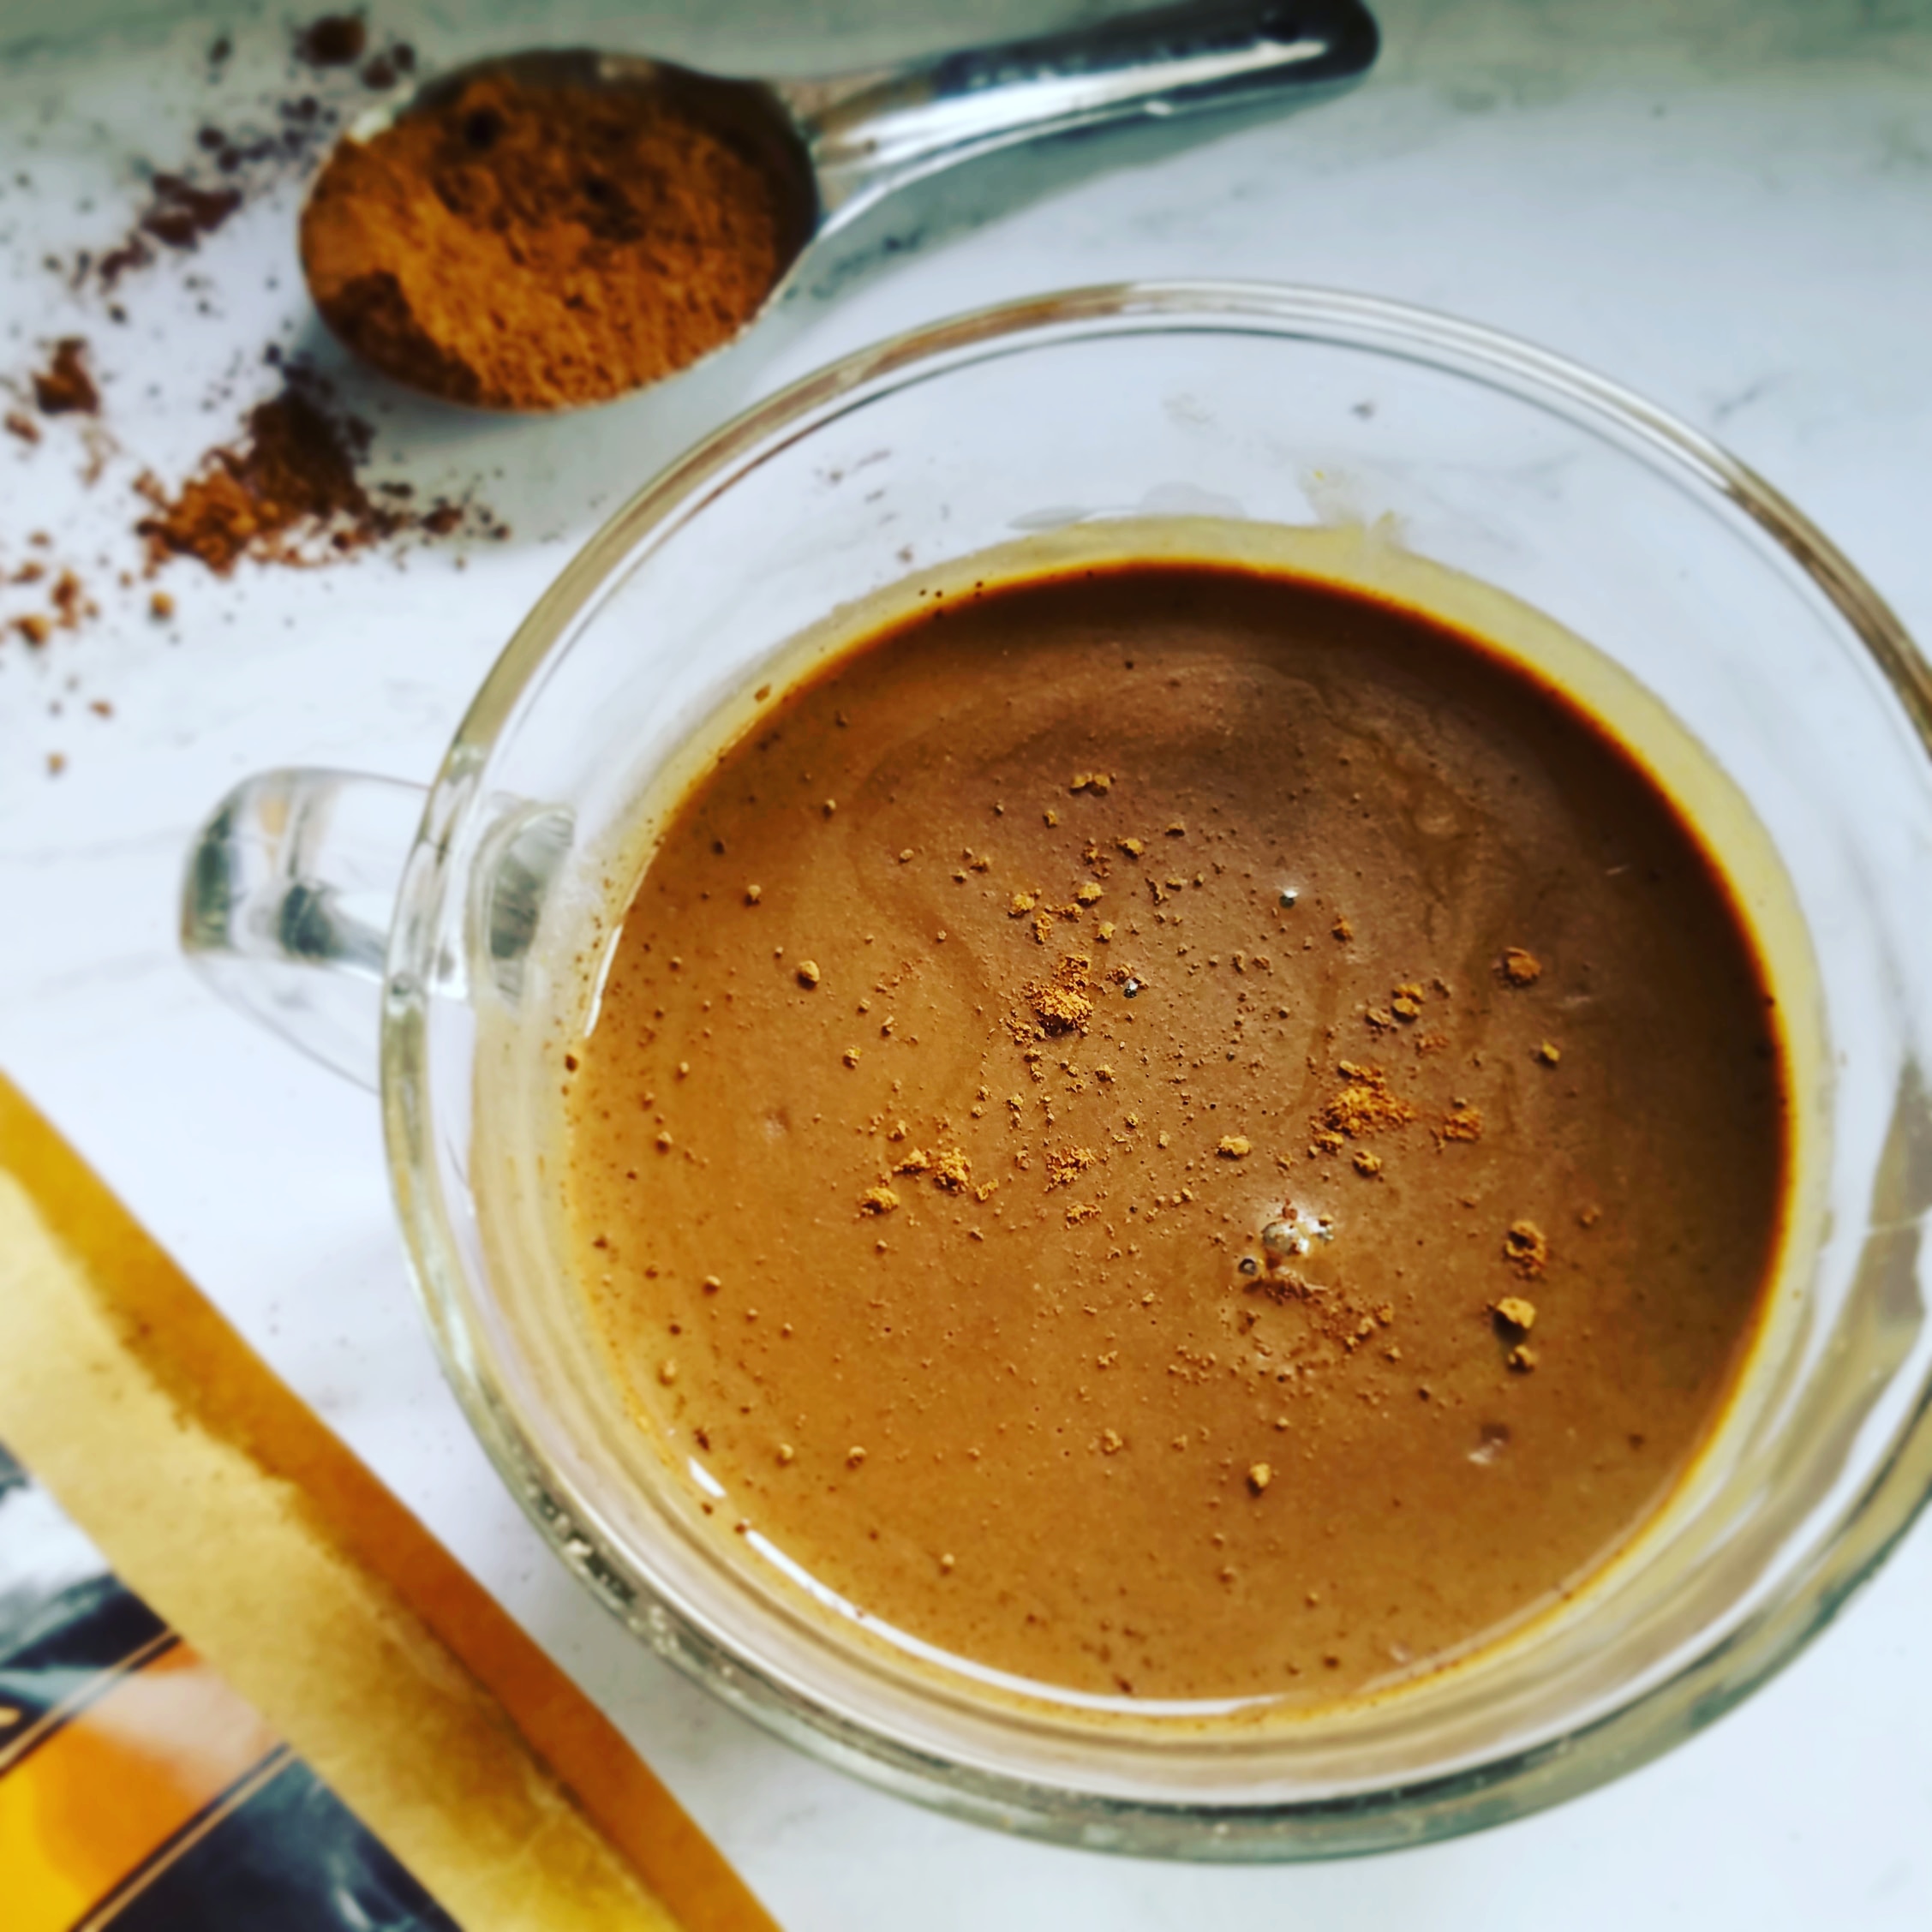
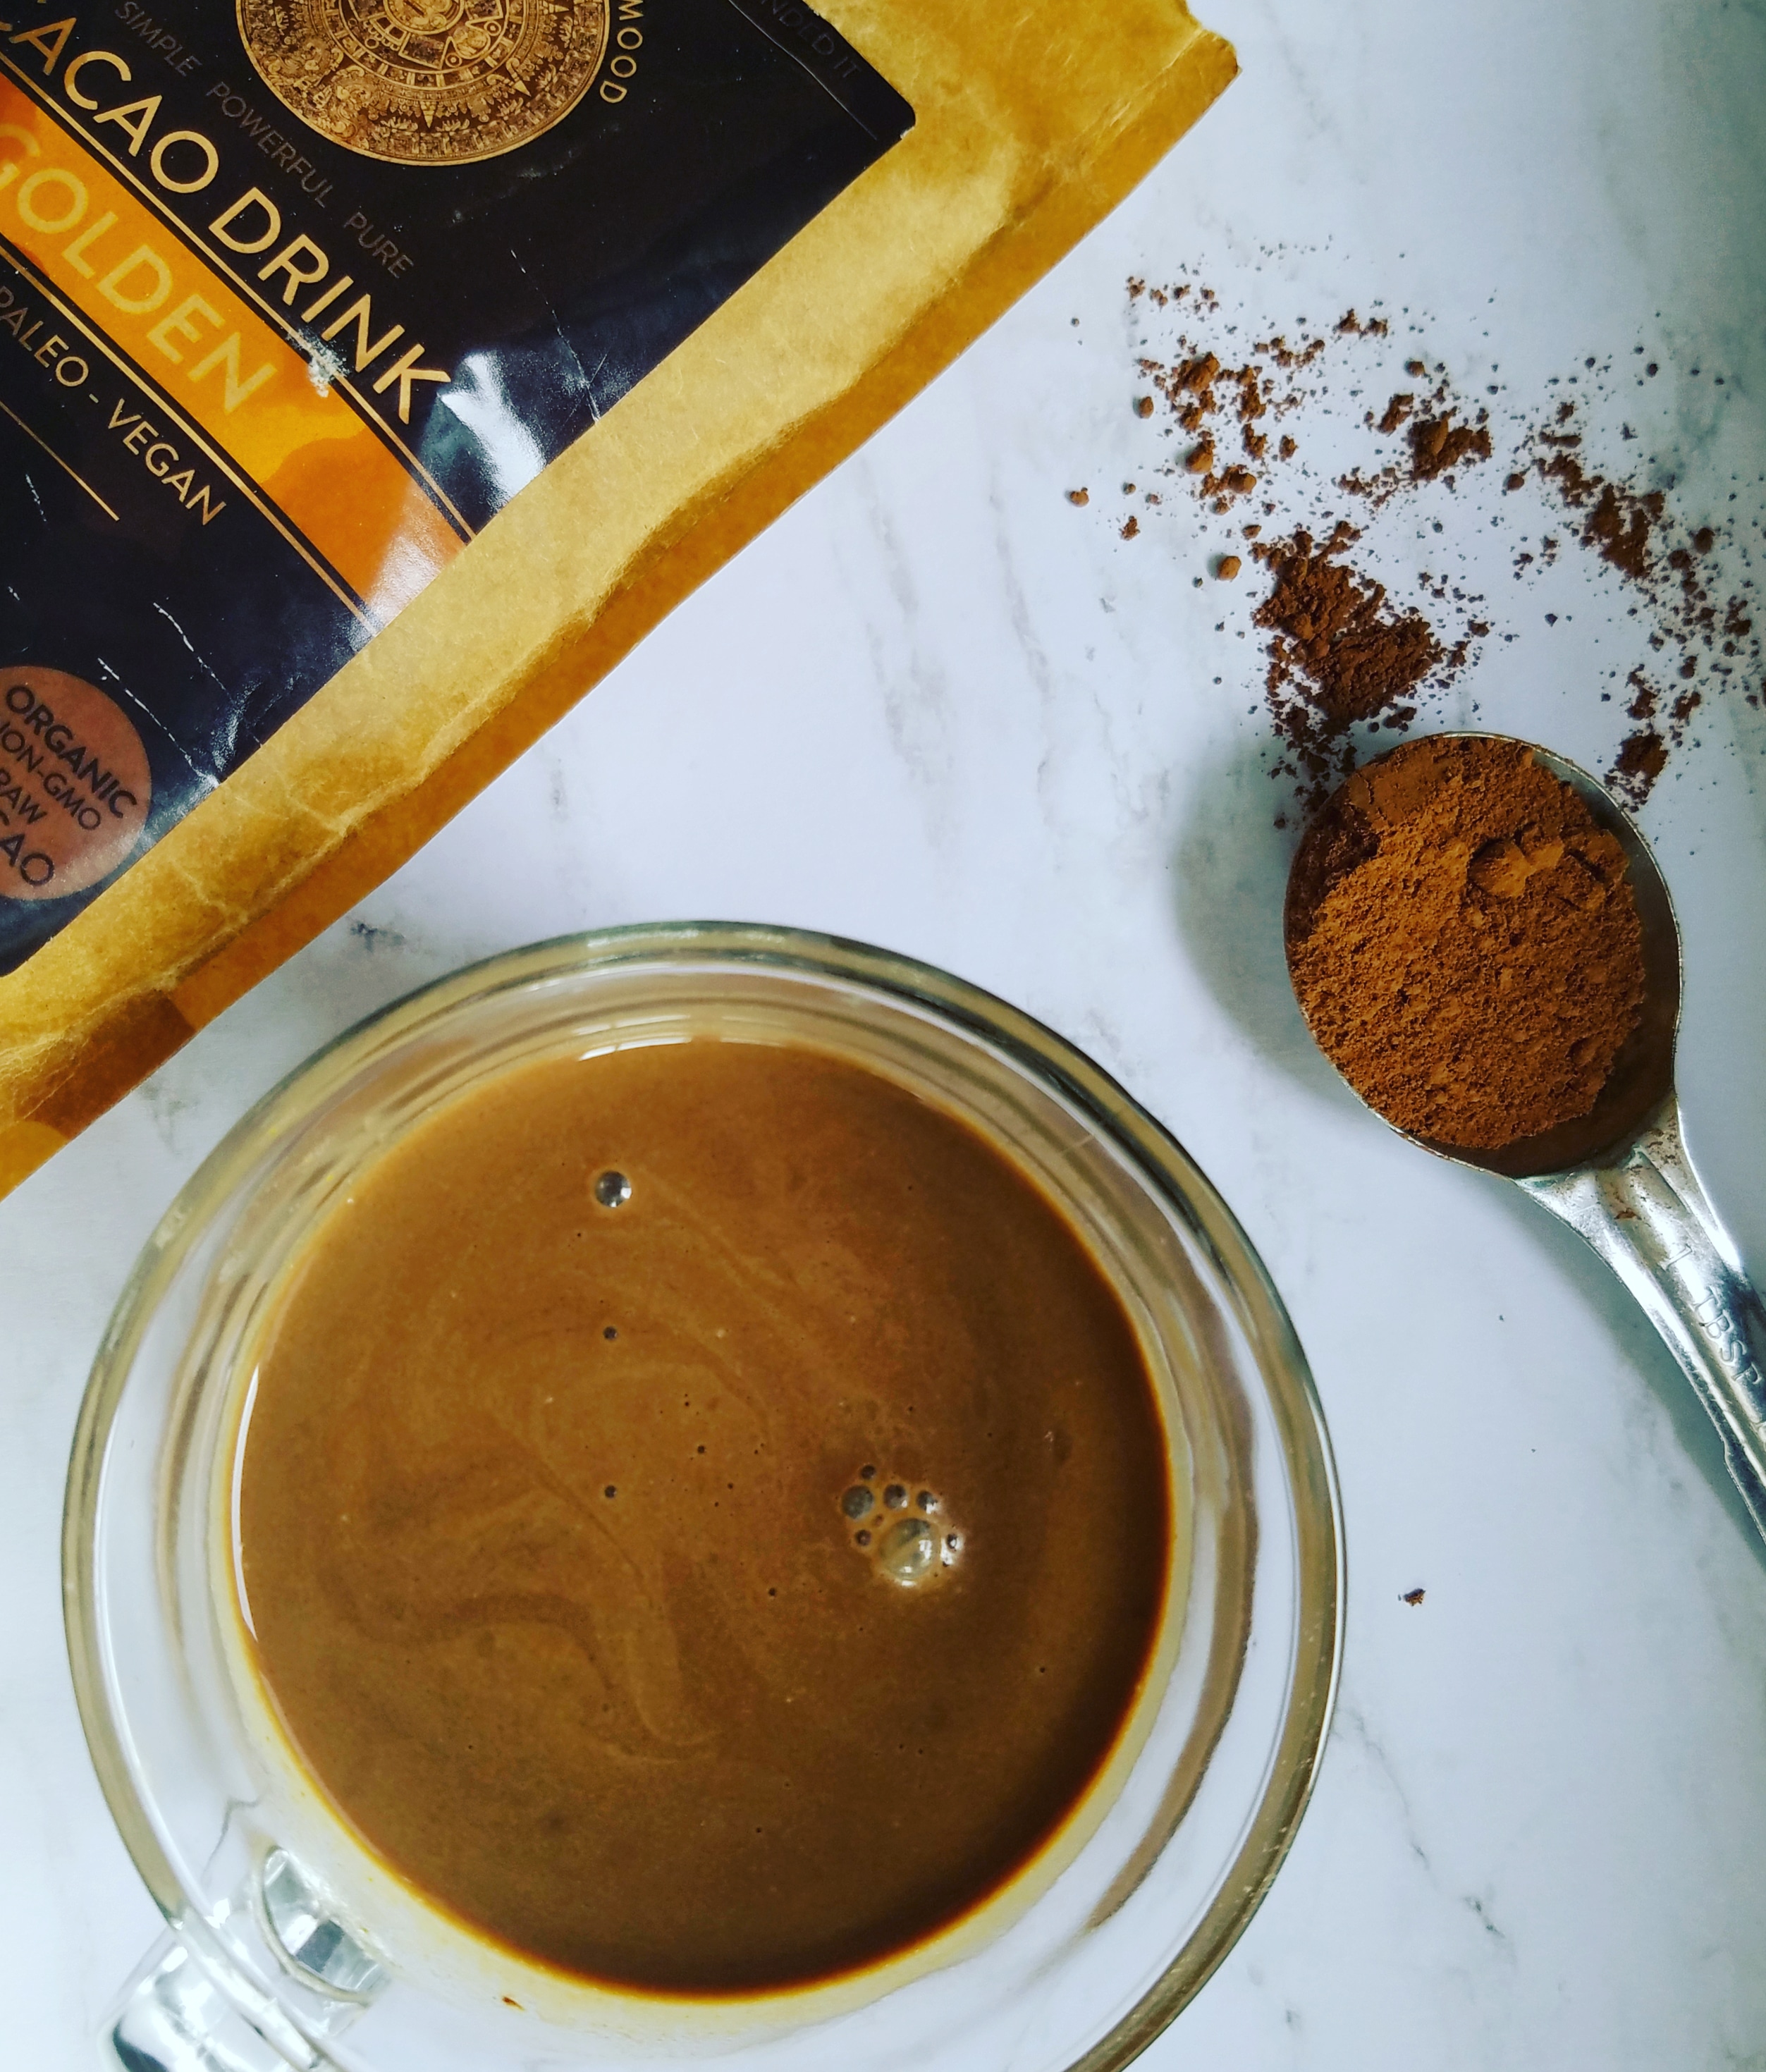
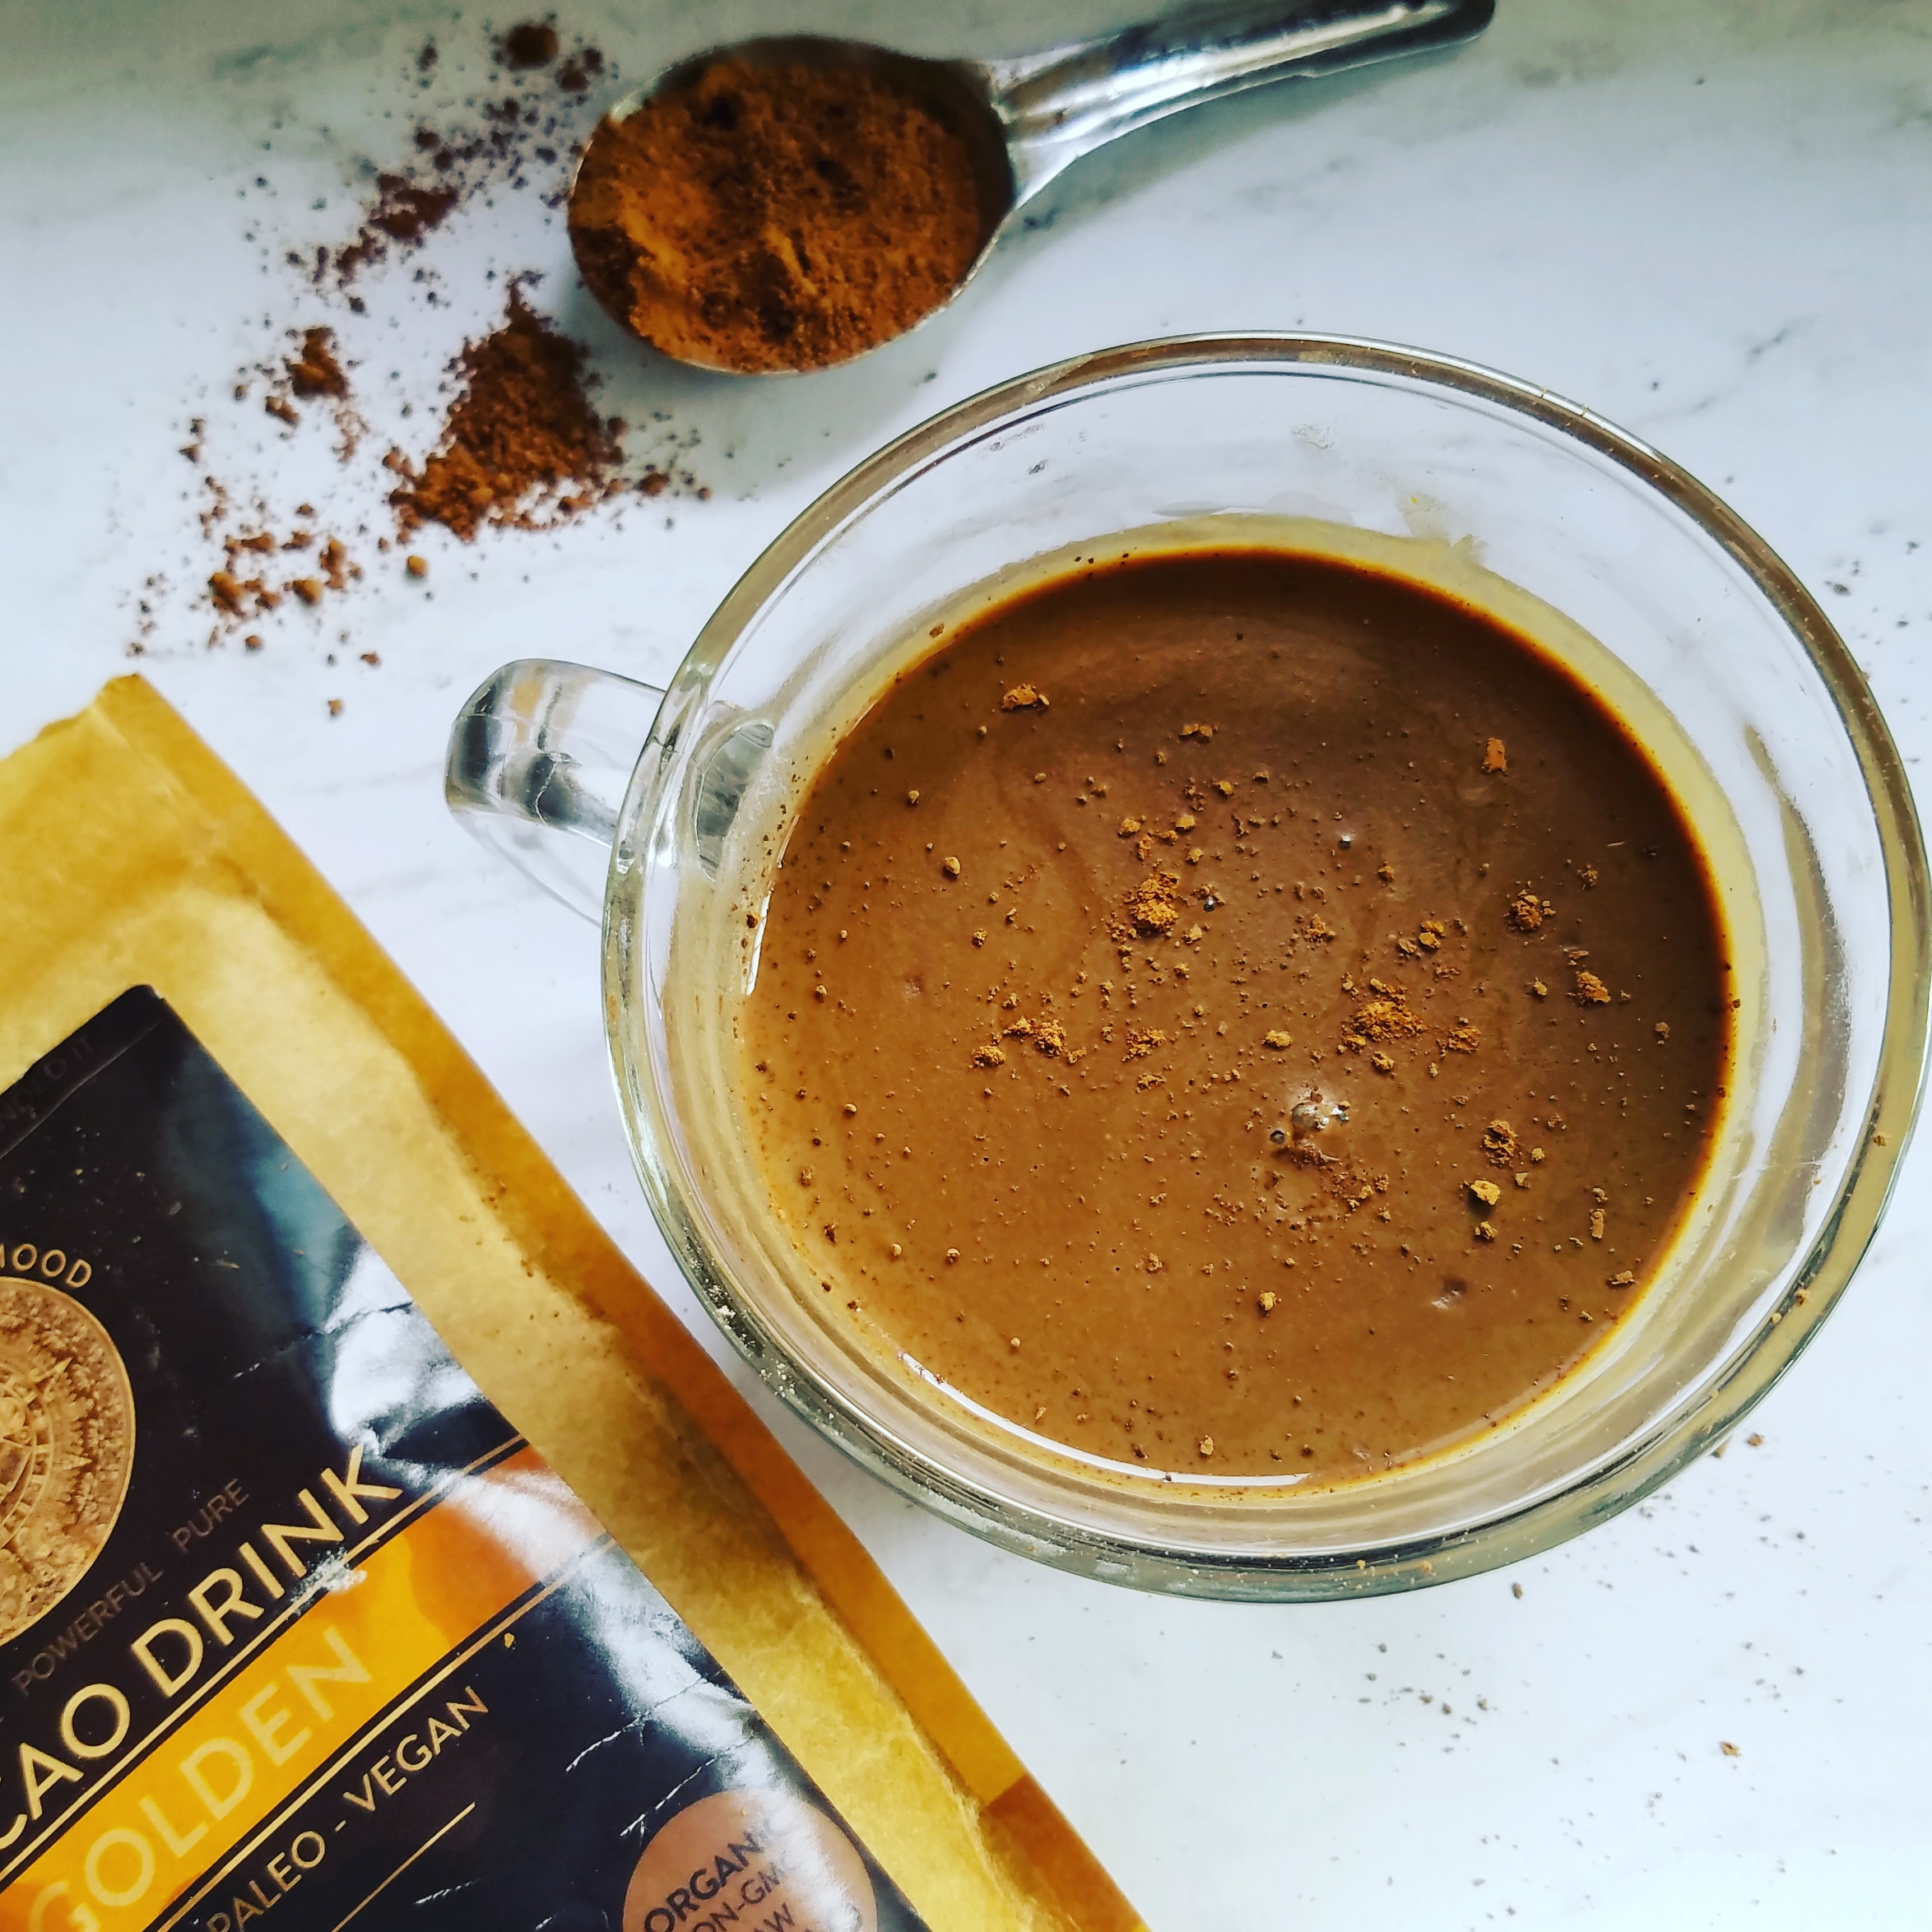
Lastly, I love using this raw cacao with golden milk spices added. It makes for a hot chocolate with a lot of depth! If you don’t have this kind, regular cacao powder will do.
Sugar-Free Protein Hot Chocolate
Recipe Type: Drinks
Author: Melanie
Prep time:
Cook time:
Total time:
Serves: 1
Finally! A Hot Chocolate that isn’t a sugar bomb and actually keeps you satiated without weighing you down.
Ingredients
¾ cup milk
½ cup water
1 1/2 tbsp cacao powder (not cocoa powder!)
1 scoop (about 1/3 cup) chocolate protein powder
A tiny pinch of sea salt (optional)
Sprinkle of cinnamon and tumeric (optional)
Instructions
Add the milk and water to a pan and heat until it begins to simmer. Be careful not to let it boil!
In a mug, add your protein powder, cacao powder (I use 1 ½ tbsp but scale down if your protein powder has a very strong chocolate taste.), and sea salt (if using).
Pour the liquid into your mug and whisk until no clumps are left. At this point, you can sprinkle in a bit of cinnamon and turmeric on top. If using regular cacao powder, cinnamon and chili powder would taste good, instead!
3.5.3251
Even if you don’t follow this recipe exactly, I hope you give it a try. If a protein hot chocolate appeals to you then be sure to comment below or tag me on Instagram with your sugar-free protein hot chocolate recipes!
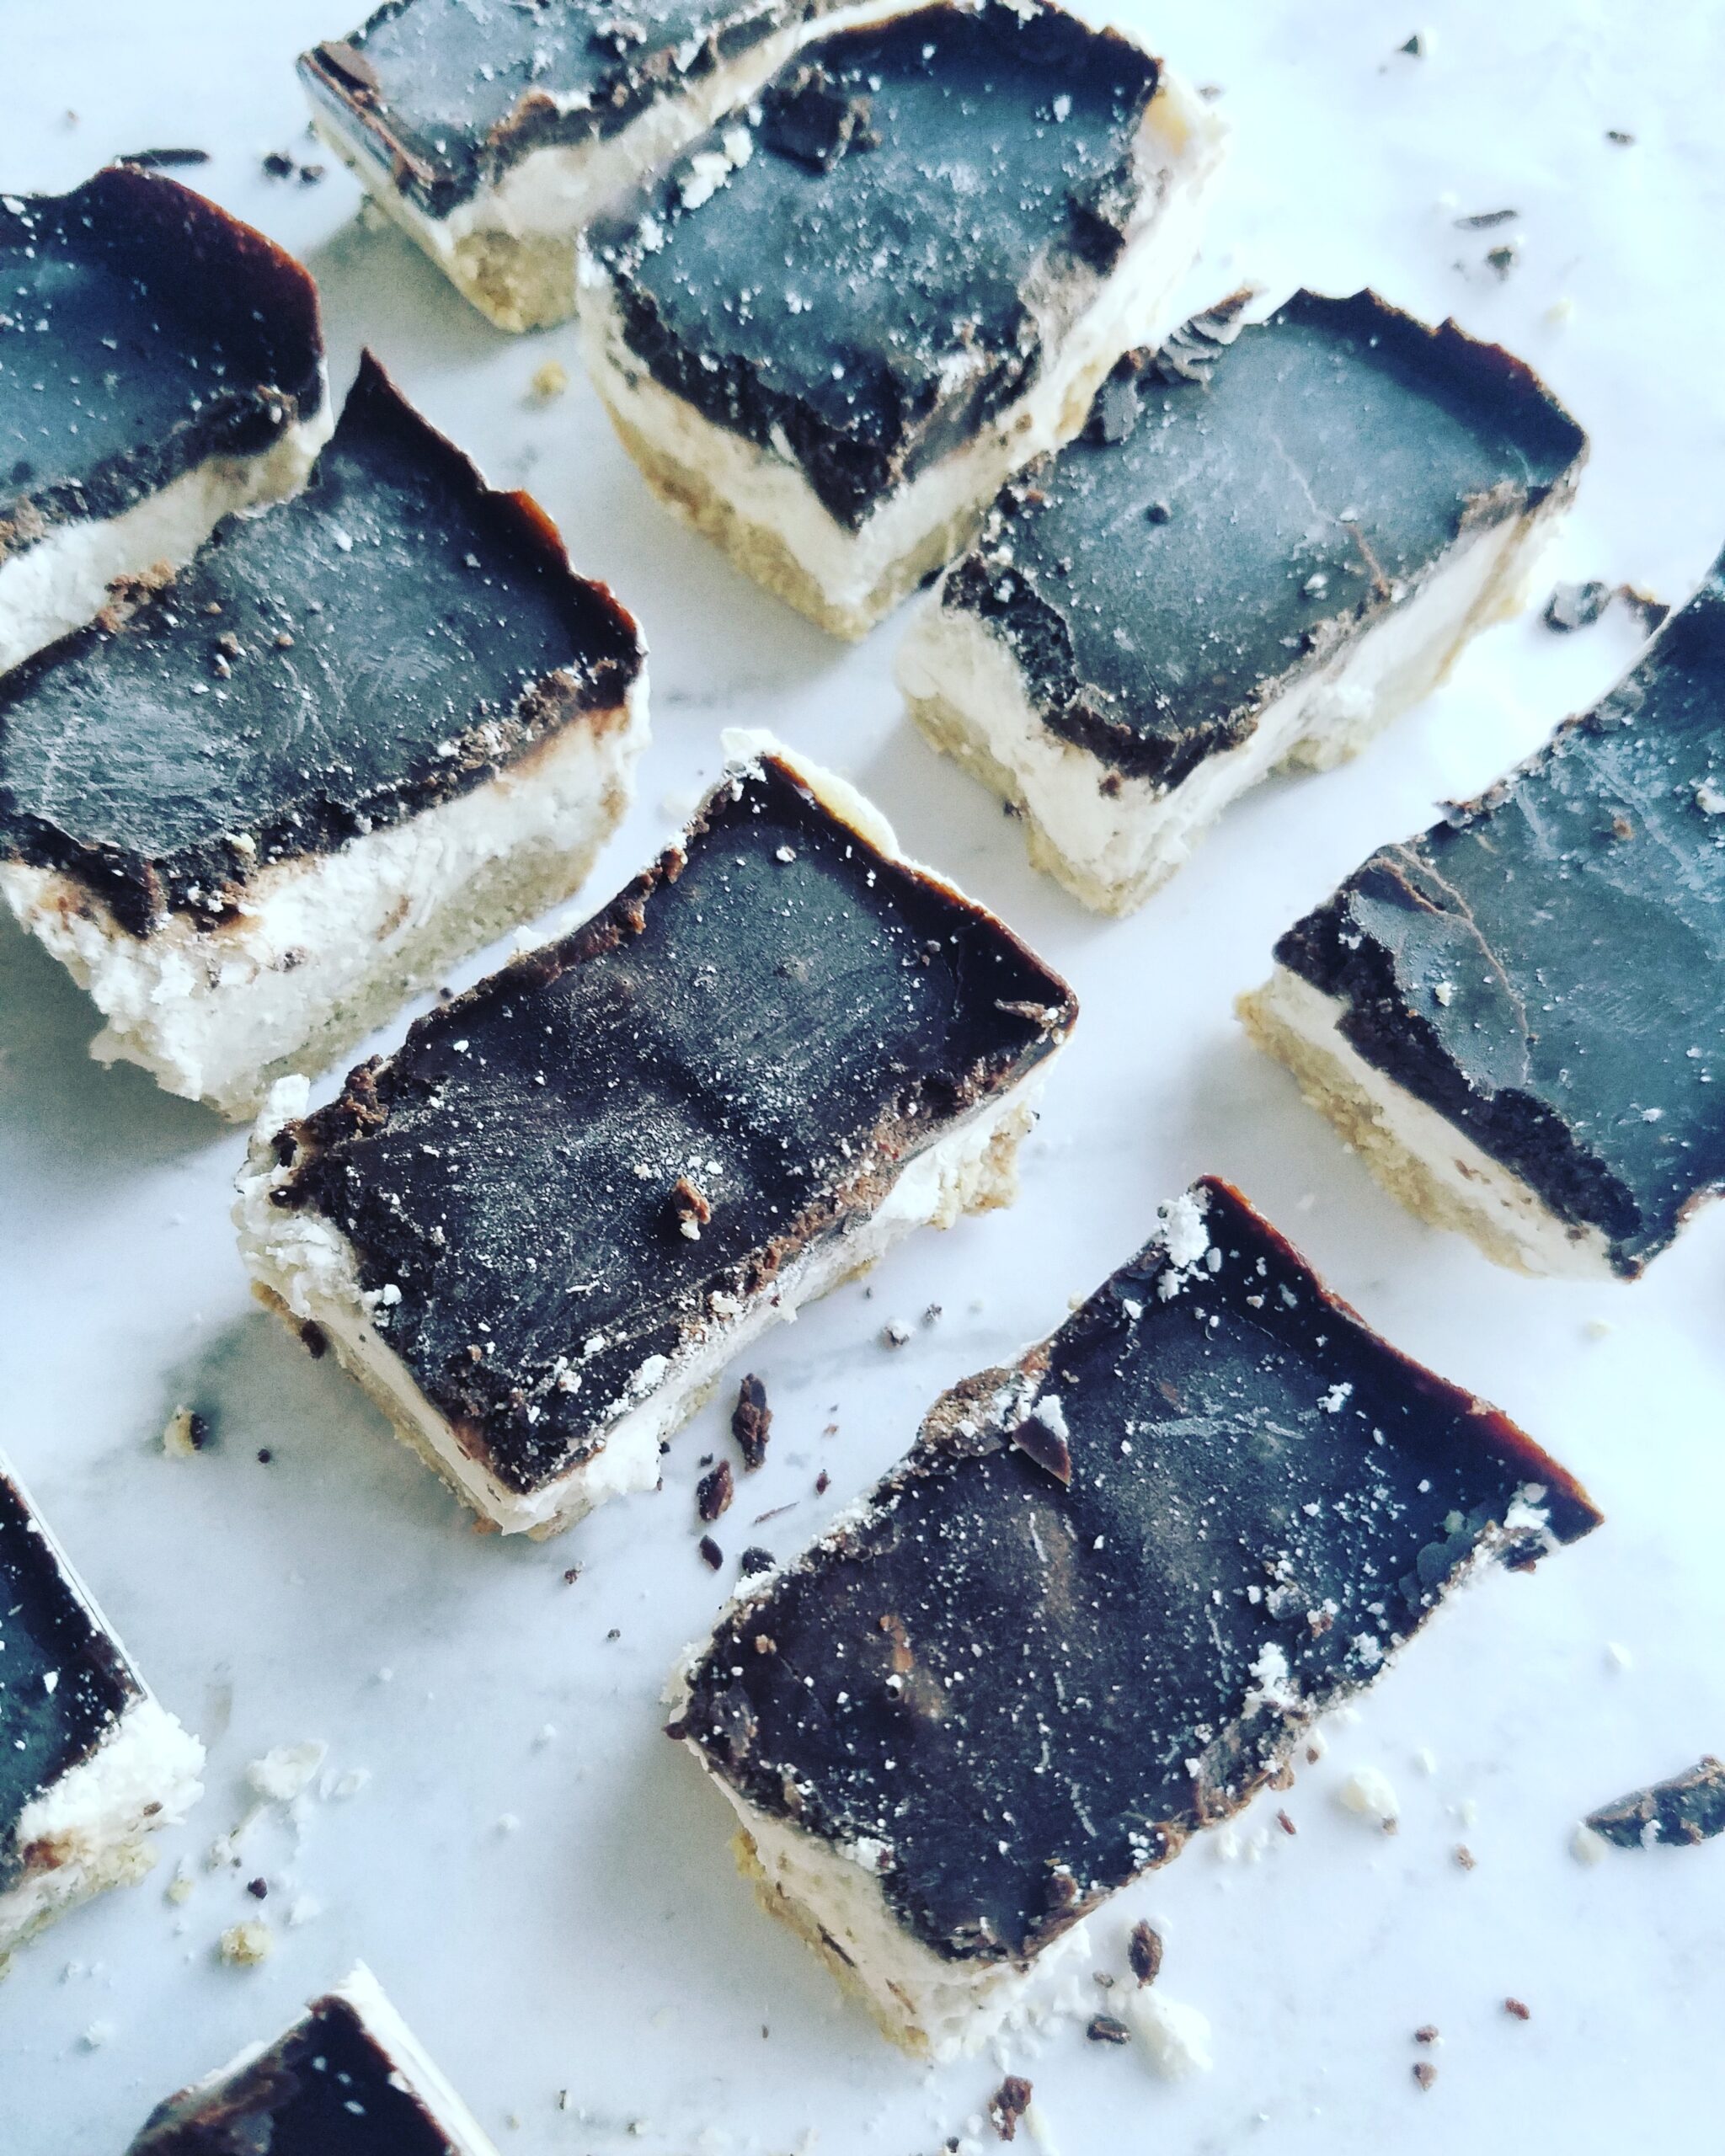
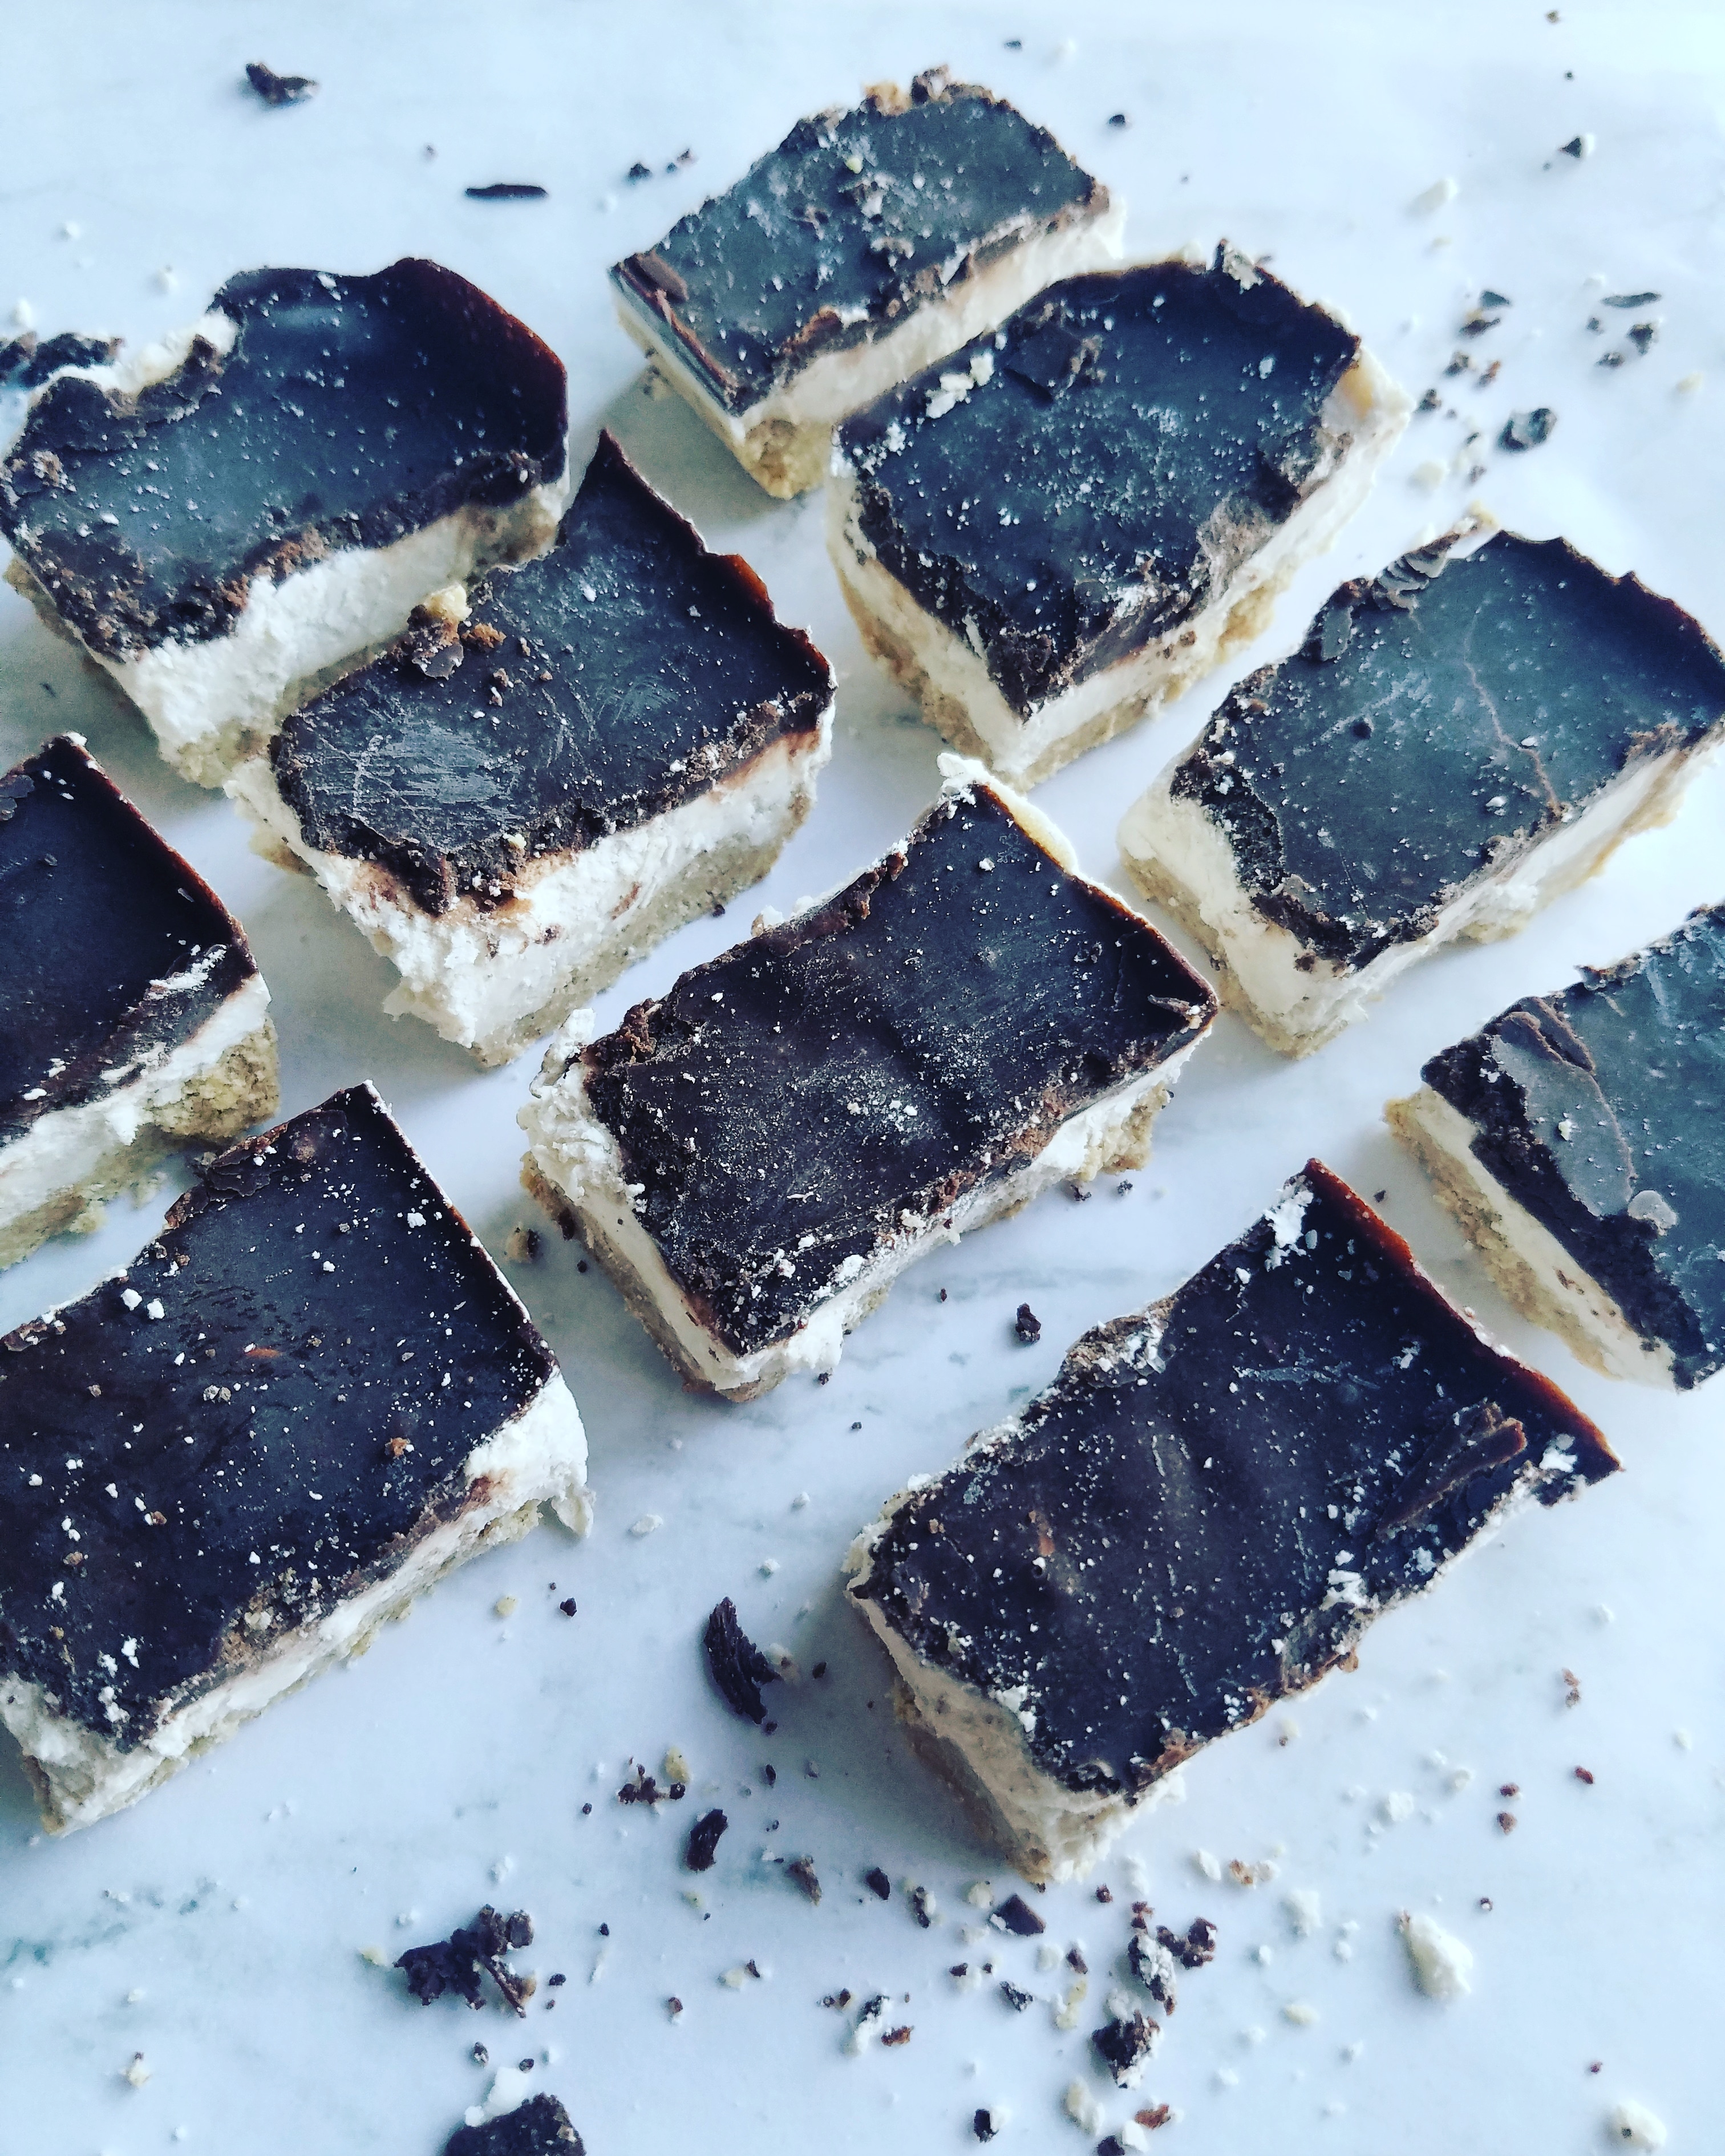
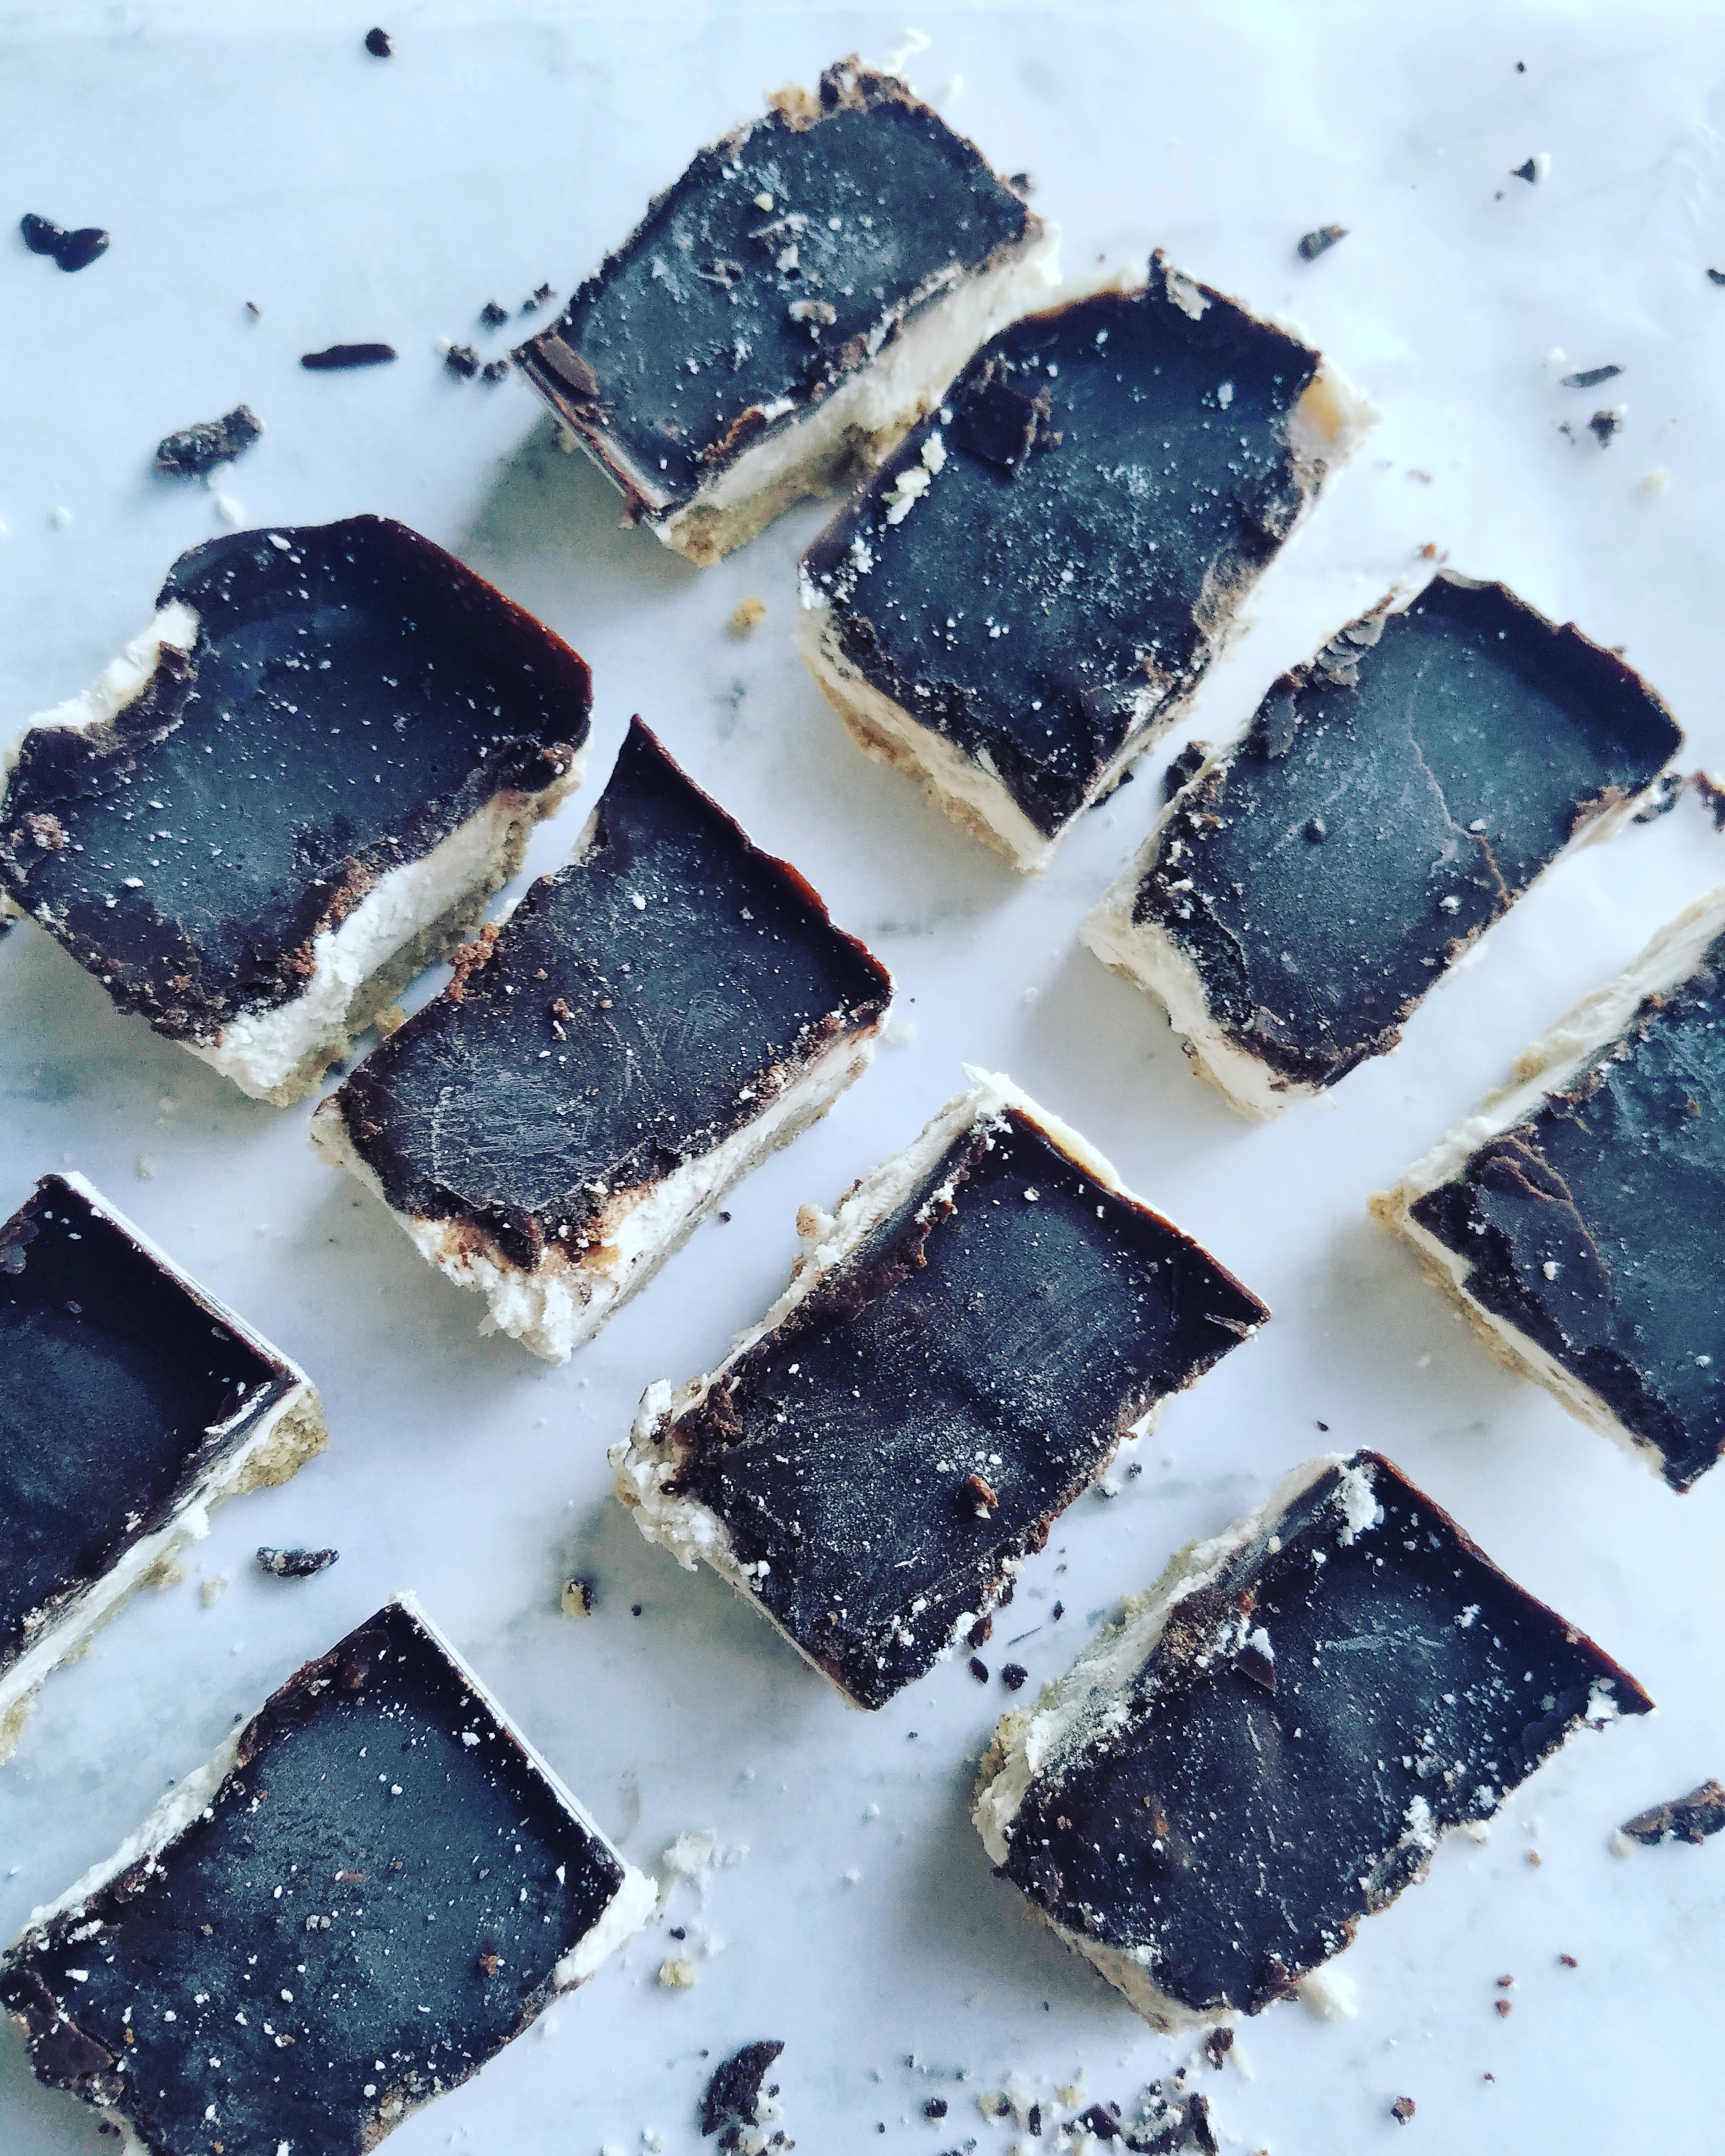
Almond, chocolate, and coconut come together to give you the magic that is Frozen Almond Joy Layer Bars. My spin on the classic treat is low-sugar and ultra creamy thanks to some simple ingredients and the trusty freezer!
Brr! Is that the first hint of cold weather that I’m feeling? My mom always jokes that I am the first one to pull out my boots and cardigans the moment a breeze is in the air. Basically, at this point, I’m restraining myself until November rolls around…but come November 1st, the boots are ON.
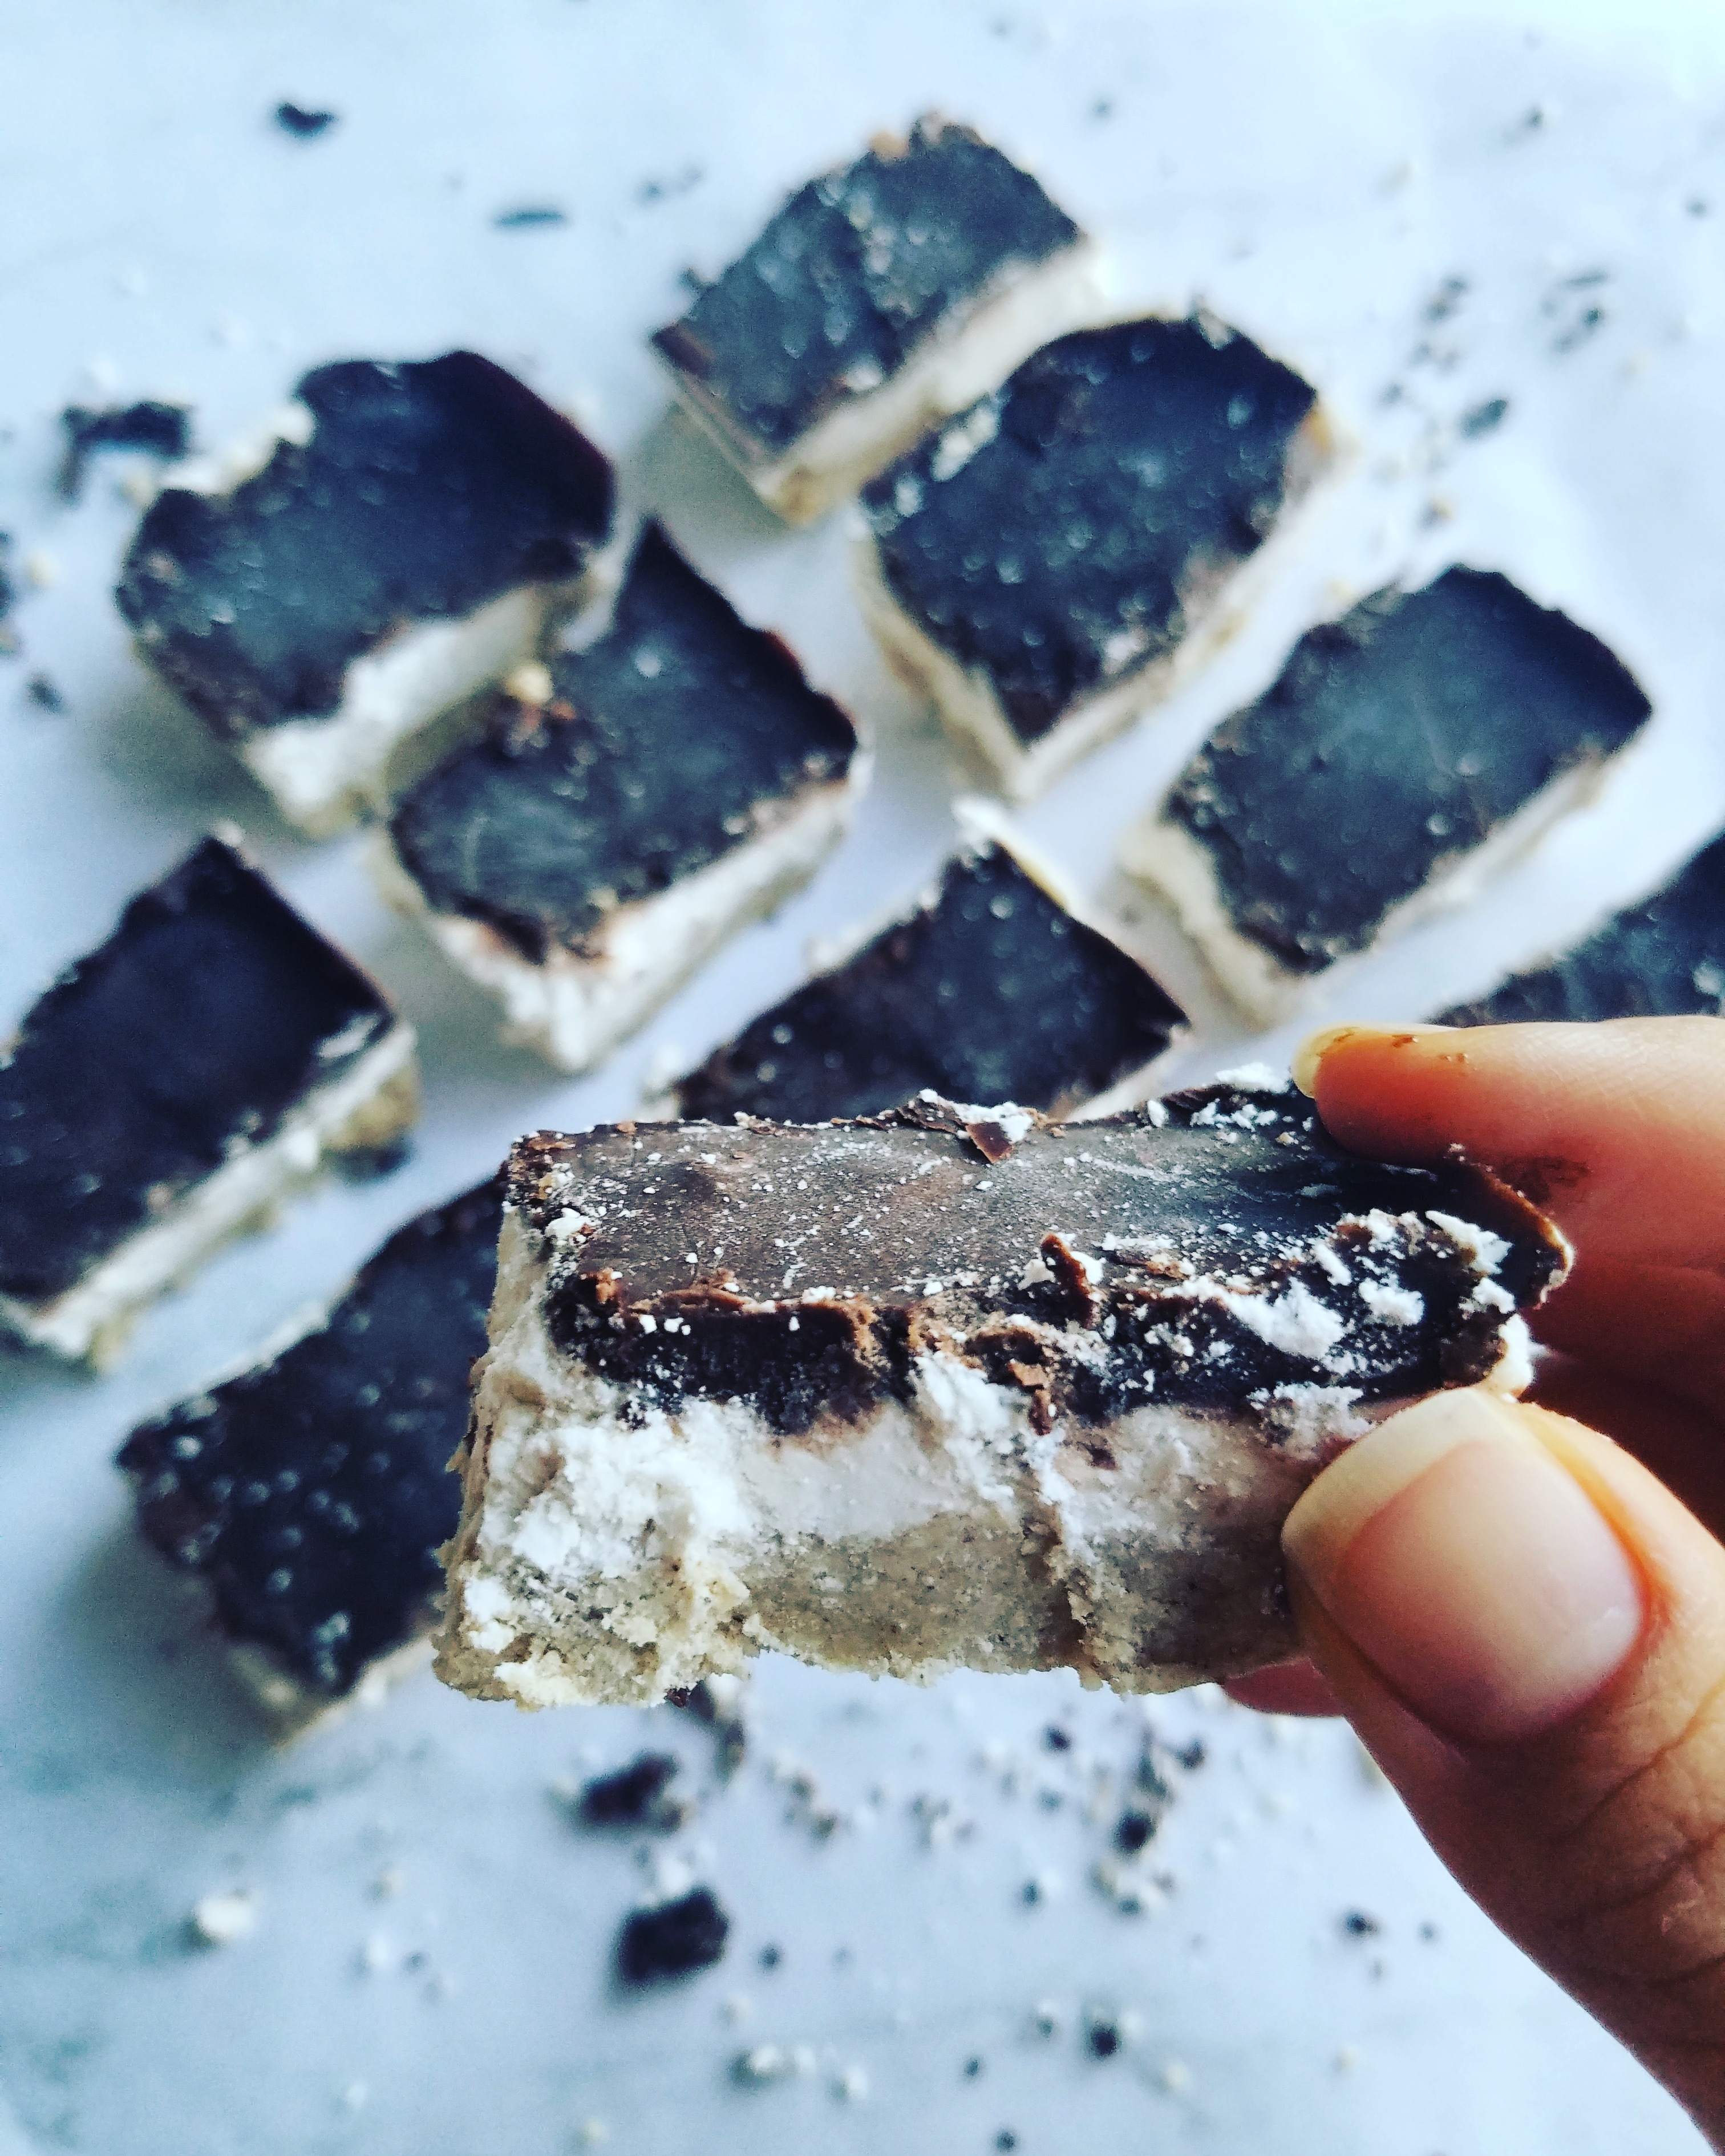
For now, the only cold weather I’m getting is coming from opening the freezer to grab one of these Frozen Almond Joy Layer Bars! LOL. Even as the winter season approaches, I love the taste of coconut treats. After all, it can’t be all pumpkin and gingerbread flavors all the time. (Though, I will certainly be enjoying some of both!)
So, make these whenever you’re feeling some fresh, cool, creamy, dreamy coconut, almond, and chocolate vibes.
Frozen Almond Joy Layer Bars
Recipe Type: Dessert
Author: Melanie
Prep time:
Cook time:
Total time:
Serves: 12 bars
Almond, chocolate, and coconut come together to give you the magic that is Frozen Almond Joy Layer Bars. My spin on the classic treat is low-sugar and ultra creamy thanks to some simple ingredients and the trusty freezer!
Ingredients
Crust
¾ cup almond flour
2 tbsp coconut flour
½ scoop protein powder (I like Tone it Up Peanut Butter or Vanilla)
½ tsp vanilla extract
2 tbsp melted coconut oil
2-4 tbsp almond milk
1 tbsp honey
Filling
½ cup coconut butter
½ cup almond milk
½ tbsp honey or maple syrup
½ cup shredded coconut
Topping
2 ½ tbsp cacao powder
1 tbsp honey or maple syrup
2 tbsp melted coconut oil
2 tbsp creamy almond butter
¼ tsp vanilla extract
Instructions
Grab a loaf pan and line it with some wax or parchment paper. I don’t always do this but it makes it a little easier to remove the bars from the pan.
Next, in a bowl, combine the crust ingredients. The batter should be on the crumbly side but smash together between your fingers. If the mixture only crumbles without the mash, add another tablespoon or two of almond milk and combine. Then, press the mixture into the bottom of your (lined) loaf pan and set in the freezer.
At this point, wipe out any crumbs left behind because we’re using the same bowl! Add the coconut butter to the bowl with the almond milk and microwave for 15 seconds so it is warm and mixable. Then mix in the honey and shredded coconut.
Remove the loaf pan from the freezer and add pat down the filling layer before returning it back to the freezer.
For the final step, wipe out the same bowl and begin adding the topping ingredients. Make sure not to leave any clumps or that will show on top of the bars. Again, remove the loaf pan from the freezer and spread the chocolate topping over the filling. Note: if for some reason the filling seems wet, leave it in the freezer for 10 minutes before adding the chocolate topping.
Lastly, I recommend freezing the bars for at least 3 hours before cutting into them. The Frozen Almond Joy Layer Bars can then be stored in an airtight container in the fridge or freezer.
3.5.3251
They are just the ticket when I’m craving a fresh treat that won’t mess with my blood sugar! Healthy fats from coconut butter + chocolate is simply the best combo! Let me know if you guys try these bars out.
Ever since I tried Nutrition Stripped’s Banana Maple Granola I have dreamed of recreating a chocolate or cocoa-infused version. Of course, you all know how I like my chocolate! (i.e. Creamy Peanut Butter Chocolate Crisp Bars and Chocolate Cinnamon Breakfast Shake) Typically, store-bought granola uses a lot of oil or a lot of liquid sweetener. In this case, banana serves to coat the granola and add some flavor while keeping the granola low in added oils and sugar!
I’m curious, how do you all enjoy granola? At breakfast time, I love adding granola to the top of my smoothies or parfaits for a delicious crunch. Also, if you haven’t tried using homemade granola as a cereal then you must! Store it in a container in the freezer for when the granola craving hits! Then, simply pour it into a bowl with milk and enjoy! It makes for quite a filling meal!
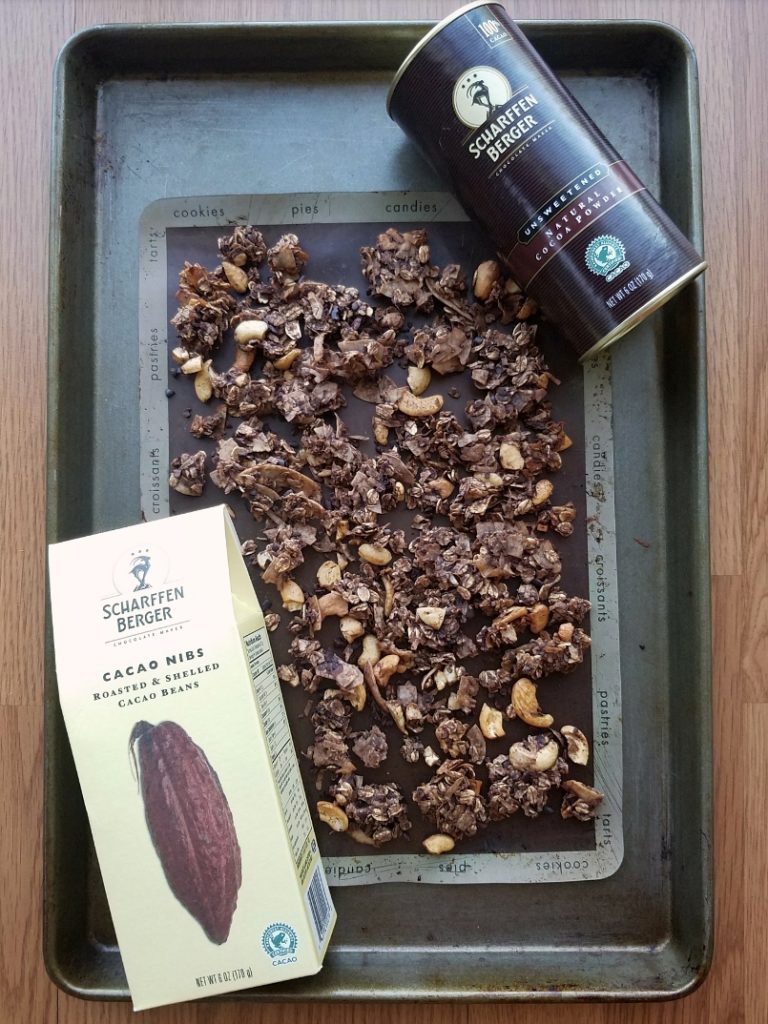
Disclaimer: I call this granola cocoa granola and not chocolate granola for a reason.
Personally, I like the light cocoa flavor without the sugar. Instead of sugar I use caramelized bananas to provided sweetness. If desired, you can still make the granola a bit sweeter like chocolate with the addition of some coconut sugar. See the recipe for amounts. Lastly, I know the recipe calls for many ingredients but granola is flexible. For a variation, you could swap in more oats, nuts, seeds, or quinoa for any ingredient you may not have enough of. Plus, the recipe can be cut in half and still bake up in the same amount of time. 👊
I’VE GOT YOU COVERED 😉
Cocoa Coconut Rustic Granola
Recipe Type: Breakfast, Snack
Author: Melanie
Prep time:
Cook time:
Total time:
Serves: ~3 1/2 cups granola
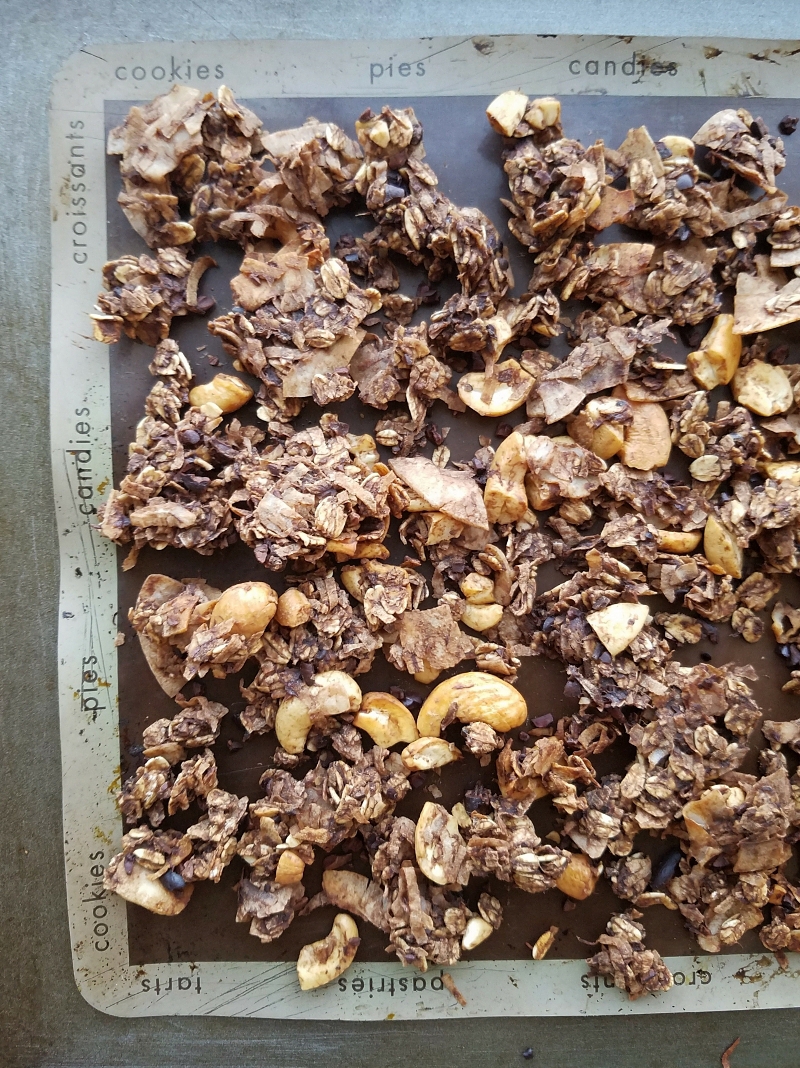
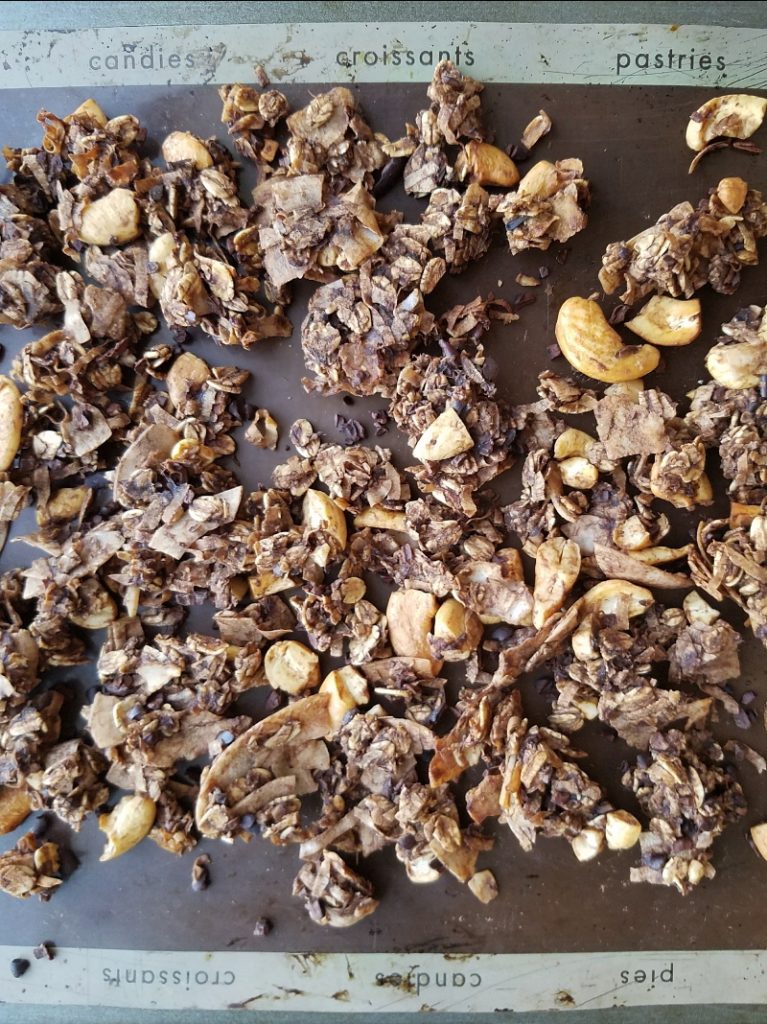
This granola is a texture-lover’s dream! It has oats and coconut and nuts. Caramelized bananas help make this granola a low-sugar and low-fat treat.
Ingredients
2 medium-large ripe bananas*
1 tbsp coconut oil
1 ½ tsp vanilla extract
½ tsp cinnamon
2 tbsp unsweetened cocoa or cacao powder
1-2 tbsp coconut sugar, optional**
¼ tsp fine sea salt
2 tbsp unsweetened cacao nibs
1 cup old fashioned rolled oats
1/2 cup unsweetened coconut flakes
1/2 cup unsweetened coconut chips
1 cup nuts/seeds of choice (cashews. almonds, or pepitas would be great!)
Instructions
First, preheat the oven to 375 degrees Fahrenheit. Spread out banana halves onto a lined baking sheet and roast for 15 minutes. I know, it’s an extra step, but this helps caramelize the bananas to bring out sweetness. From here, you may proceed with the recipe.
Remove the bananas from the oven after they appear to be soft and caramelized. Then, turn the temperature down to 300 degrees Fahrenheit. (Tip: keep the oven door open to let out some of the heat)
In a bowl, mash up the bananas until no clumps remain (I had about 3/4 cup worth of mashed banana). Next, add in the oil, vanilla, cinnamon, cocoa powder, salt, and sugar, if using.
Now, dump in all of the oats, nuts, coconut, and cacao nibs. Mix well.
Spread mixture out on a lined baking sheet or a lightly greased baking sheet.
Bake for 25-30 minutes or until no soft pieces of granola remain. If desired, stir the granola halfway through baking to break apart clumps.
Notes
*You really need ripe bananas for this recipe. I used very spotted, not black, bananas. Bananas are at their peak sweetness when they are very spotted. Black bananas, on the other hand, have an earthy taste to them. They could work but the end result of the granola may not be as sweet.[br]**My taste buds are pretty content with lightly-sweetened food. Go ahead and taste the granola before putting it in the oven and see if it works for you—add in the coconut sugar if you want some sweetness.
3.5.3226
Additional notes: The photos show a half batch of the granola because I went through several baking trials and ran low on some ingredients x)
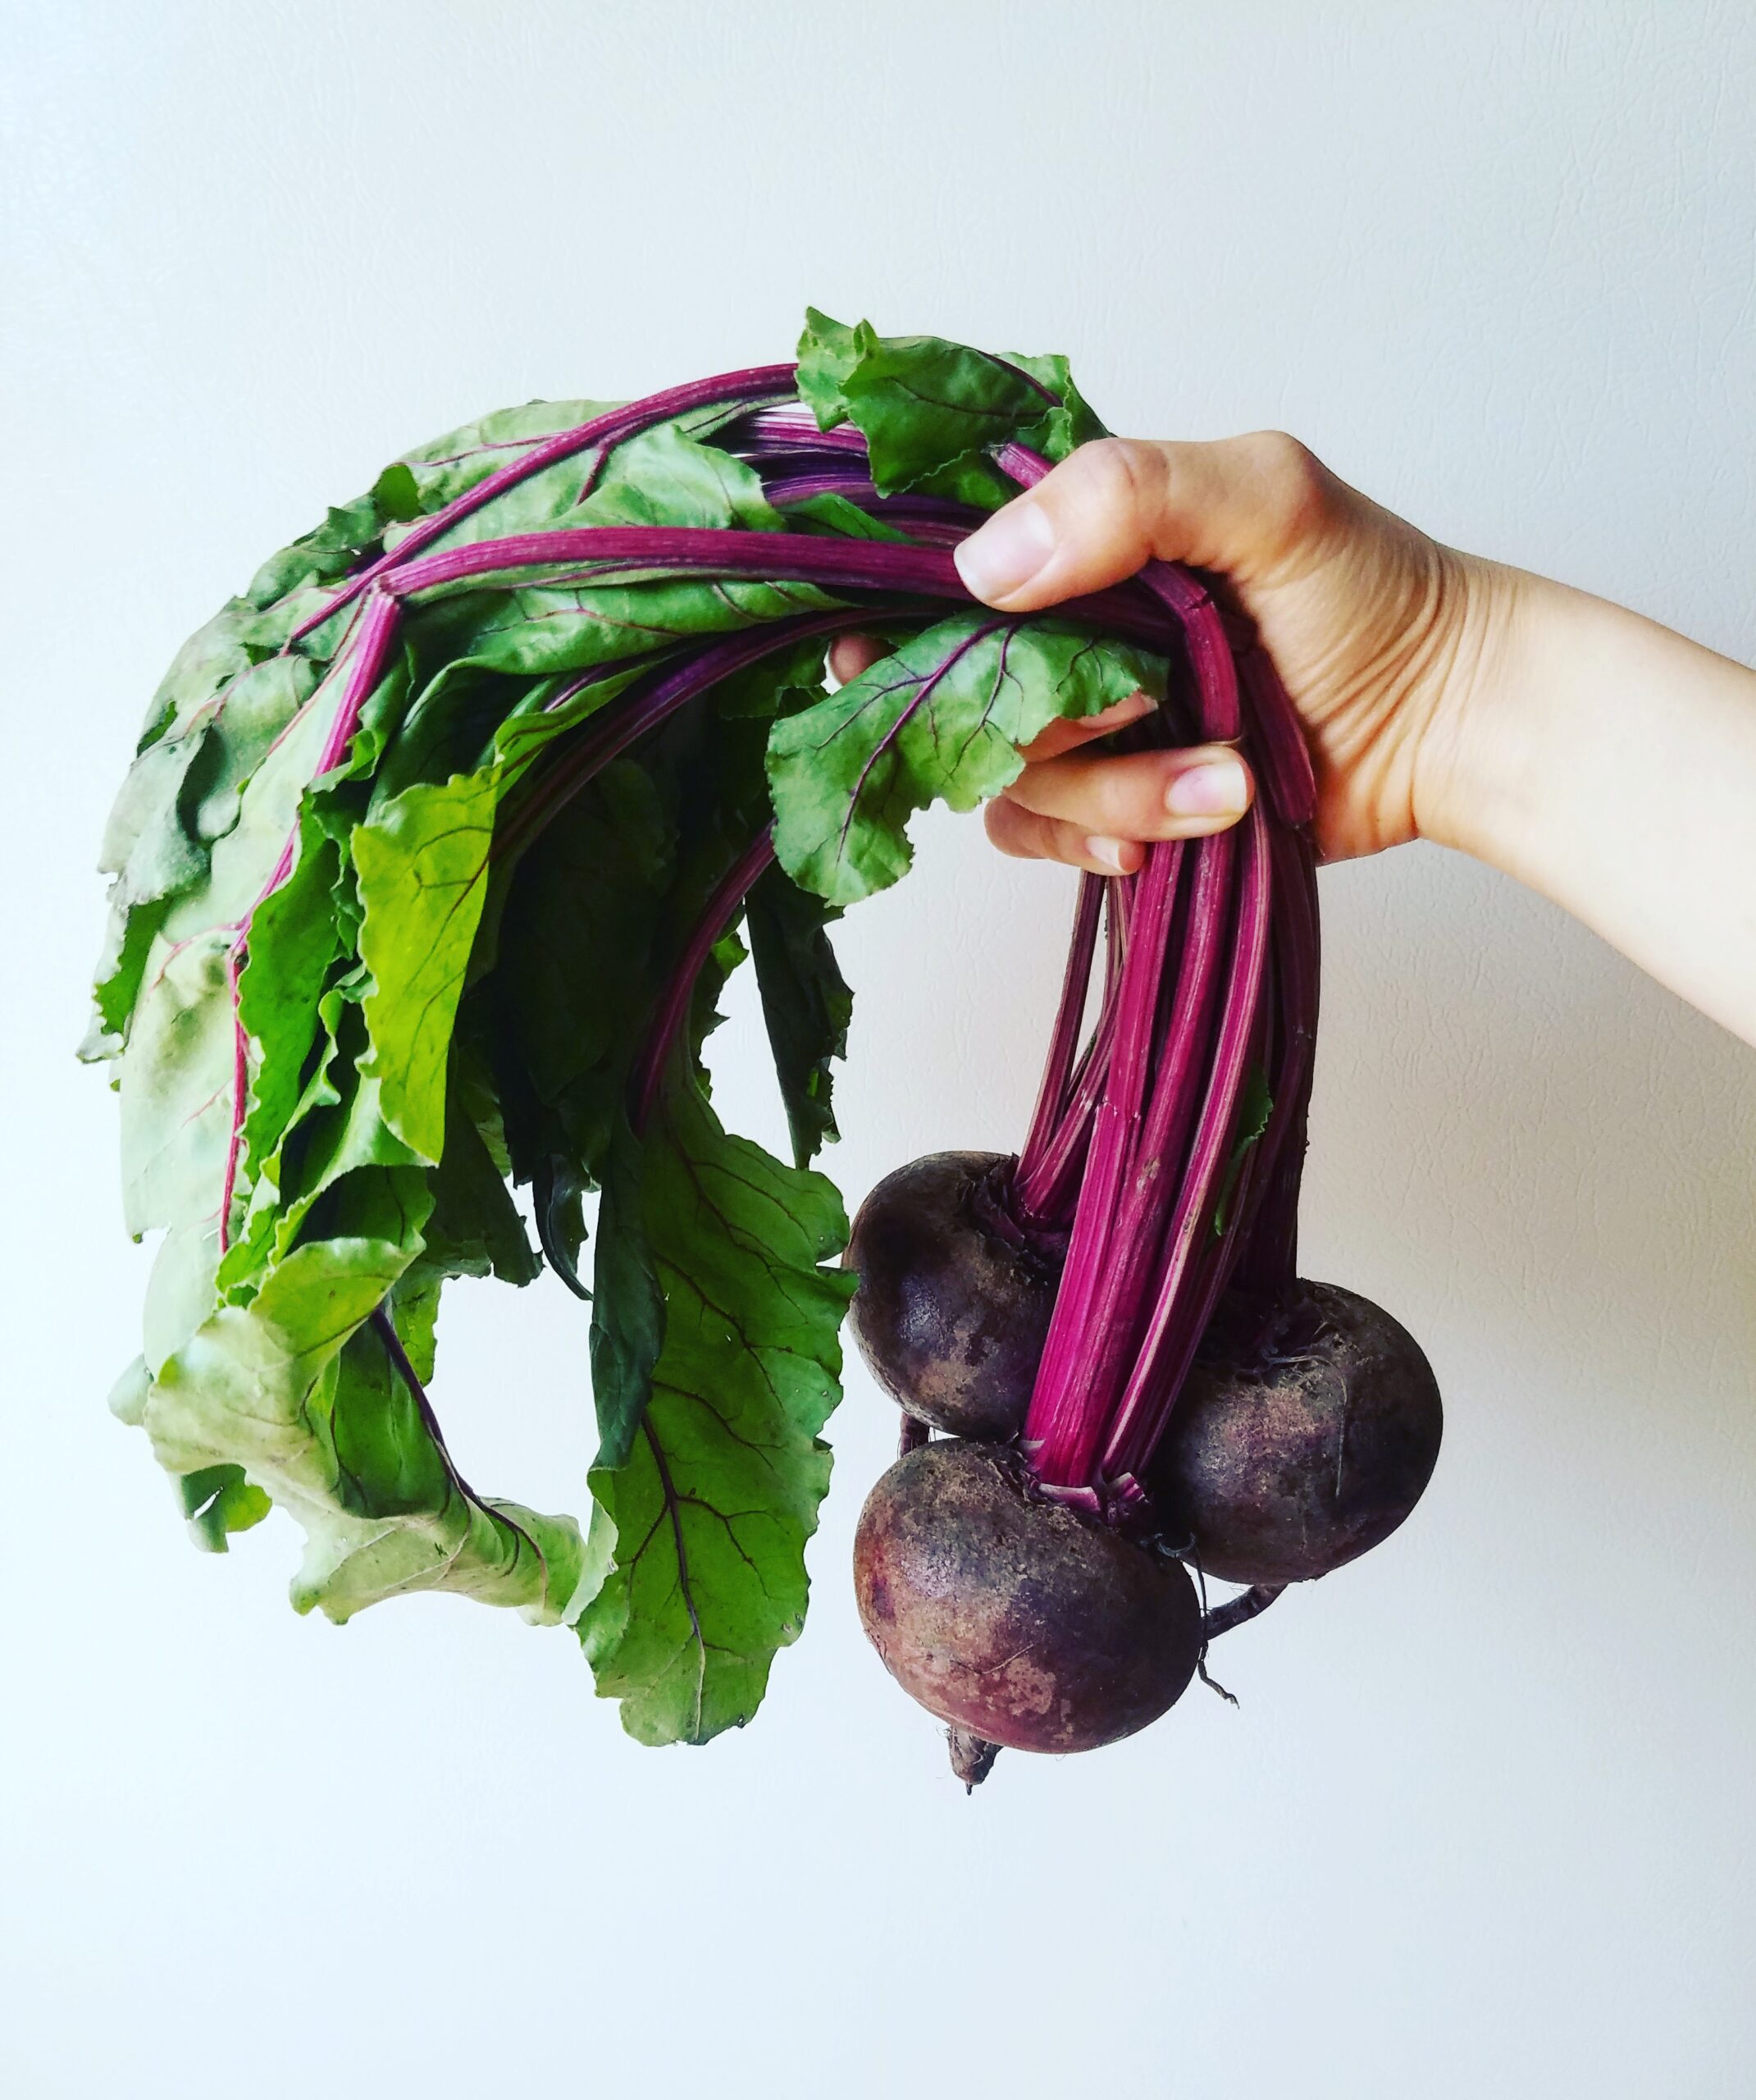
Oh, beet root, aren’t you sweet? You give me lots of good to eat!
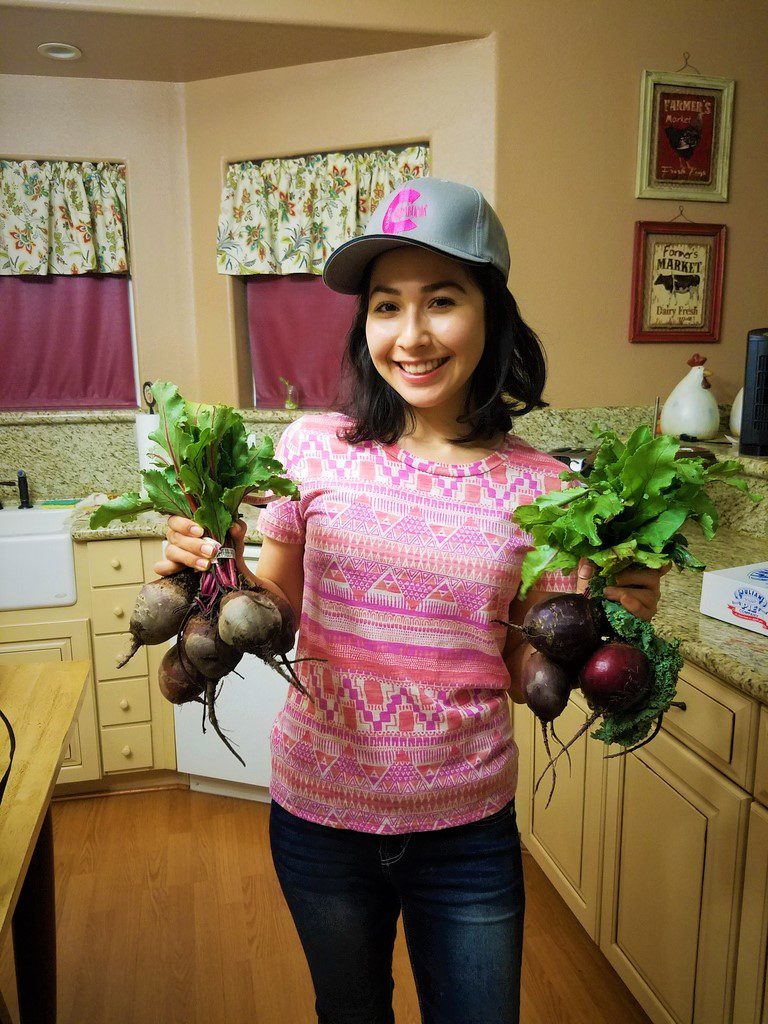
Okay, I hate to admit it but I was not always a fan of beets. Only recently have I started liking beets. Just over a year ago, I remember how I’d still turn my nose up at the canned slices at salad bars. They just seemed tasteless and weird to me. It was not until I spotted some very dirty but beautiful bunches at a local farmers market that I decided to give them a try. I was forever changed 😍
Not surprisingly, beets taste so good when you whole roast them yourself. They taste alright boiled but, the same way roasting makes sweet potatoes extra tender and flavorful, the same works for beets. I like wrapping them in foil or popping them in a Dutch oven for an hour to bake. You must try it! Then, you can make my fudgy Beet Protein Brownies (scroll down) or any of these other awesome beet recipes in my round up!
After all, I’m constantly trying out different recipes and I figured I’d share a few beet-themed ones that I love!
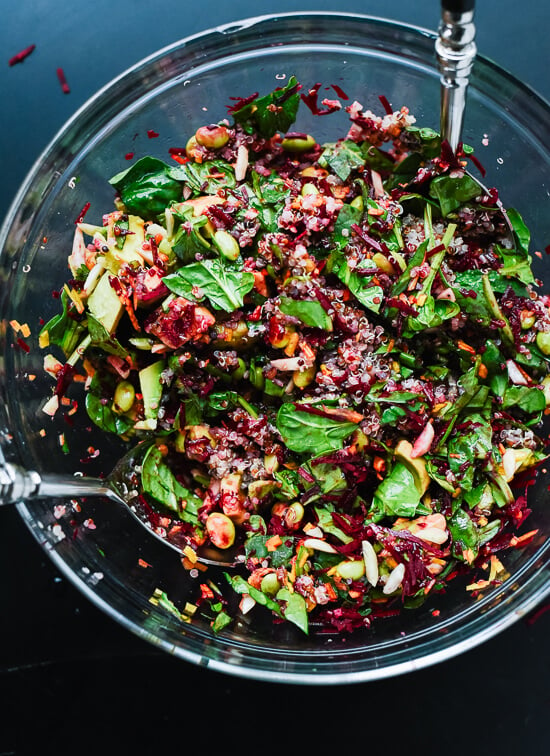
If you follow me on Instagram, you know I rave about Cookie and Kate recipes. So, evidently, I’ve made this fresh salad at least three times that I can remember. It works with raw or cooked beets, too.
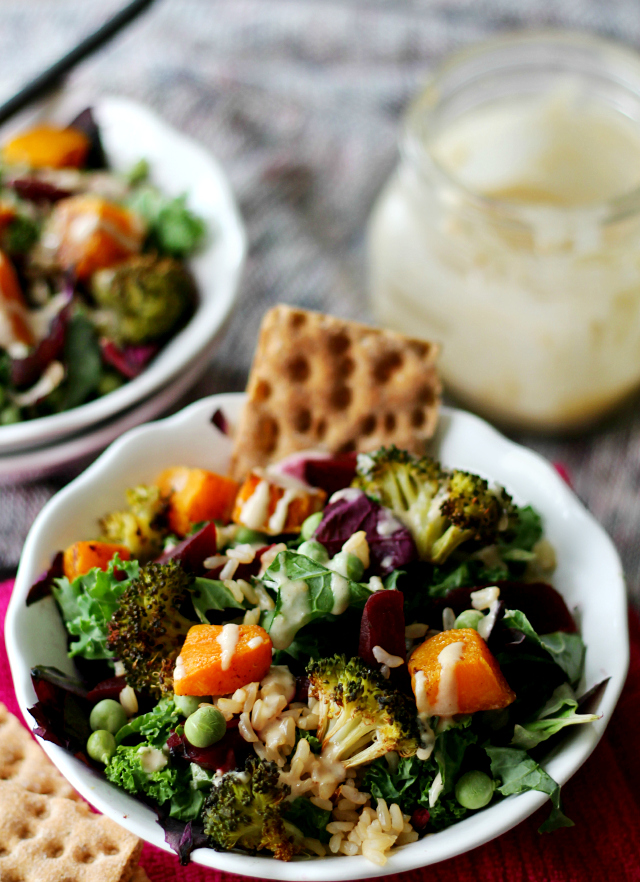
As of now, Starbucks no longer sells this salad. Still, back when Starbucks was selling this salad, I would recreate it at home. Also, I think it’s yummy with some diced apple thrown in!
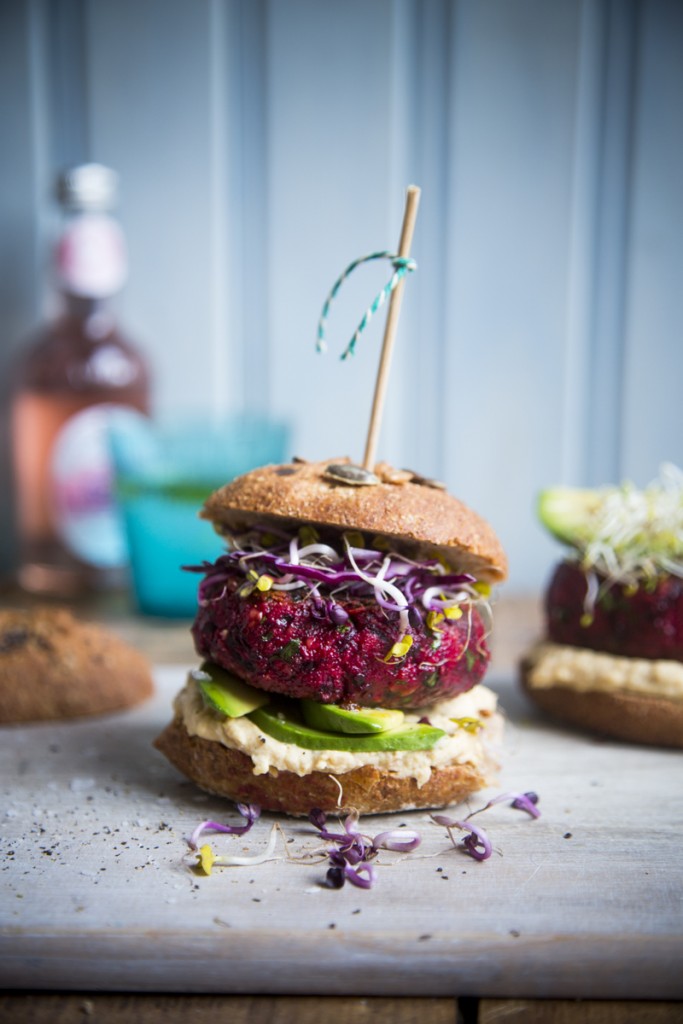
These burgers have “mega” in their name for a reason! I enjoyed a big batch of these delicious patties for days!
Additionally, here’s a quick recipe you can’t go wrong with…
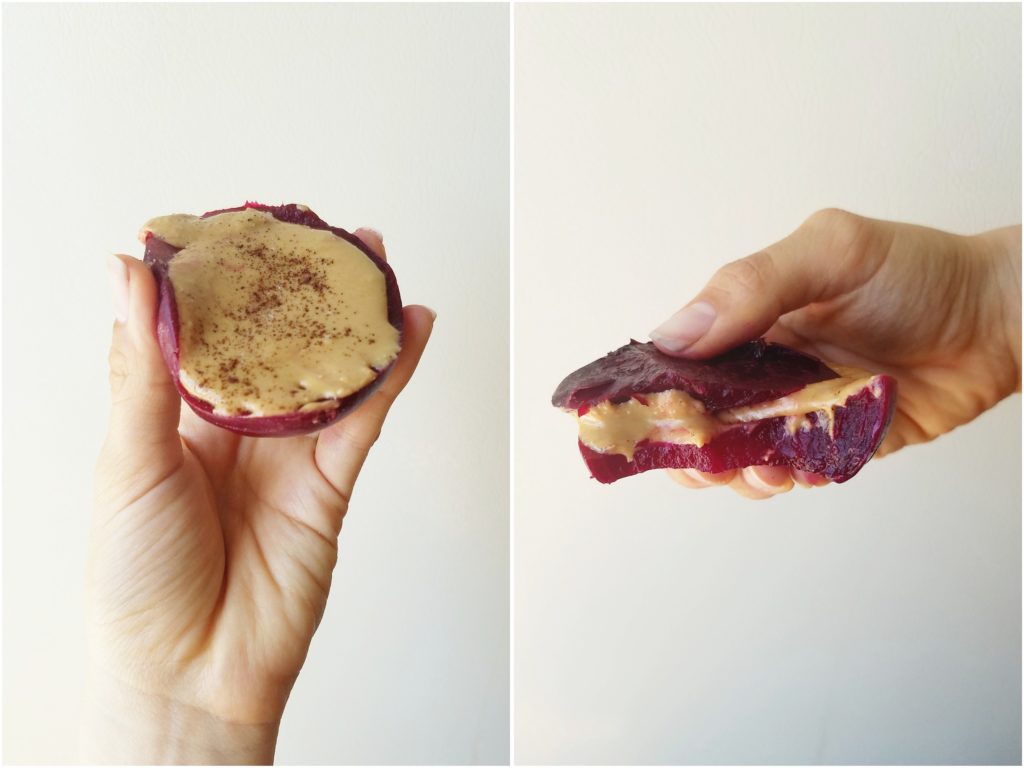
First, slice a beet. Second, apply peanut butter, cinnamon, and sea salt on said beet. Lastly, top with another slice of beet. Then, EAT.
Finally, the moment we’ve been waiting for:
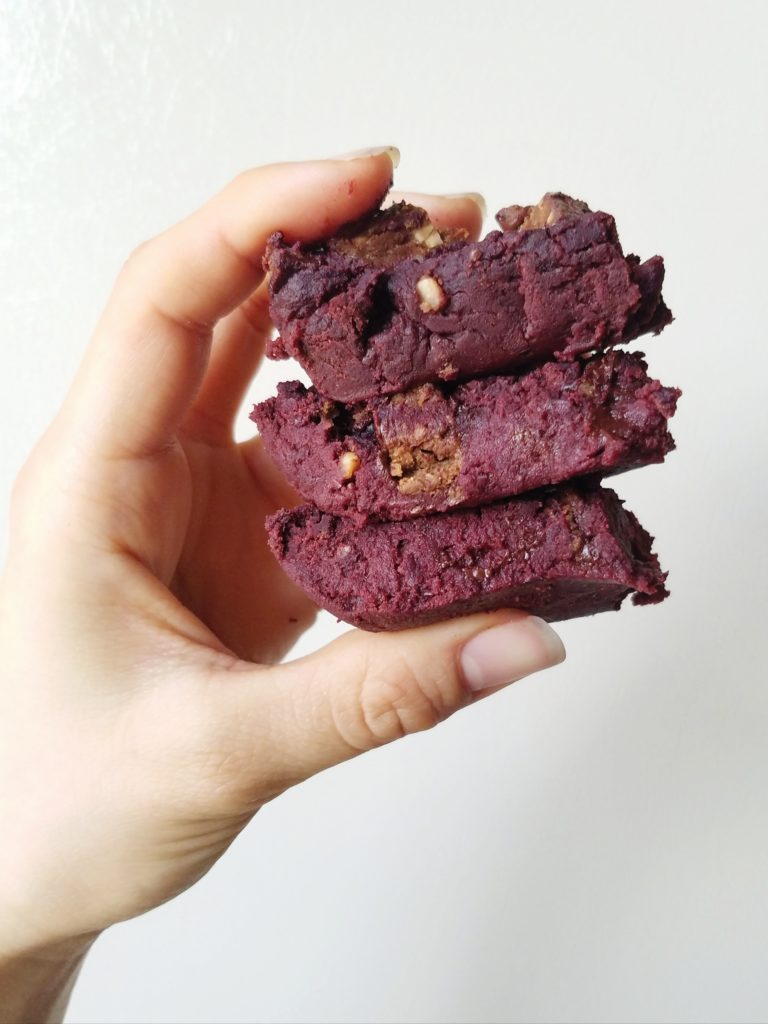
Beet Protein Brownies!
These brownies are legit. Seriously, you might need to restrain yourself from just eating the raw batter. Well, I did. In actuality, there is nothing “raw” about the batter so feel free to eat this brownie batter with a spoon! Though, if you can wait 15 minutes, the batter makes pretty awesome brownies, too. The Beet Protein Brownies came together thanks to the help of some standout products:
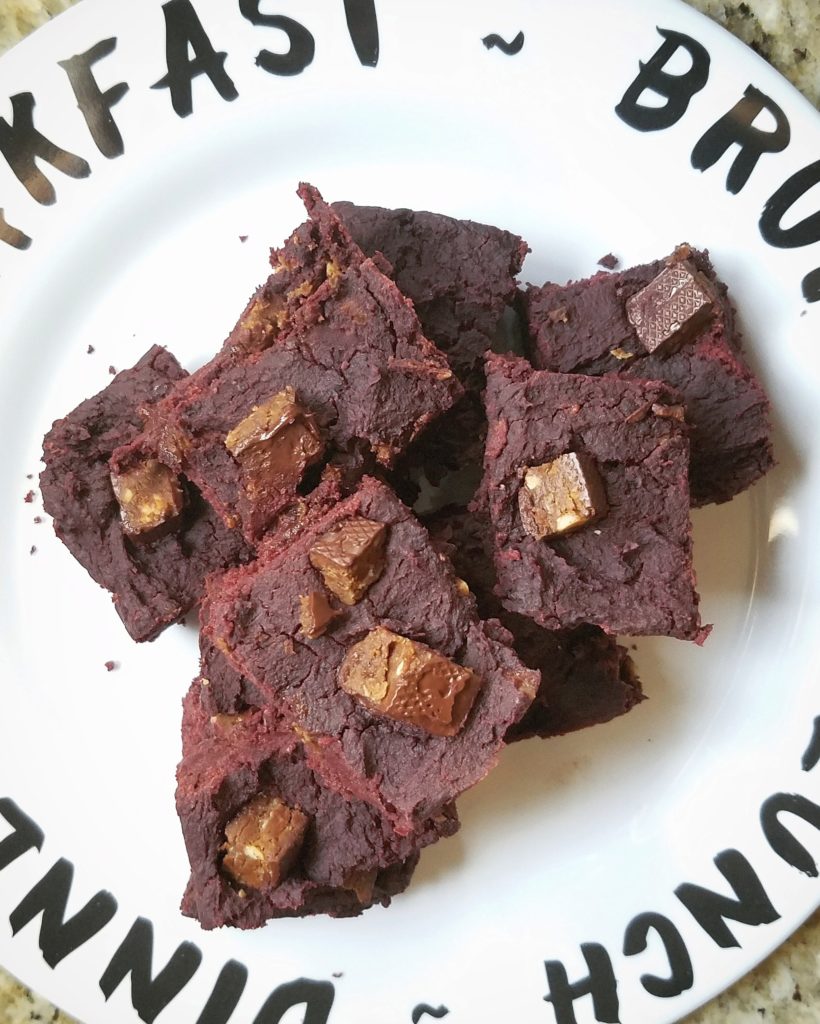
1 Square Organics bar, chopped into cubes (optional)
Instructions
Preheat the oven to 375 degrees Fahrenheit and grease or line a 9 x 5 loaf pan (mine is 8.5 x 4.5) with parchment paper.
In a food processor or blender, add all of the ingredients except for the Square Organics bar, if using, and blend until smooth. You may need to stop the processor to scrape down the sides. The batter will be very thick—do not add milk or water it down! Once blended, stir in half of the square organics bar.
Scoop batter into the loaf pan and press into the corners. If desired, you can lightly oil a spoon or spatula to help press the batter and this way it won’t stick! Then, top with remaining square organics cubes and lightly press into the batter.
Bake for 10-15 minutes. (I took mine out at 10 minutes and they stayed nicely fudgy.) As long as the top of the brownies has formed a solid crust, then that means they are ready. If the top is still gooey, leave in for up to 15 minutes. Not longer, or the brownies may dry out.
Let the brownies cool completely before cutting into them. They will keep in a covered container in the fridge for up to 3 days.
Notes
I’ve only tested using the above mentioned protein powder though other brands should work. As well, I believe almond meal would work as a substitute for the protein powder, though, that would decrease the protein content of the brownies.[br]Also, the brownies are plenty delicious on their own but who doesn’t want extra chocolate in a brownie? Instead of the Square Organics bar, you could use 1/4 cup chopped chocolate or chocolate chips.
Do you have some new ideas for how to use beets? Or, perhaps you have some yummy beet-filled recipes under your belt. Please, feel free to share in the comments. As you know, I love to try out new recipes!
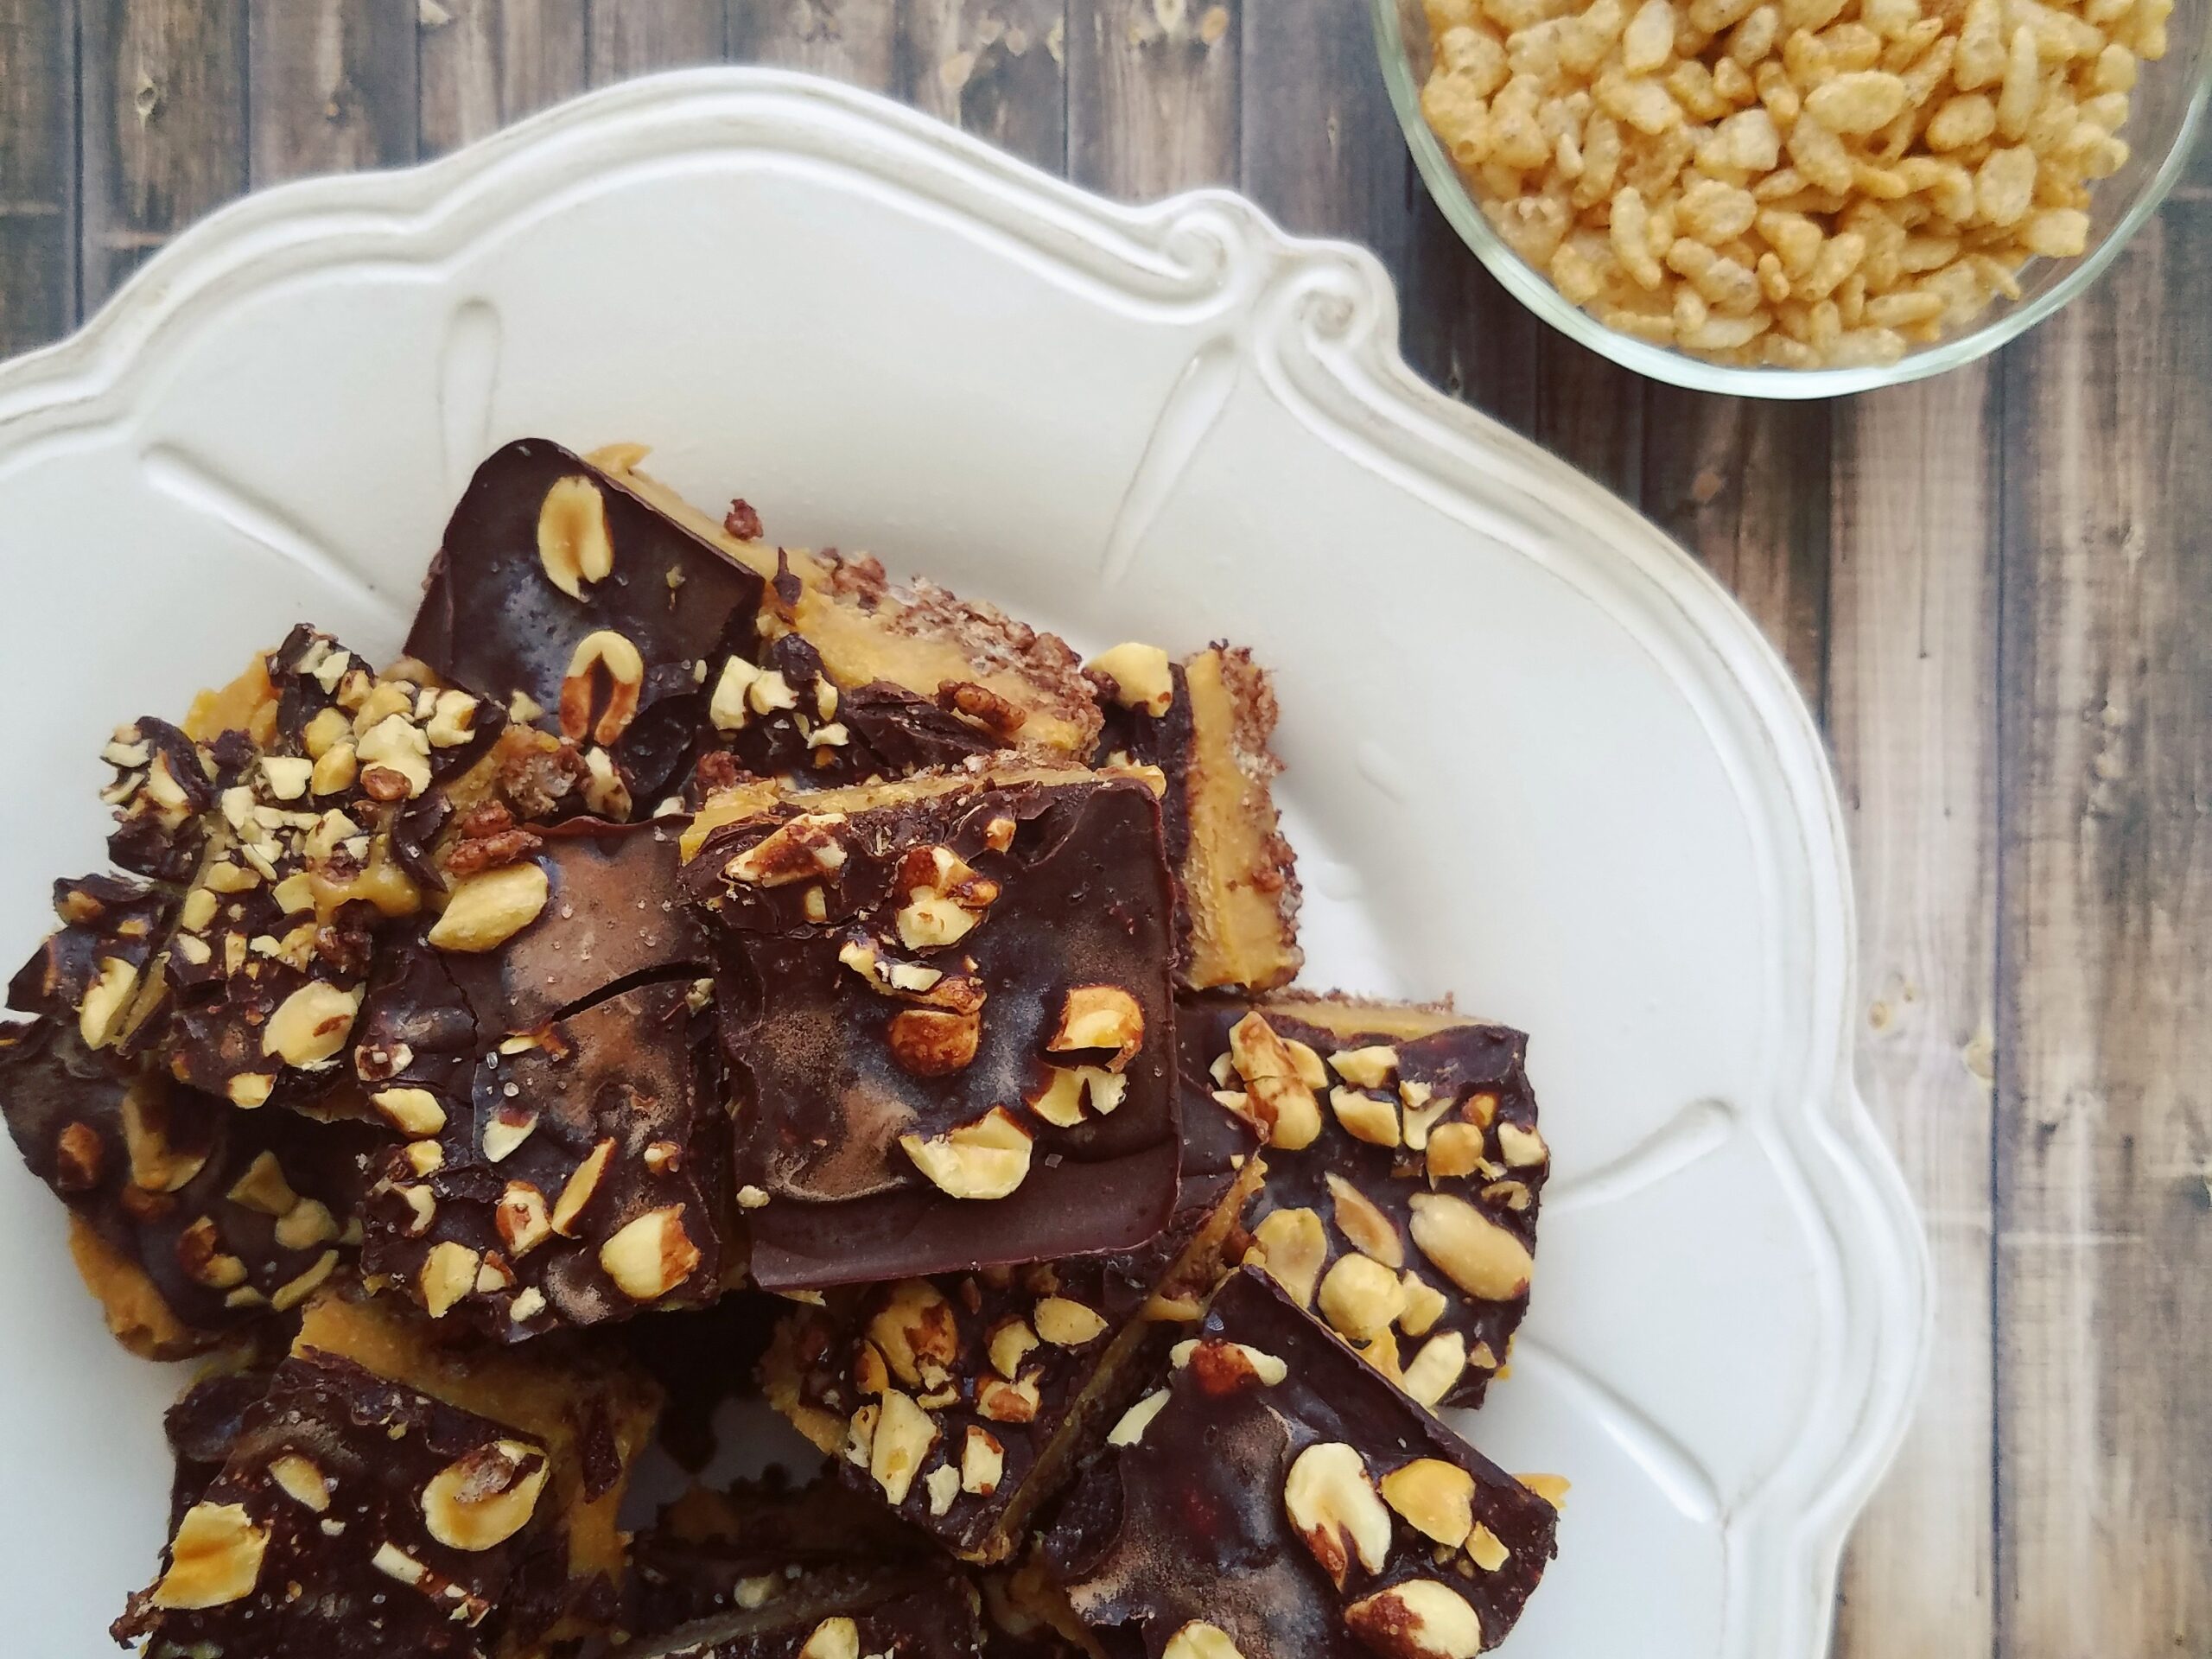
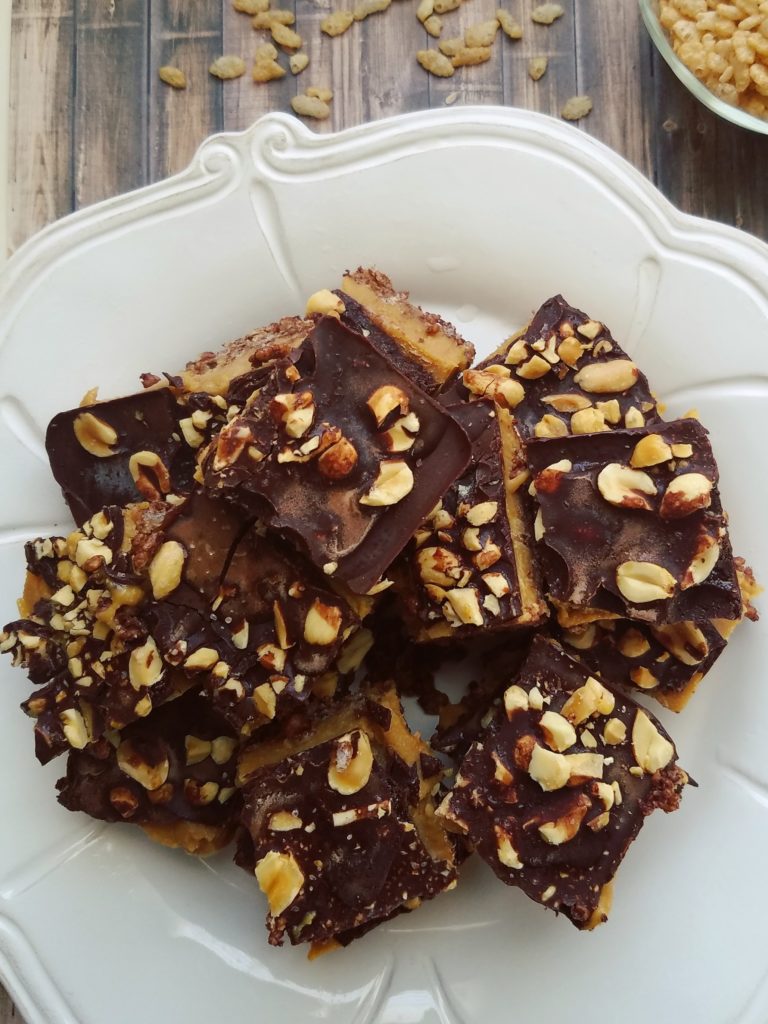
If you’ve been following my A Day of FLO Living posts, then you’ll know I enjoy eating food that is nourishing for me and my cycle. Now, I’m not going to sit here and tell you that chocolate-topped peanut butter crisp bars are “health food” but I’ll say they come close. During my ovulatory phase I was craving sweets LIKE CRAZY—specifically chocolate. Lucky for me, chocolate is on the list of WomanCode approved foods for ovulatory phase. Yippee!
So, I went into the kitchen, with a bit of guidance from Angela Liddons’ Oh She Glows Everyday Cookbook, and got experimenting. I used Angela’s recipe for Nut-Free Dream Bars as a base but I tinkered with the sweetener, salt, and, of course, the nut butter. For me, what makes these bars awesome is the pairing of protein and fat, both of which lessen the sugar punch and make these bars satiating. Of course, macronutrients aside, the chocolate-peanut butter combination is also a huge appeal!
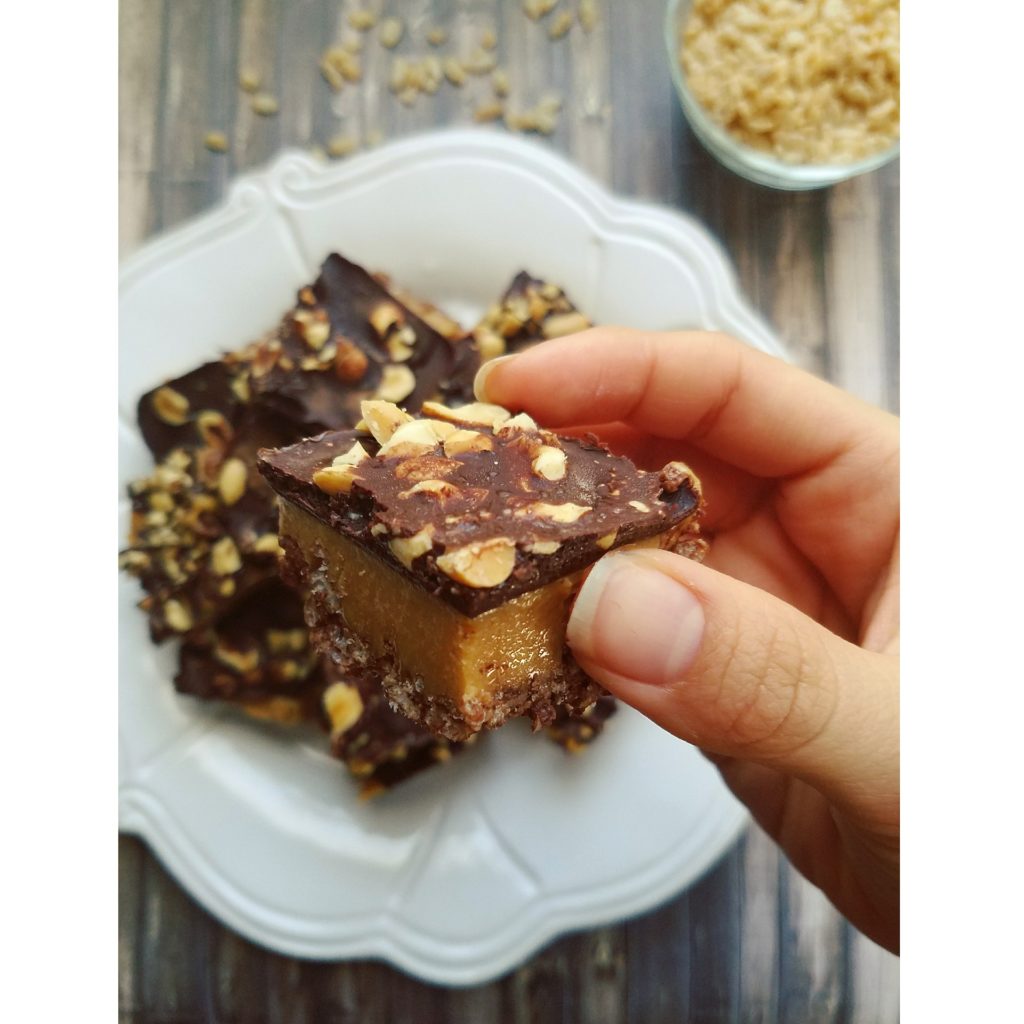
They require a small amount of prep but NO BAKING. This is a freezer treat at its finest. Plus, once made, they will last forever in the freezer! Just let them defrost for a few minutes before biting into them. If you can exercise restraint, let them defrost for five to ten minutes and the peanut butter filling gets extra creamy and oozy. In fact, the filling contrasts so nicely in that state with the crisp crust and solid chocolate topping. Together, the three layers make for one delightfully decadent and delicious dessert or snack.
Let me know if you give these bars a try! Just writing this post makes me crave one so I’ll be at my freezer if you need me! 👋
Creamy Peanut Butter Chocolate Crisp Bars
Recipe Type: Dessert
Cuisine: American
Author: Melanie
Prep time:
Cook time:
Total time:
Serves: 18-20 bars
These rich and creamy no-bake bars, adapted from Angela Liddon’s recipe, make for a satisfying dessert or snack when those chocolate peanut butter cravings kick in! The combination of crispiness from the crust and creaminess from the bars just can’t be beat!
Ingredients
Crust Ingredients:
1 ½ tbsp melted virgin coconut oil
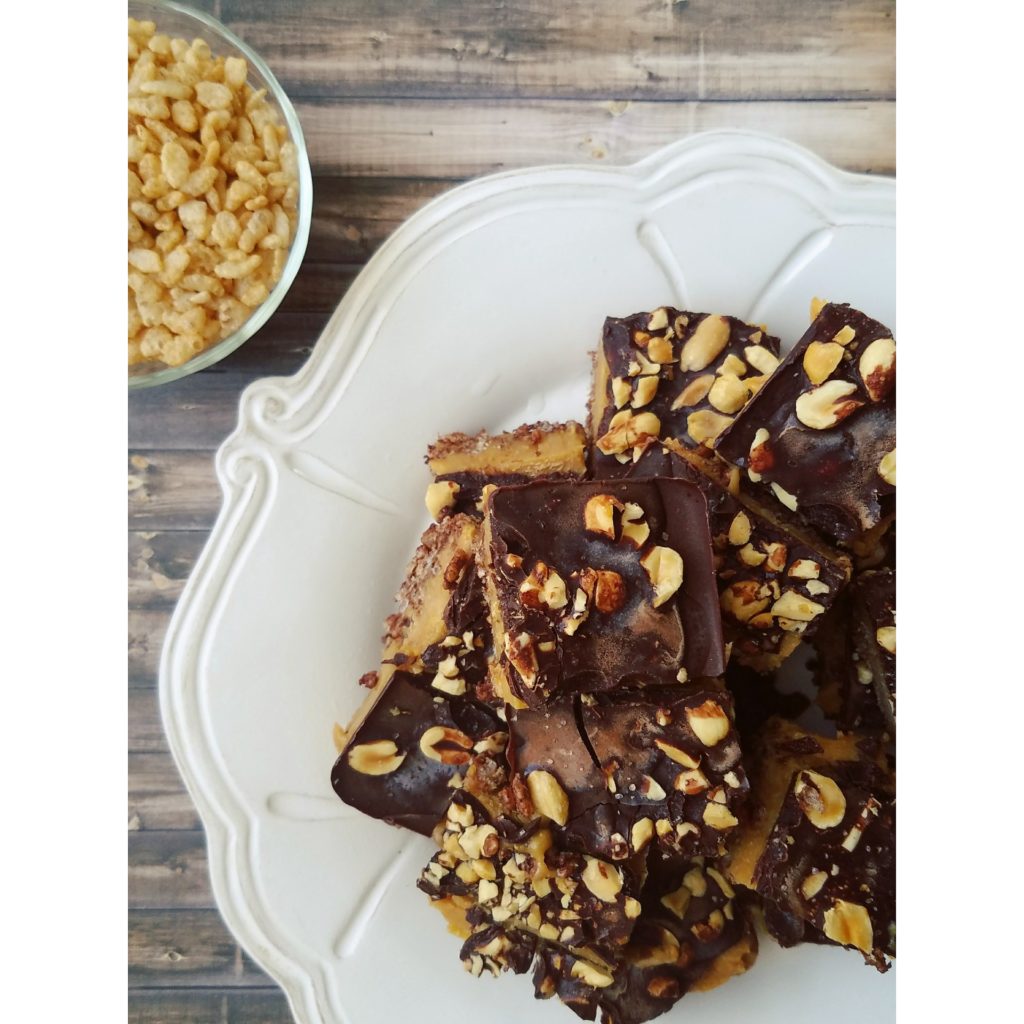
1 ½ cups Erewhon Organic Cinnamon Brown Rice Cereal
2 tbsp cacao powder or cocoa powder
2 tbsp maple syrup
a pinch of salt
Filling Ingredients:
1 cup natural peanut butter
¼ cup maple syrup
¼ cup melted virgin coconut oil
¼ to ½ tsp salt, depending on the saltiness of the peanut butter
1 tsp vanilla extract
Chocolate Topping Ingredients:
1/3 cup melted virgin coconut oil
1/3 cup cacao or cocoa powder
1 tbsp maple syrup
1/3 cup unsalted dry-roasted peanuts, chopped, for topping
Sea salt, for topping, optional
Instructions
Line a large loaf tin (see notes) with parchment paper and lightly grease with coconut oil.
In a bowl, combine the first 5 ingredients for the crust. With a rubber spatula, mash up the cereal until it looks crumby and thoroughly coated. Then, press the crust down into the bottom of the loaf tin. Place it in the freezer while you prepare the filling.
In the same bowl, rinsed and wiped clean, combine the next five ingredients. As a precaution, make sure the ingredients for the filling are all room temperature. If the maple syrup or peanut butter are cold then that will make the coconut oil seize up. The mixture should be smooth. Adjust salt to taste.
Remove the crust from the freezer and pour the filling on top. Gently swivel the pan so that the filling covers the crust completely and so that the top is flat and even. Now, the filling will set in the freezer for an hour before the final topping.
After waiting the appropriate amount of time for the filling to solidify, begin making the chocolate topping. Whisk together melted coconut oil, cacao powder, and maple syrup until no clumps remain. Chop the peanuts and keep them at the ready.
Remove the loaf tin from the freezer and pour the chocolate over the filling. Be warned: it freezes almost instantaneously! While the chocolate is still wet, throw on the peanuts and a sprinkle of sea salt. The chocolate layer will soon solidify from the cold from the loaf tin.
You may then remove the bars, using the parchment paper to lift them out. Move them to a cutting board and slowly cut into 18-20 squares. If the bars seem melty in any way, do put them back into the freezer for 10 minutes or so. They may fall apart if you try cutting them while soft.
The peanut butter chocolate dream bars are best stored in the freezer. Pull one out when you want to enjoy a bar and let it sit at room temperature for up to 3-5 minutes. They will soften to an easier-to-bite state. Wait a little longer and the peanut butter filling gets extra oozy and delicious!
Notes
My baking tin is 9.5 x 5 inches though Angela’s recipe uses a 10 x 6 inch pan. I believe that a standard 9 x 5 loaf tin could work, too but your bars will just be a bit thicker.[br]Cooking time also reflects freezing time in this recipe.
We use cookies on our website to give you the most relevant experience by remembering your preferences and repeat visits. By clicking “Accept”, you consent to the use of ALL the cookies.
This website uses cookies to improve your experience while you navigate through the website. Out of these, the cookies that are categorized as necessary are stored on your browser as they are essential for the working of basic functionalities of the website. We also use third-party cookies that help us analyze and understand how you use this website. These cookies will be stored in your browser only with your consent. You also have the option to opt-out of these cookies. But opting out of some of these cookies may affect your browsing experience.
Necessary cookies are absolutely essential for the website to function properly. These cookies ensure basic functionalities and security features of the website, anonymously.
Cookie
Duration
Description
cookielawinfo-checbox-analytics
11 months
This cookie is set by GDPR Cookie Consent plugin. The cookie is used to store the user consent for the cookies in the category "Analytics".
cookielawinfo-checbox-functional
11 months
The cookie is set by GDPR cookie consent to record the user consent for the cookies in the category "Functional".
cookielawinfo-checbox-others
11 months
This cookie is set by GDPR Cookie Consent plugin. The cookie is used to store the user consent for the cookies in the category "Other.
cookielawinfo-checkbox-necessary
11 months
This cookie is set by GDPR Cookie Consent plugin. The cookies is used to store the user consent for the cookies in the category "Necessary".
cookielawinfo-checkbox-performance
11 months
This cookie is set by GDPR Cookie Consent plugin. The cookie is used to store the user consent for the cookies in the category "Performance".
viewed_cookie_policy
11 months
The cookie is set by the GDPR Cookie Consent plugin and is used to store whether or not user has consented to the use of cookies. It does not store any personal data.
Functional cookies help to perform certain functionalities like sharing the content of the website on social media platforms, collect feedbacks, and other third-party features.
Performance cookies are used to understand and analyze the key performance indexes of the website which helps in delivering a better user experience for the visitors.
Analytical cookies are used to understand how visitors interact with the website. These cookies help provide information on metrics the number of visitors, bounce rate, traffic source, etc.
Advertisement cookies are used to provide visitors with relevant ads and marketing campaigns. These cookies track visitors across websites and collect information to provide customized ads.