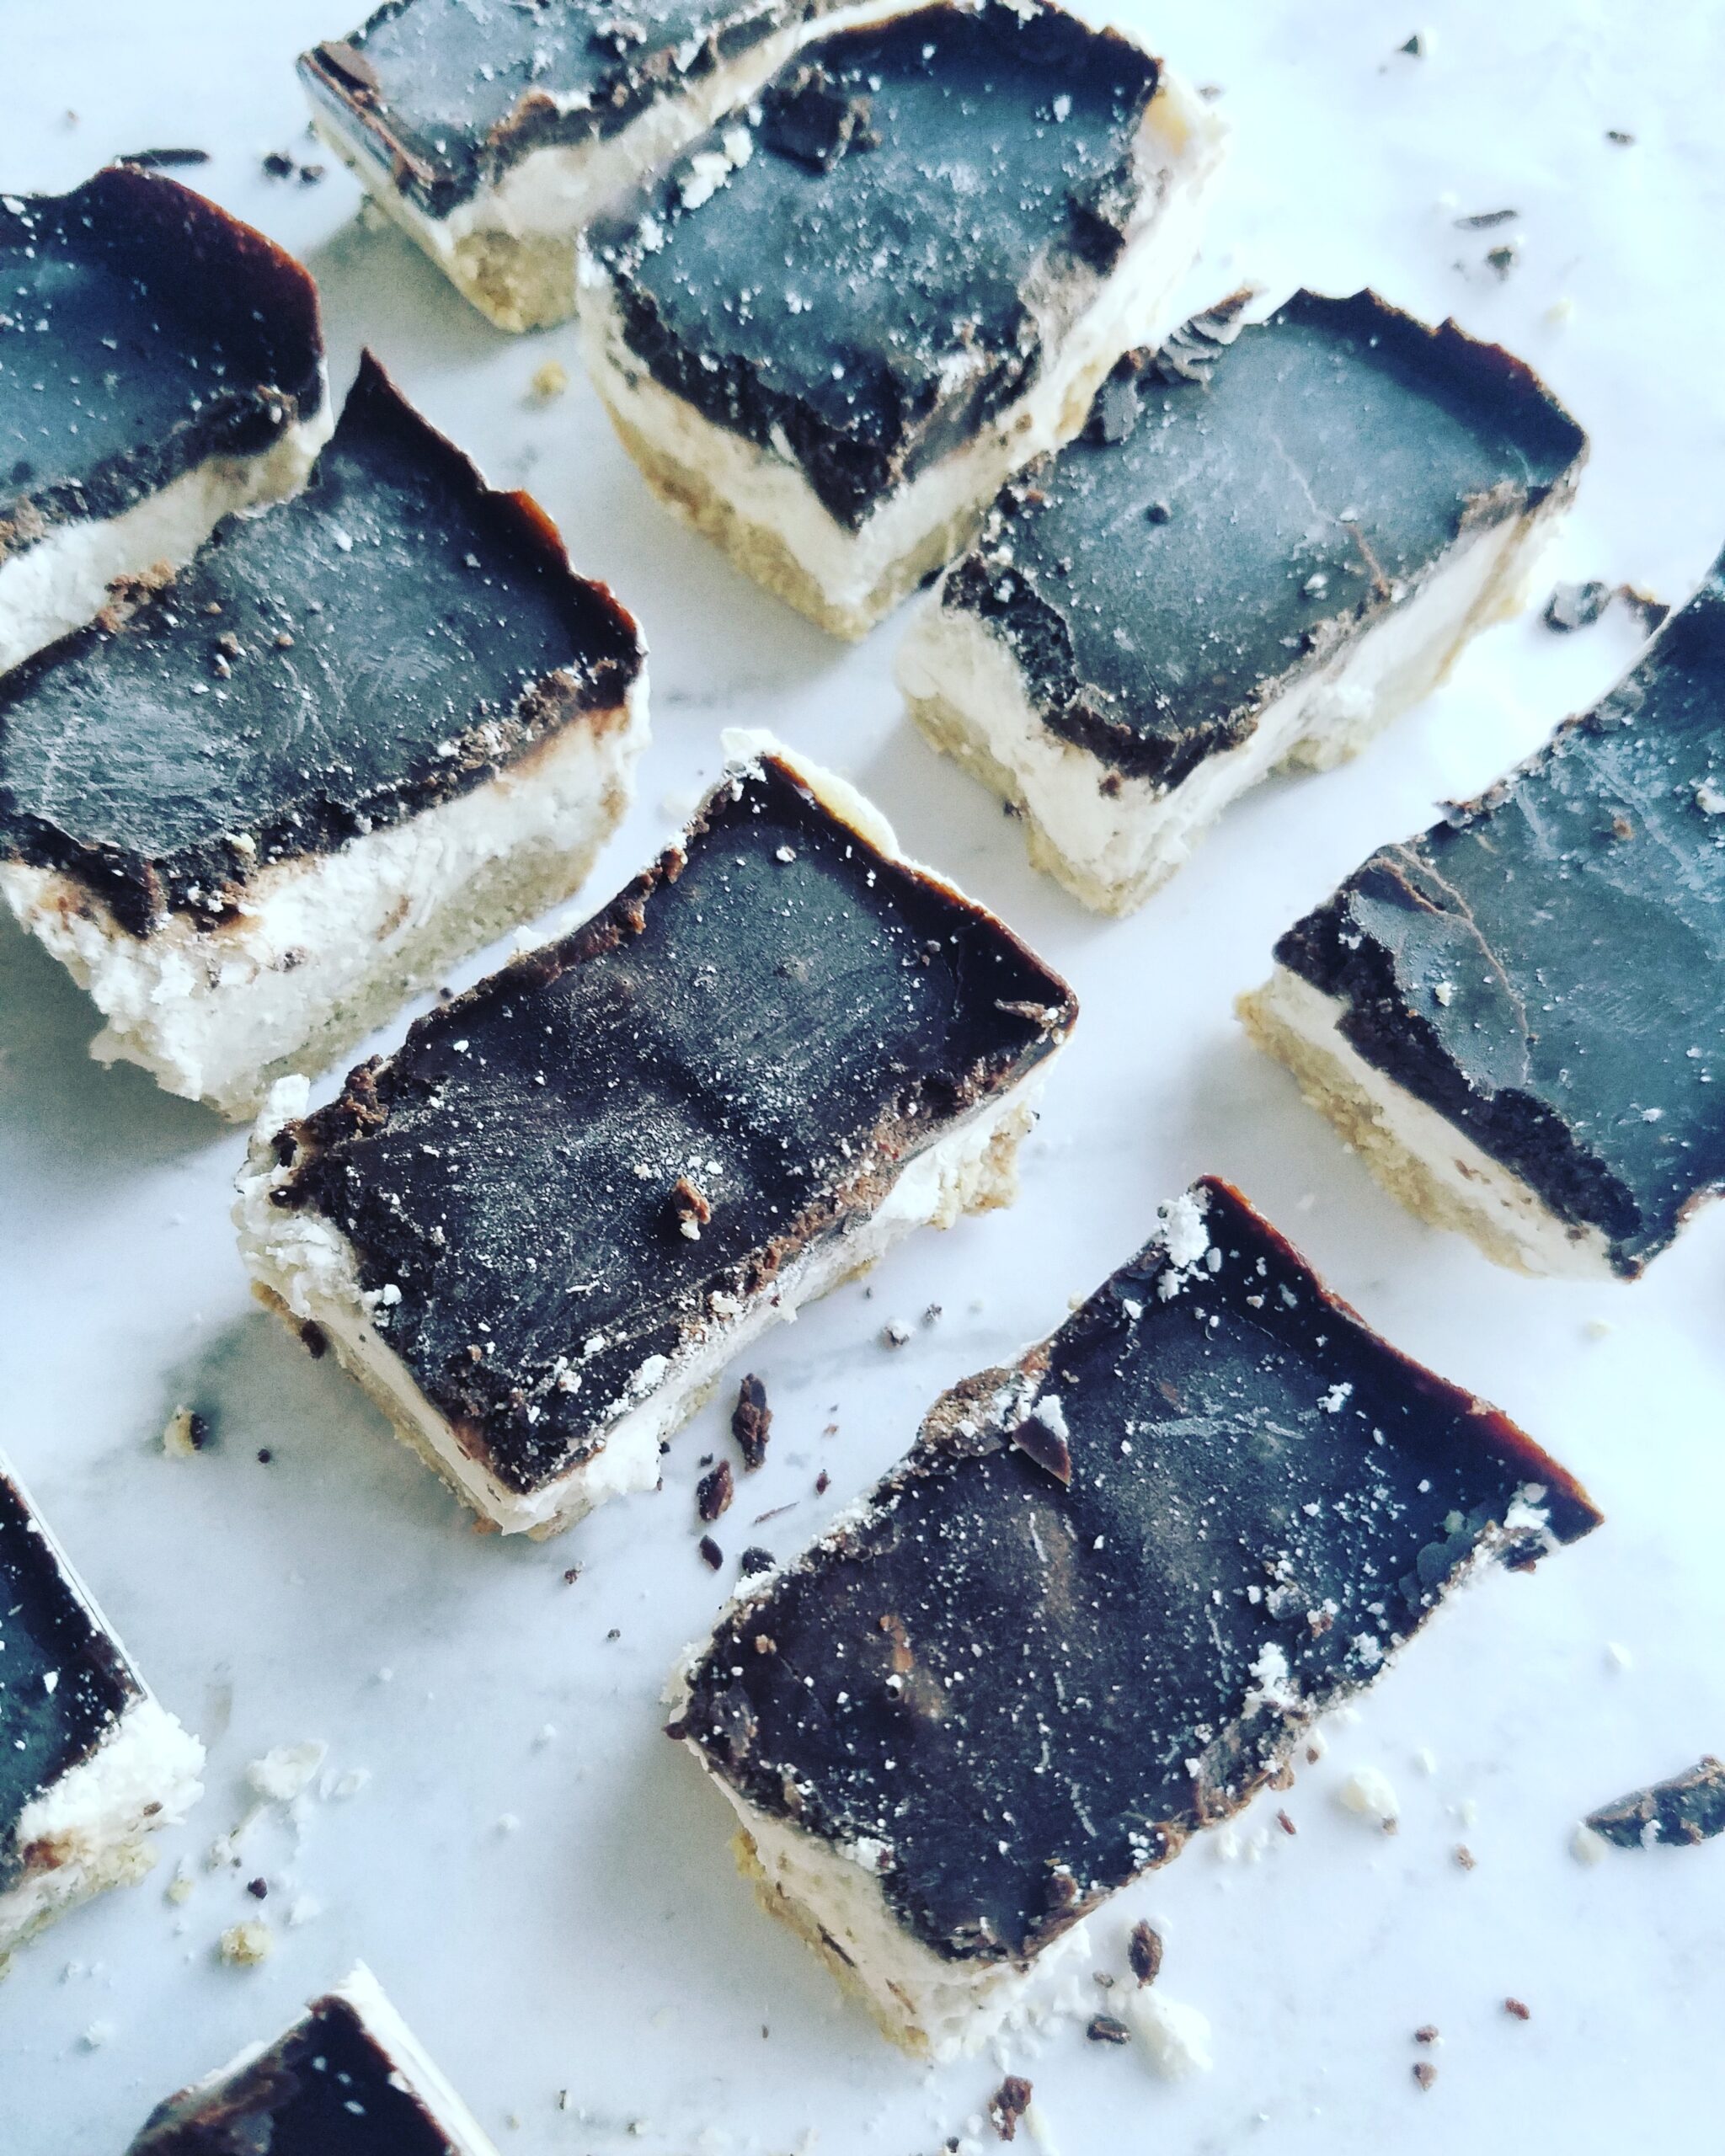
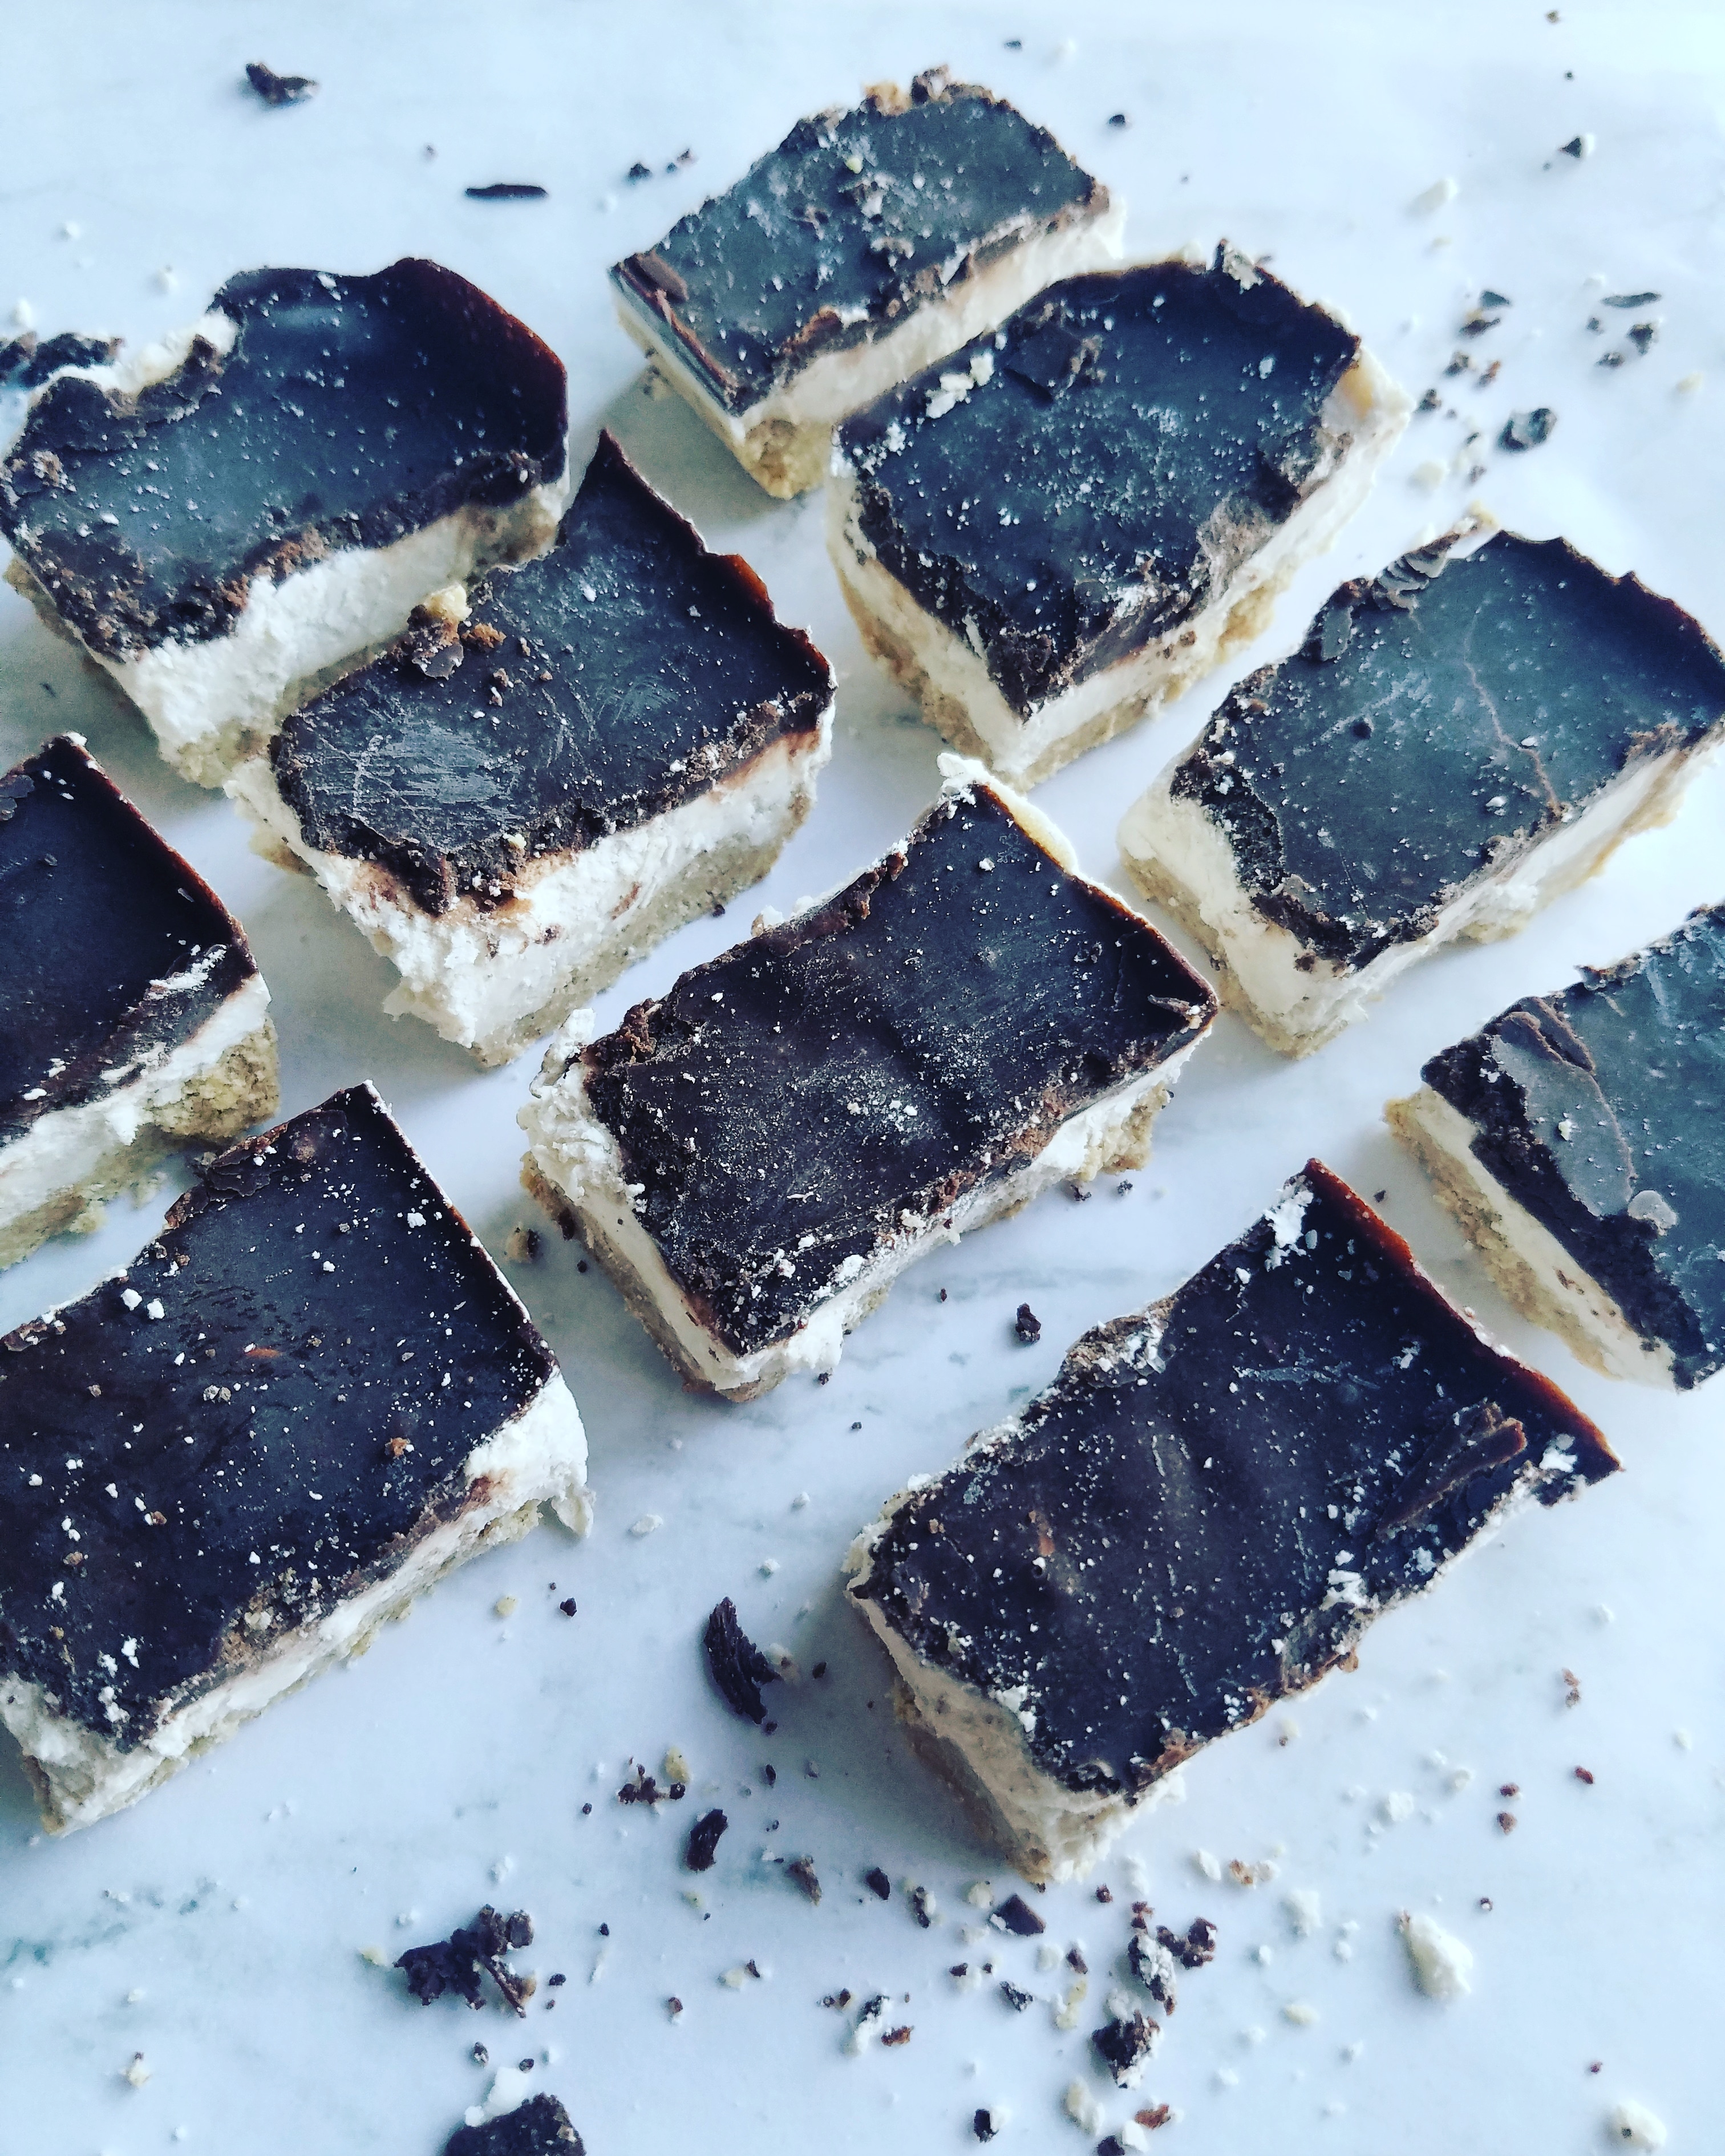
Almond, chocolate, and coconut come together to give you the magic that is Frozen Almond Joy Layer Bars. My spin on the classic treat is low-sugar and ultra creamy thanks to some simple ingredients and the trusty freezer!
Brr! Is that the first hint of cold weather that I’m feeling? My mom always jokes that I am the first one to pull out my boots and cardigans the moment a breeze is in the air. Basically, at this point, I’m restraining myself until November rolls around…but come November 1st, the boots are ON.
For now, the only cold weather I’m getting is coming from opening the freezer to grab one of these Frozen Almond Joy Layer Bars! LOL. Even as the winter season approaches, I love the taste of coconut treats. After all, it can’t be all pumpkin and gingerbread flavors all the time. (Though, I will certainly be enjoying some of both!)
So, make these whenever you’re feeling some fresh, cool, creamy, dreamy coconut, almond, and chocolate vibes.
Frozen Almond Joy Layer Bars
Recipe Type: Dessert
Author: Melanie
Prep time:
Cook time:
Total time:
Serves: 12 bars
Almond, chocolate, and coconut come together to give you the magic that is Frozen Almond Joy Layer Bars. My spin on the classic treat is low-sugar and ultra creamy thanks to some simple ingredients and the trusty freezer!
Ingredients
Crust
¾ cup almond flour
2 tbsp coconut flour
½ scoop protein powder (I like Tone it Up Peanut Butter or Vanilla)
½ tsp vanilla extract
2 tbsp melted coconut oil
2-4 tbsp almond milk
1 tbsp honey
Filling
½ cup coconut butter
½ cup almond milk
½ tbsp honey or maple syrup
½ cup shredded coconut
Topping
2 ½ tbsp cacao powder
1 tbsp honey or maple syrup
2 tbsp melted coconut oil
2 tbsp creamy almond butter
¼ tsp vanilla extract
Instructions
Grab a loaf pan and line it with some wax or parchment paper. I don’t always do this but it makes it a little easier to remove the bars from the pan.
Next, in a bowl, combine the crust ingredients. The batter should be on the crumbly side but smash together between your fingers. If the mixture only crumbles without the mash, add another tablespoon or two of almond milk and combine. Then, press the mixture into the bottom of your (lined) loaf pan and set in the freezer.
At this point, wipe out any crumbs left behind because we’re using the same bowl! Add the coconut butter to the bowl with the almond milk and microwave for 15 seconds so it is warm and mixable. Then mix in the honey and shredded coconut.
Remove the loaf pan from the freezer and add pat down the filling layer before returning it back to the freezer.
For the final step, wipe out the same bowl and begin adding the topping ingredients. Make sure not to leave any clumps or that will show on top of the bars. Again, remove the loaf pan from the freezer and spread the chocolate topping over the filling. Note: if for some reason the filling seems wet, leave it in the freezer for 10 minutes before adding the chocolate topping.
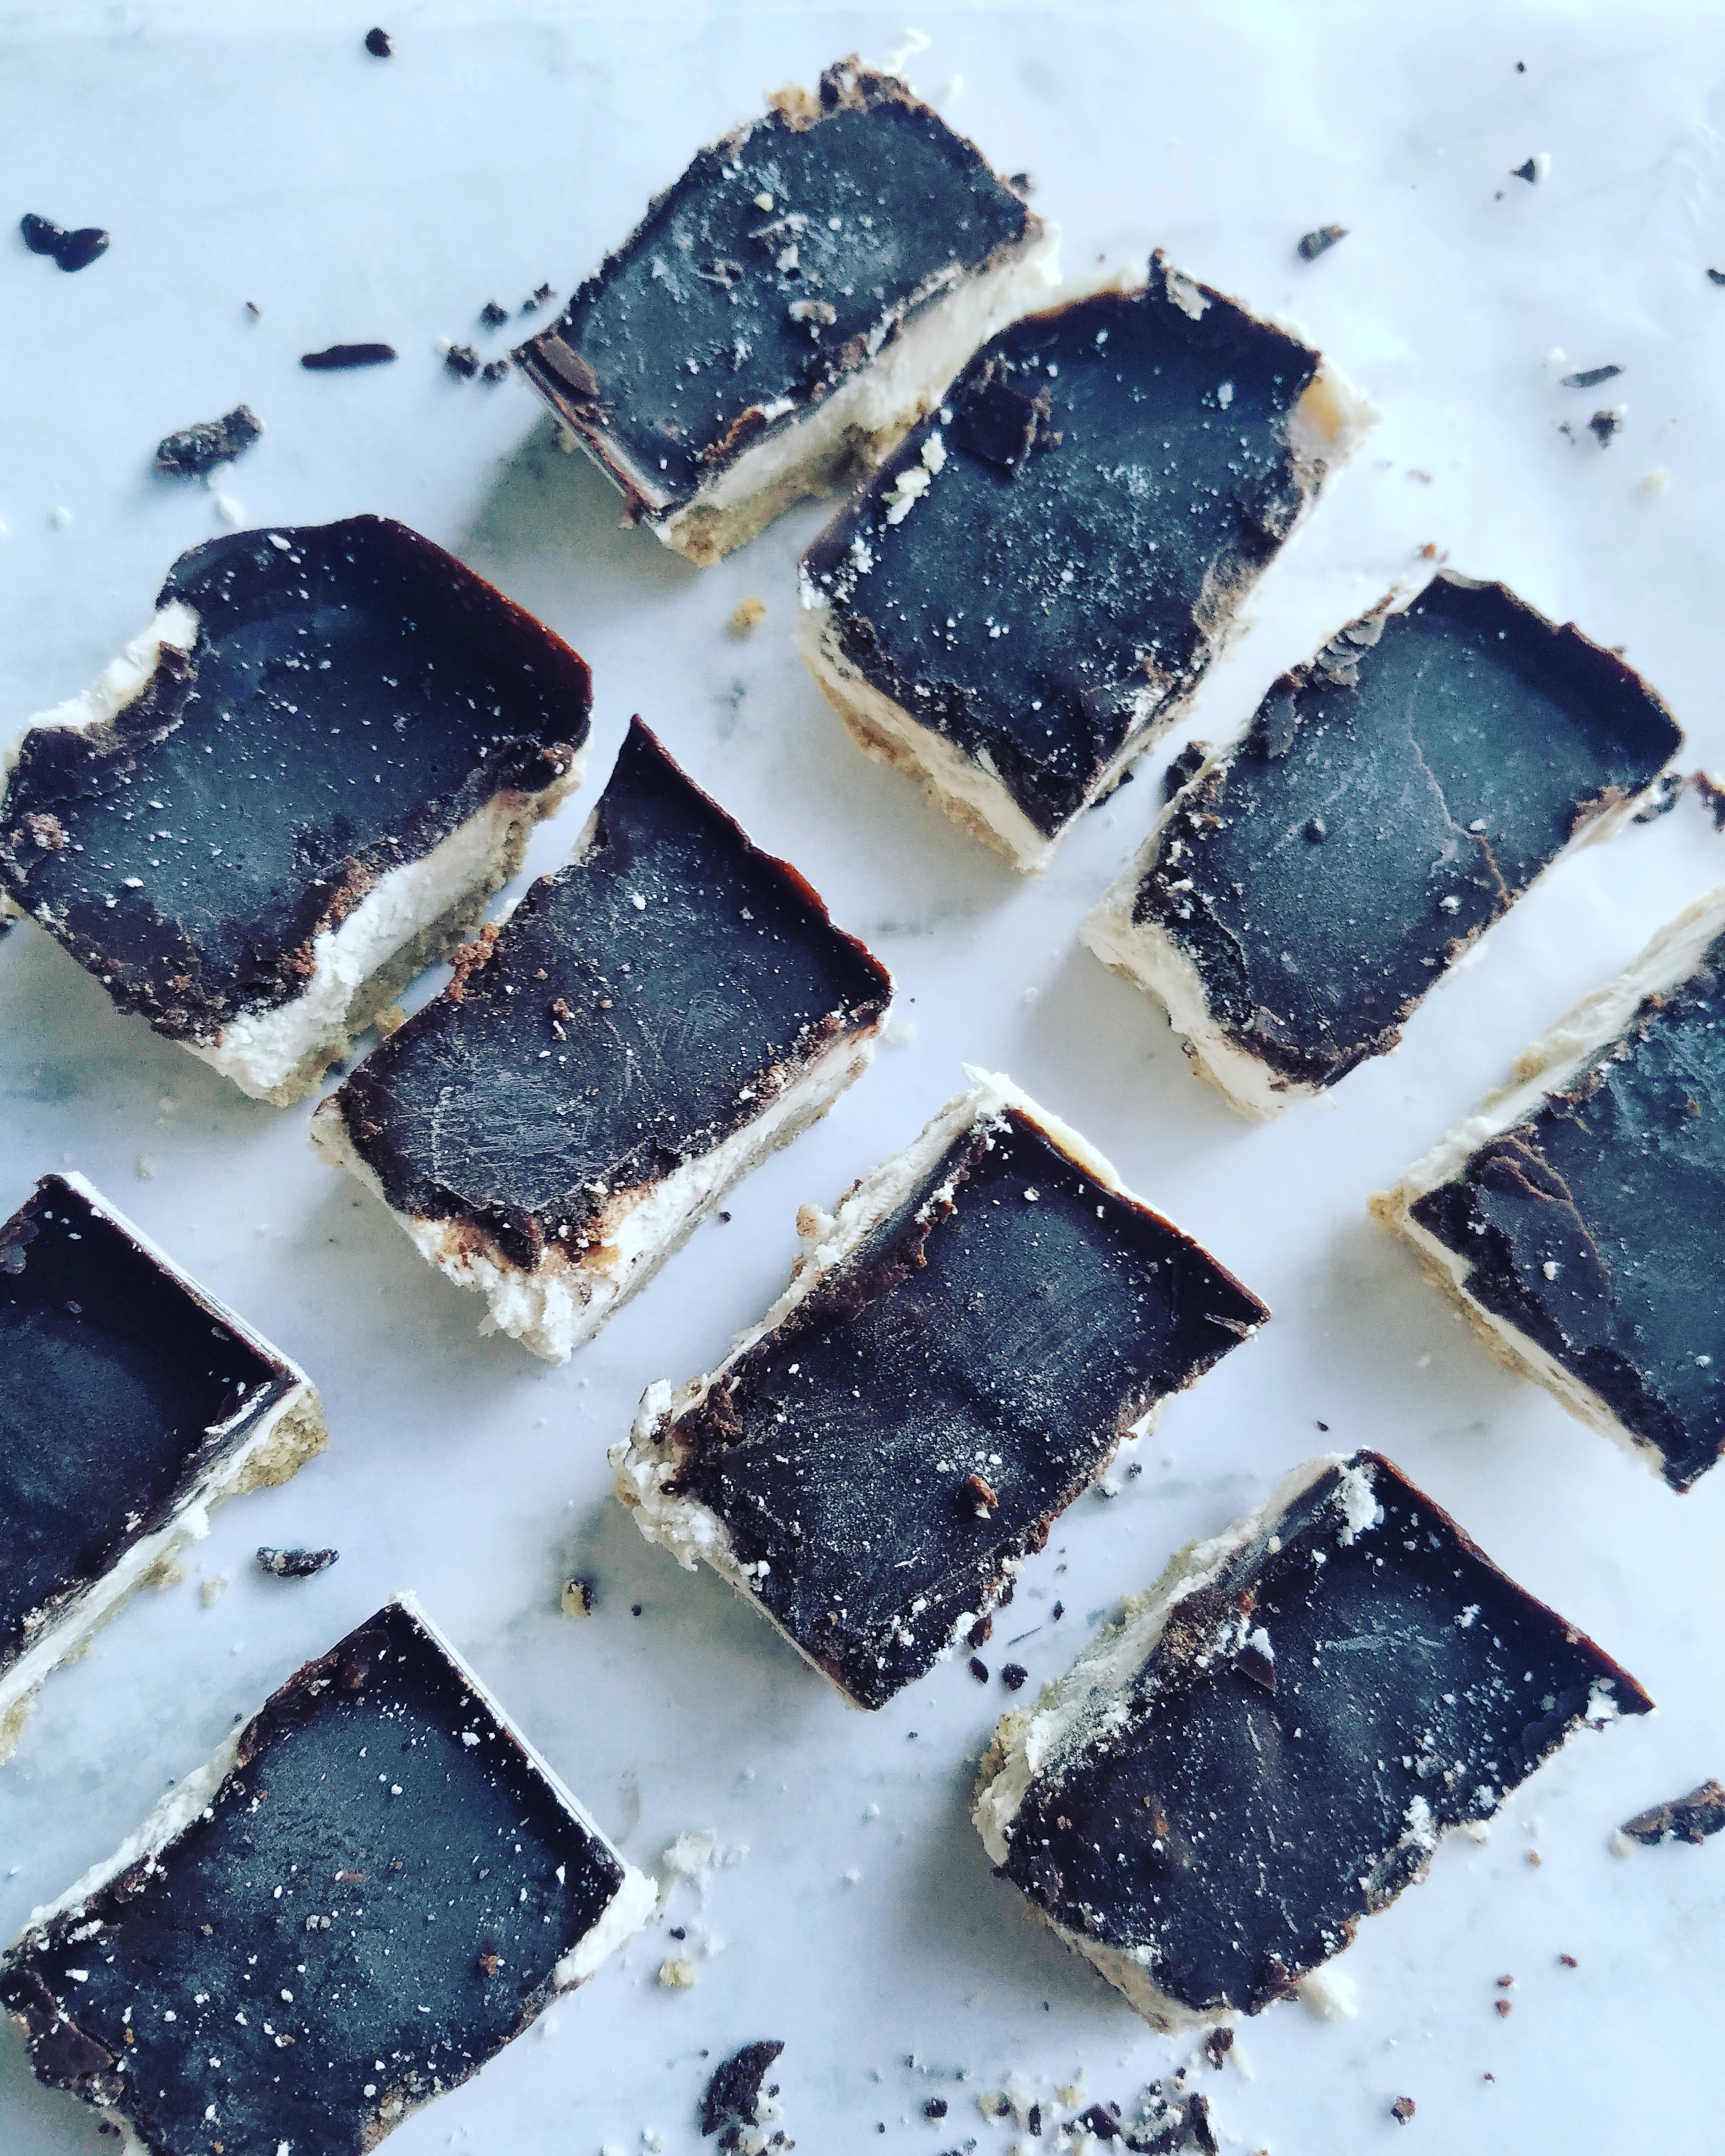
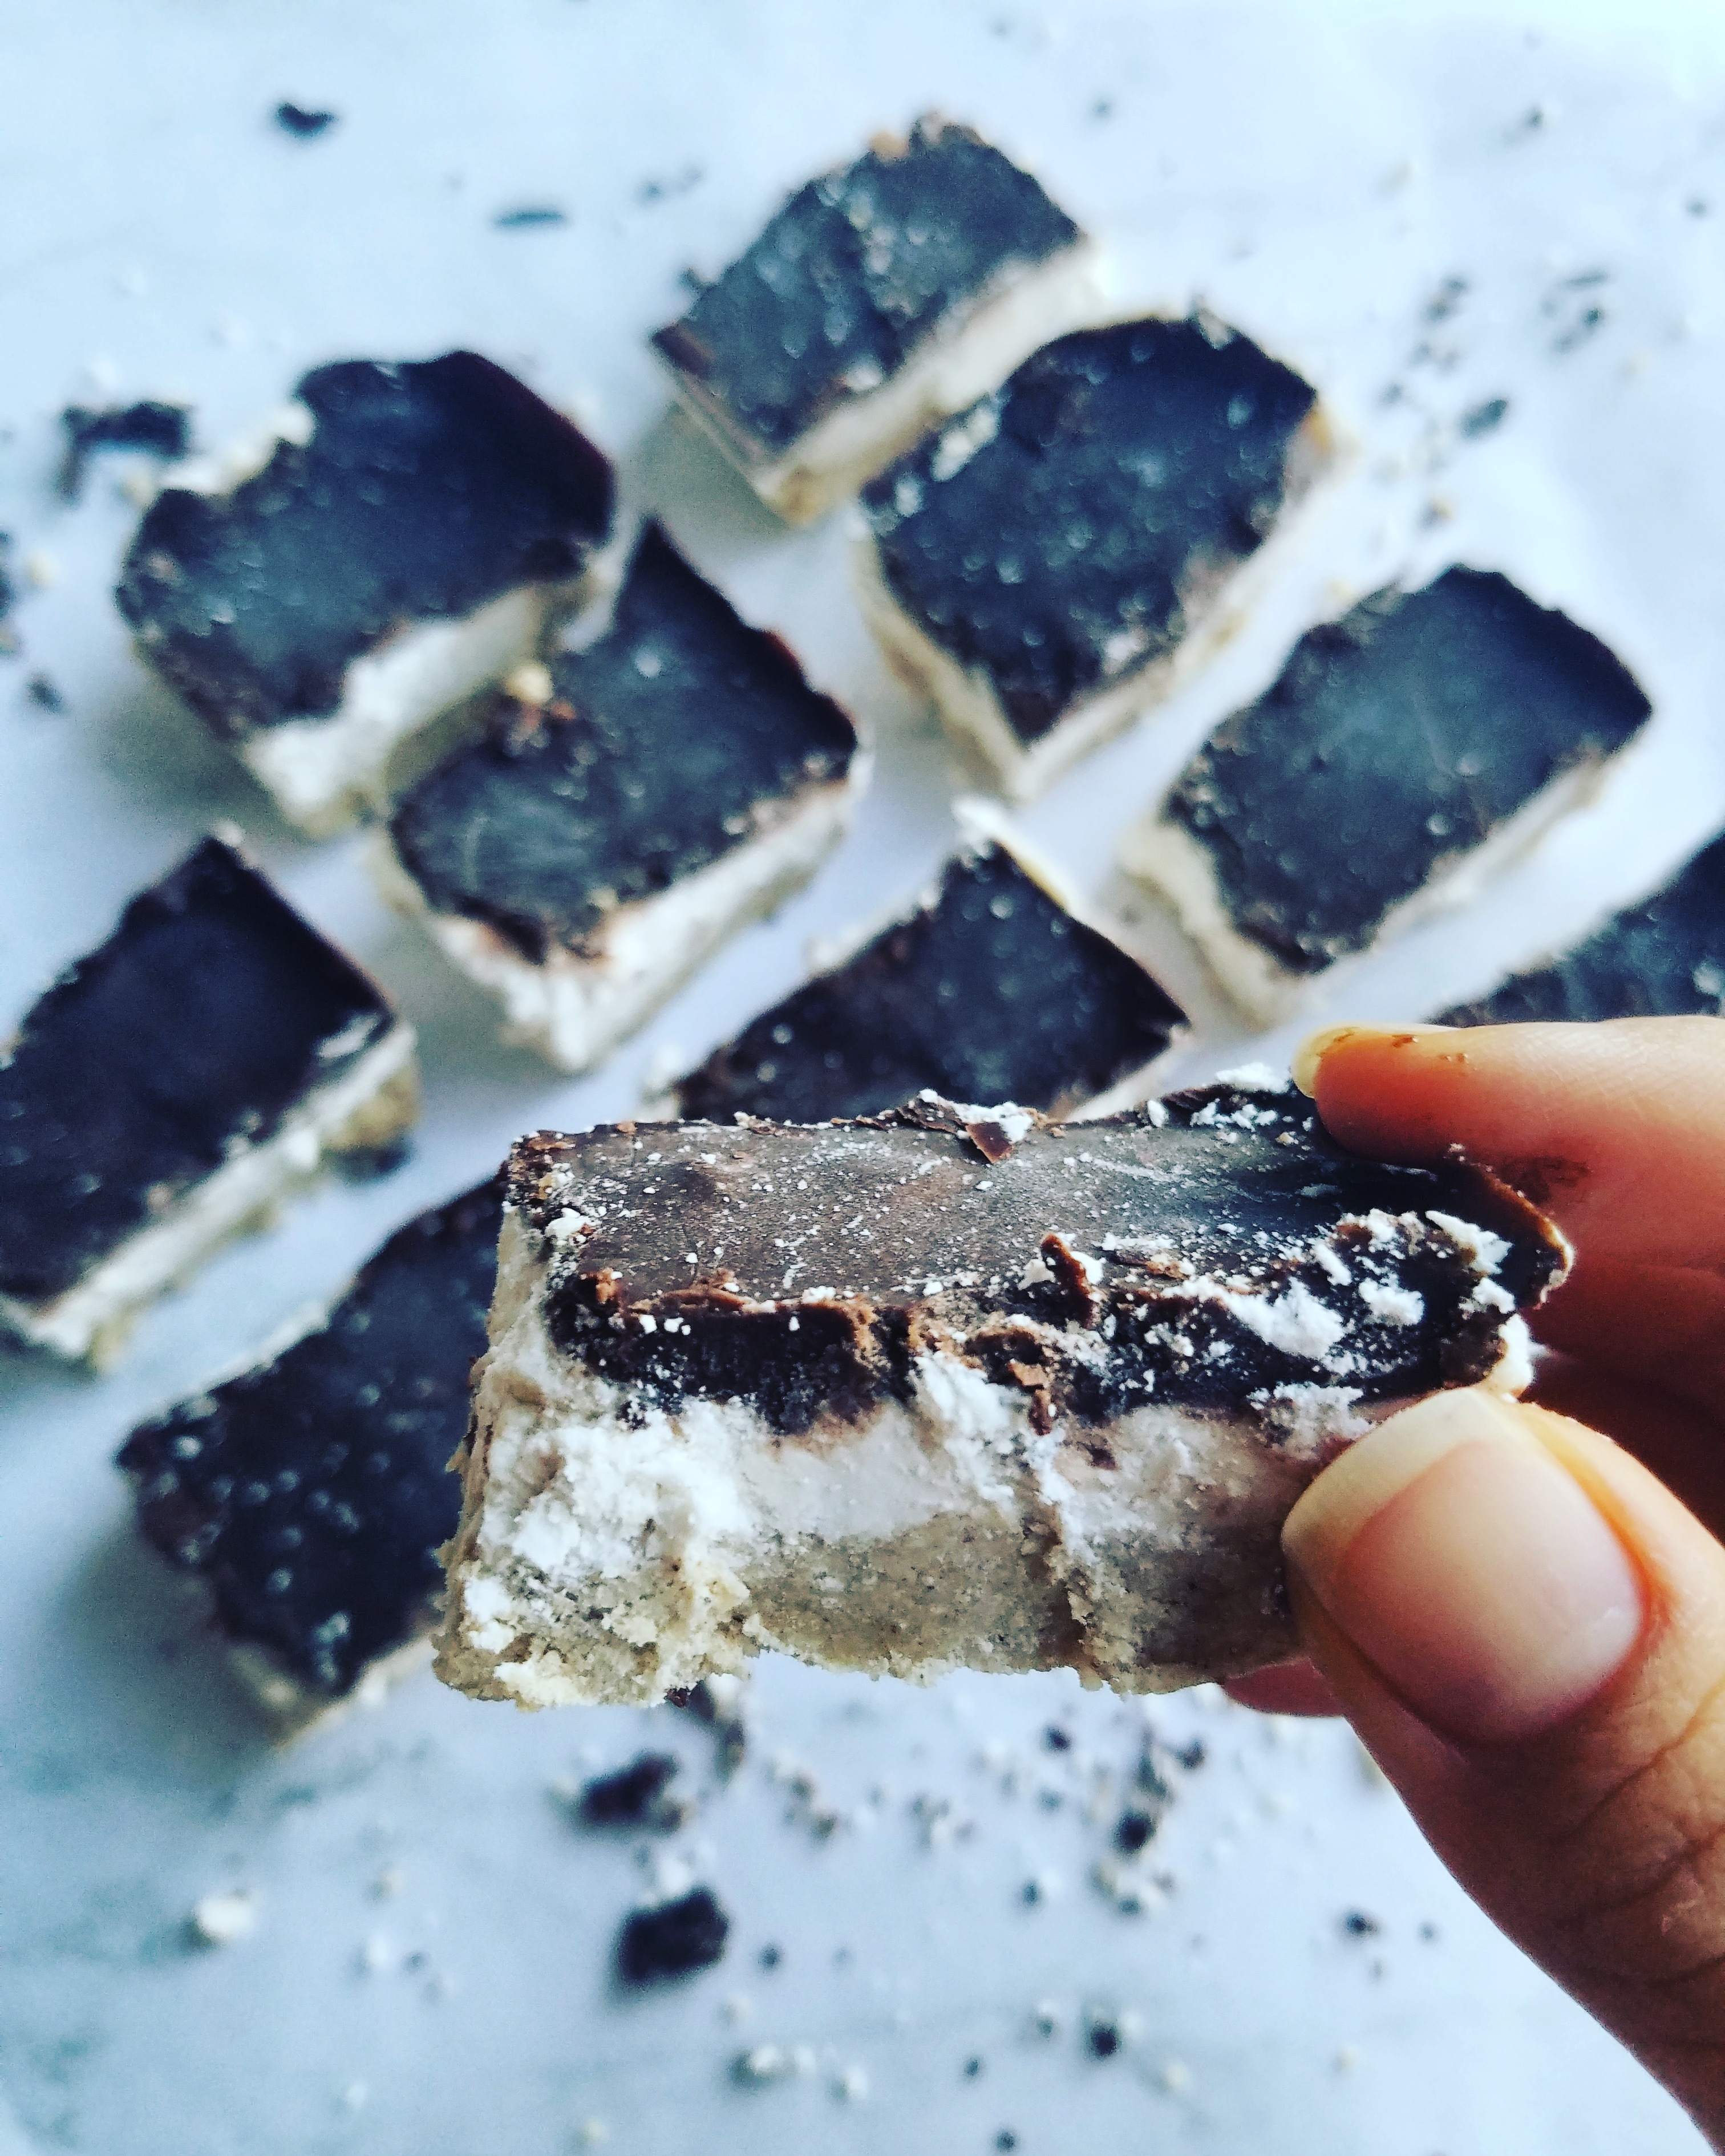
Lastly, I recommend freezing the bars for at least 3 hours before cutting into them. The Frozen Almond Joy Layer Bars can then be stored in an airtight container in the fridge or freezer.
3.5.3251
They are just the ticket when I’m craving a fresh treat that won’t mess with my blood sugar! Healthy fats from coconut butter + chocolate is simply the best combo! Let me know if you guys try these bars out.
Ever since I tried Nutrition Stripped’s Banana Maple Granola I have dreamed of recreating a chocolate or cocoa-infused version. Of course, you all know how I like my chocolate! (i.e. Creamy Peanut Butter Chocolate Crisp Bars and Chocolate Cinnamon Breakfast Shake) Typically, store-bought granola uses a lot of oil or a lot of liquid sweetener. In this case, banana serves to coat the granola and add some flavor while keeping the granola low in added oils and sugar!
I’m curious, how do you all enjoy granola? At breakfast time, I love adding granola to the top of my smoothies or parfaits for a delicious crunch. Also, if you haven’t tried using homemade granola as a cereal then you must! Store it in a container in the freezer for when the granola craving hits! Then, simply pour it into a bowl with milk and enjoy! It makes for quite a filling meal!
Disclaimer: I call this granola cocoa granola and not chocolate granola for a reason.
Personally, I like the light cocoa flavor without the sugar. Instead of sugar I use caramelized bananas to provided sweetness. If desired, you can still make the granola a bit sweeter like chocolate with the addition of some coconut sugar. See the recipe for amounts. Lastly, I know the recipe calls for many ingredients but granola is flexible. For a variation, you could swap in more oats, nuts, seeds, or quinoa for any ingredient you may not have enough of. Plus, the recipe can be cut in half and still bake up in the same amount of time. 👊
I’VE GOT YOU COVERED 😉
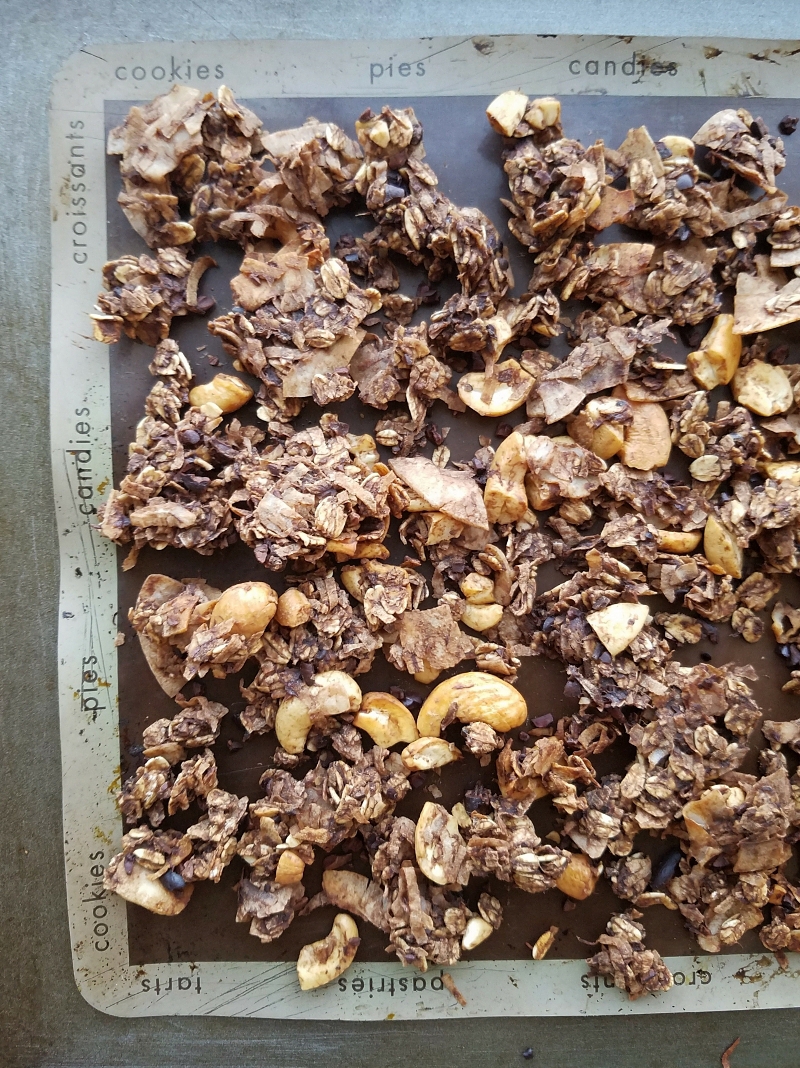
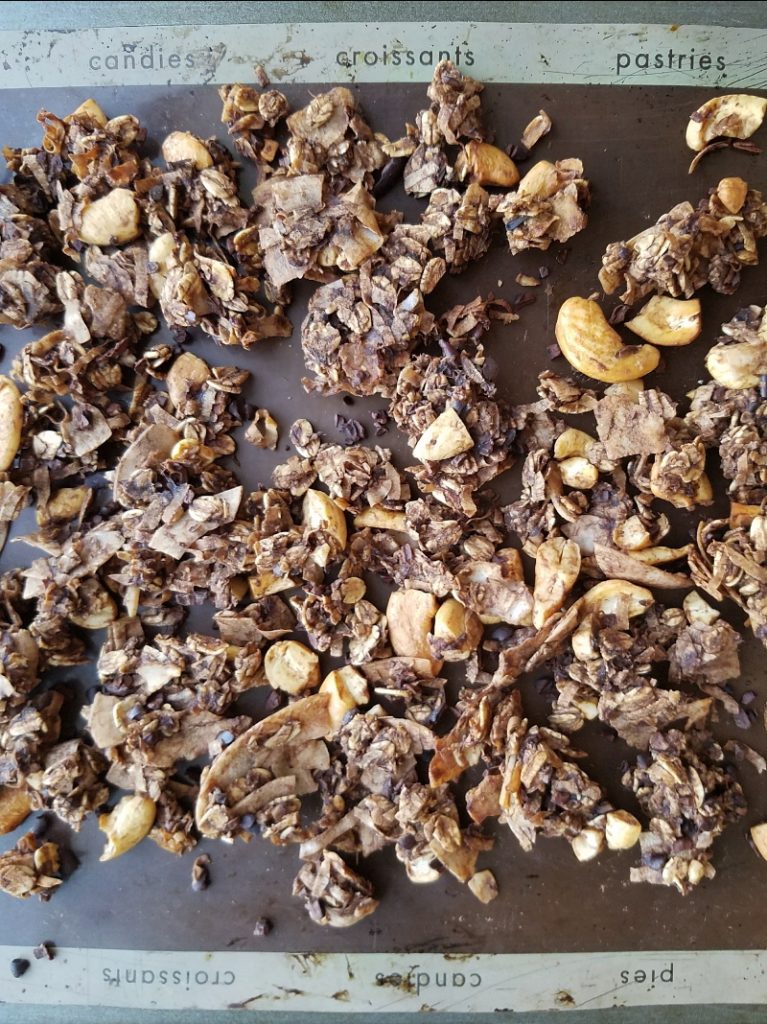
Cocoa Coconut Rustic Granola
Recipe Type: Breakfast, Snack
Author: Melanie
Prep time:
Cook time:
Total time:
Serves: ~3 1/2 cups granola
This granola is a texture-lover’s dream! It has oats and coconut and nuts. Caramelized bananas help make this granola a low-sugar and low-fat treat.
Ingredients
2 medium-large ripe bananas*
1 tbsp coconut oil
1 ½ tsp vanilla extract
½ tsp cinnamon
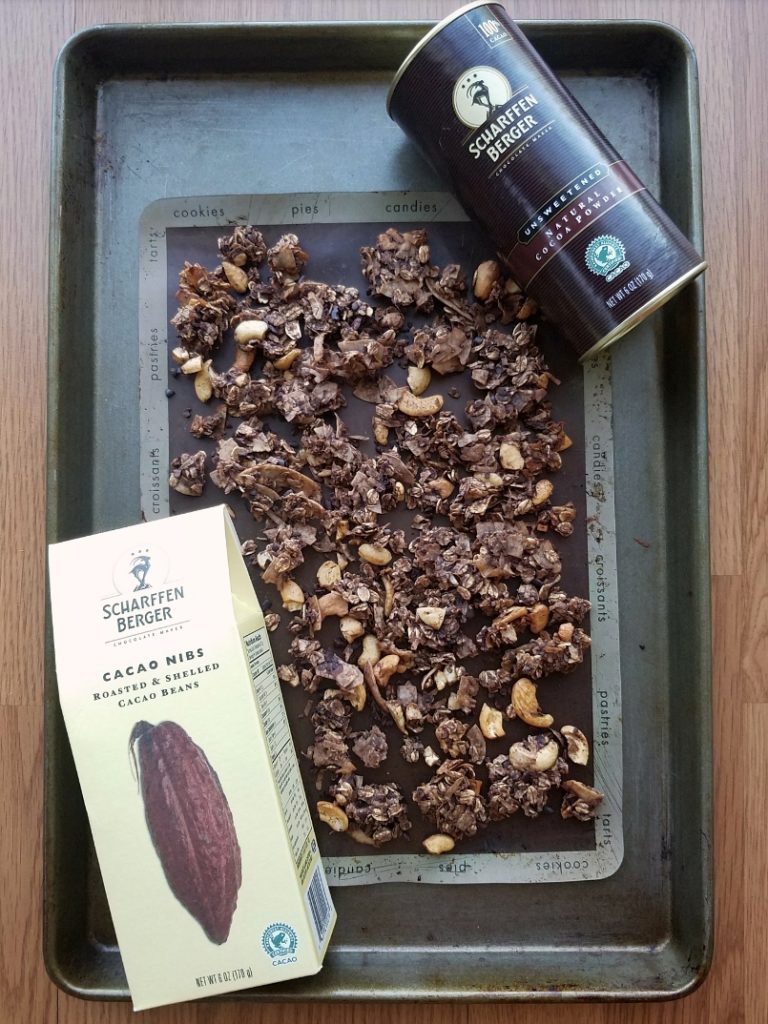
2 tbsp unsweetened cocoa or cacao powder
1-2 tbsp coconut sugar, optional**
¼ tsp fine sea salt
2 tbsp unsweetened cacao nibs
1 cup old fashioned rolled oats
1/2 cup unsweetened coconut flakes
1/2 cup unsweetened coconut chips
1 cup nuts/seeds of choice (cashews. almonds, or pepitas would be great!)
Instructions
First, preheat the oven to 375 degrees Fahrenheit. Spread out banana halves onto a lined baking sheet and roast for 15 minutes. I know, it’s an extra step, but this helps caramelize the bananas to bring out sweetness. From here, you may proceed with the recipe.
Remove the bananas from the oven after they appear to be soft and caramelized. Then, turn the temperature down to 300 degrees Fahrenheit. (Tip: keep the oven door open to let out some of the heat)
In a bowl, mash up the bananas until no clumps remain (I had about 3/4 cup worth of mashed banana). Next, add in the oil, vanilla, cinnamon, cocoa powder, salt, and sugar, if using.
Now, dump in all of the oats, nuts, coconut, and cacao nibs. Mix well.
Spread mixture out on a lined baking sheet or a lightly greased baking sheet.
Bake for 25-30 minutes or until no soft pieces of granola remain. If desired, stir the granola halfway through baking to break apart clumps.
Notes
*You really need ripe bananas for this recipe. I used very spotted, not black, bananas. Bananas are at their peak sweetness when they are very spotted. Black bananas, on the other hand, have an earthy taste to them. They could work but the end result of the granola may not be as sweet.[br]**My taste buds are pretty content with lightly-sweetened food. Go ahead and taste the granola before putting it in the oven and see if it works for you—add in the coconut sugar if you want some sweetness.
3.5.3226
Additional notes: The photos show a half batch of the granola because I went through several baking trials and ran low on some ingredients x)
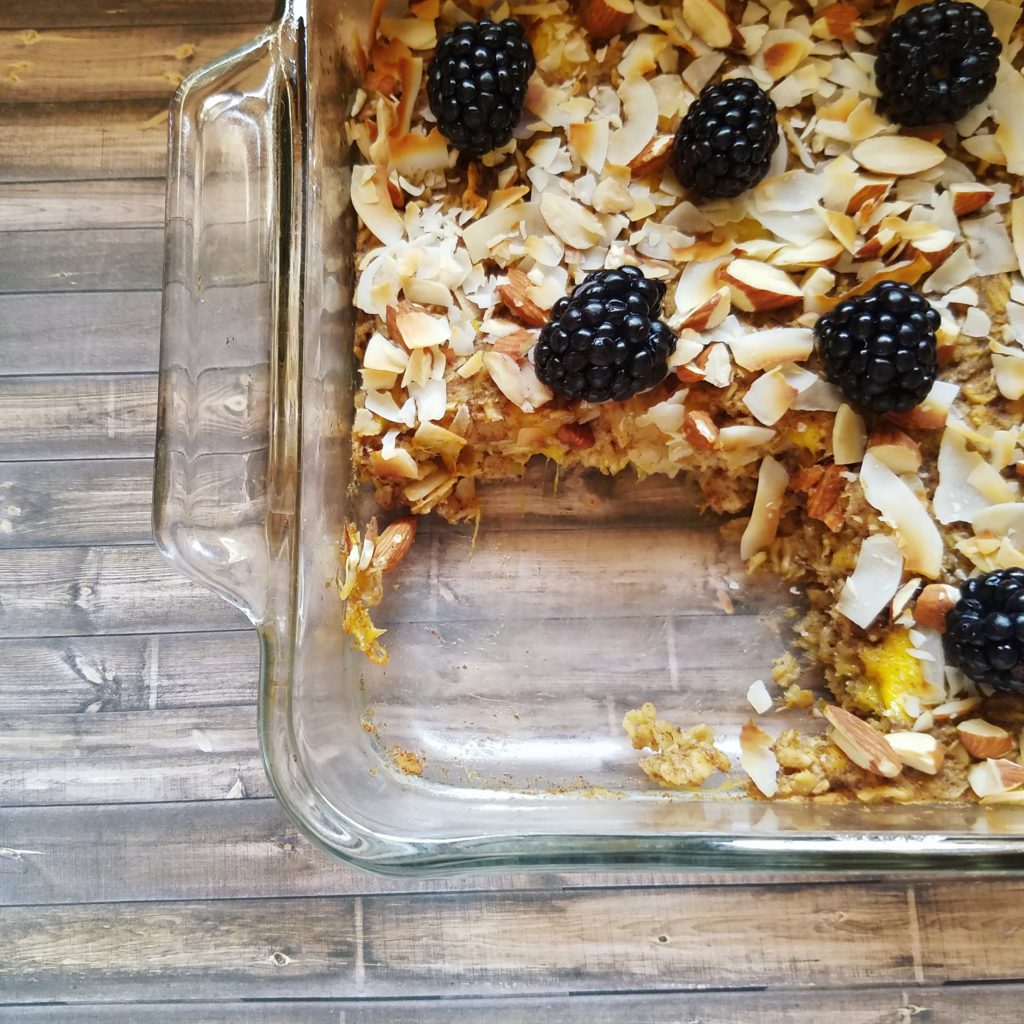
You all know I enjoy cooking, but I can also appreciate the savior that is meal-prepping. It makes a difference to batch-cook entrees or staples items to have easy to assemble meals throughout the week. I thought lunch, dinner, and snacks were the only thing worth prepping until today. This past weekend I whipped up a Mango Blackberry Coconut Oatmeal Bake for my family breakfast and got to ride the wave of leftovers for two days. And let me tell ya…
Oatmeal bakes are highly underrated.
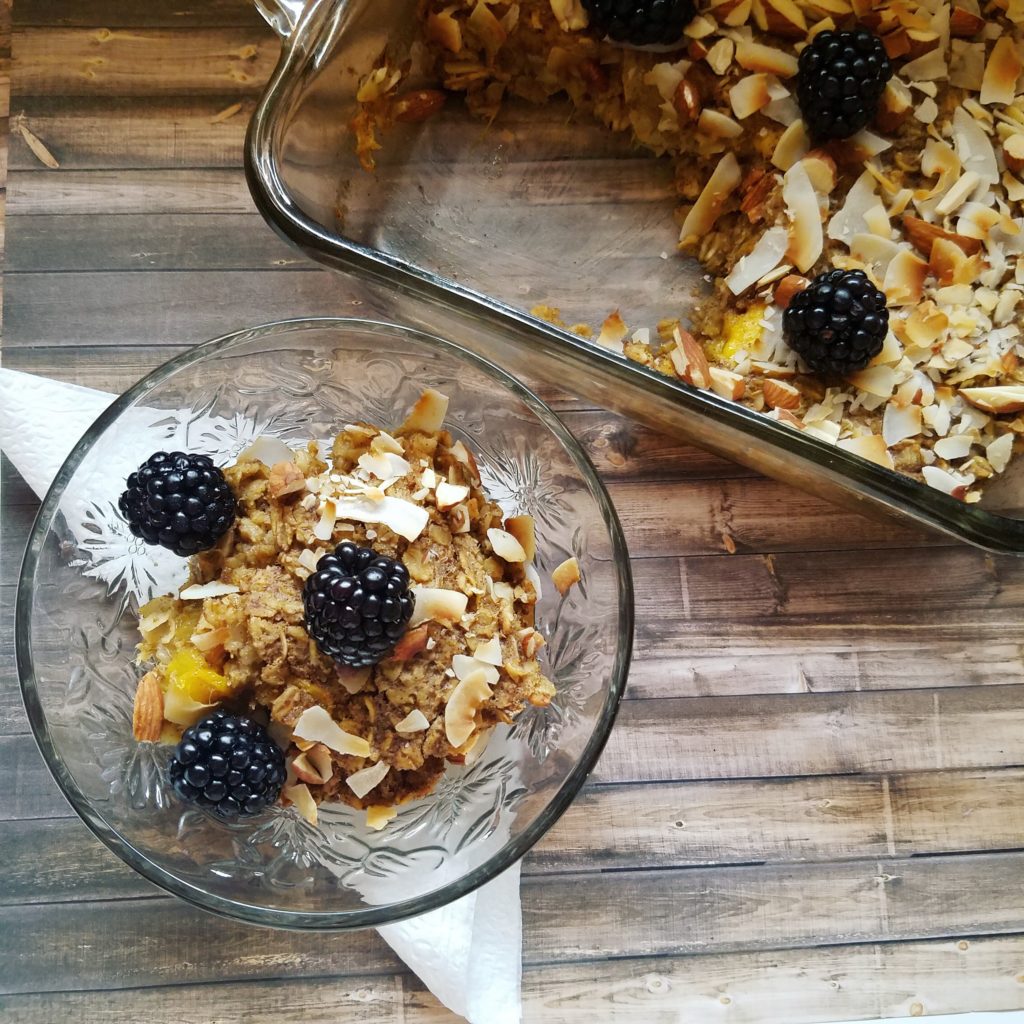
Not only is the one-dish meal convenient for feeding a crowd but it keeps really well, too! It tastes amazing on Day 1 but then something magical happens when the leftovers go into your fridge. The texture gets better and the flavors meld together even more (similar to the way banana bread gets better the day after you bake it)! Leftovers keep well for up to 5 days in the fridge. You can eat it cold, if you prefer, but I like to reheat a portion in the microwave for a minute, then add it to a cast-iron skillet greased with coconut oil so the bottom gets crispy. 😉 Oooh yeaaah.
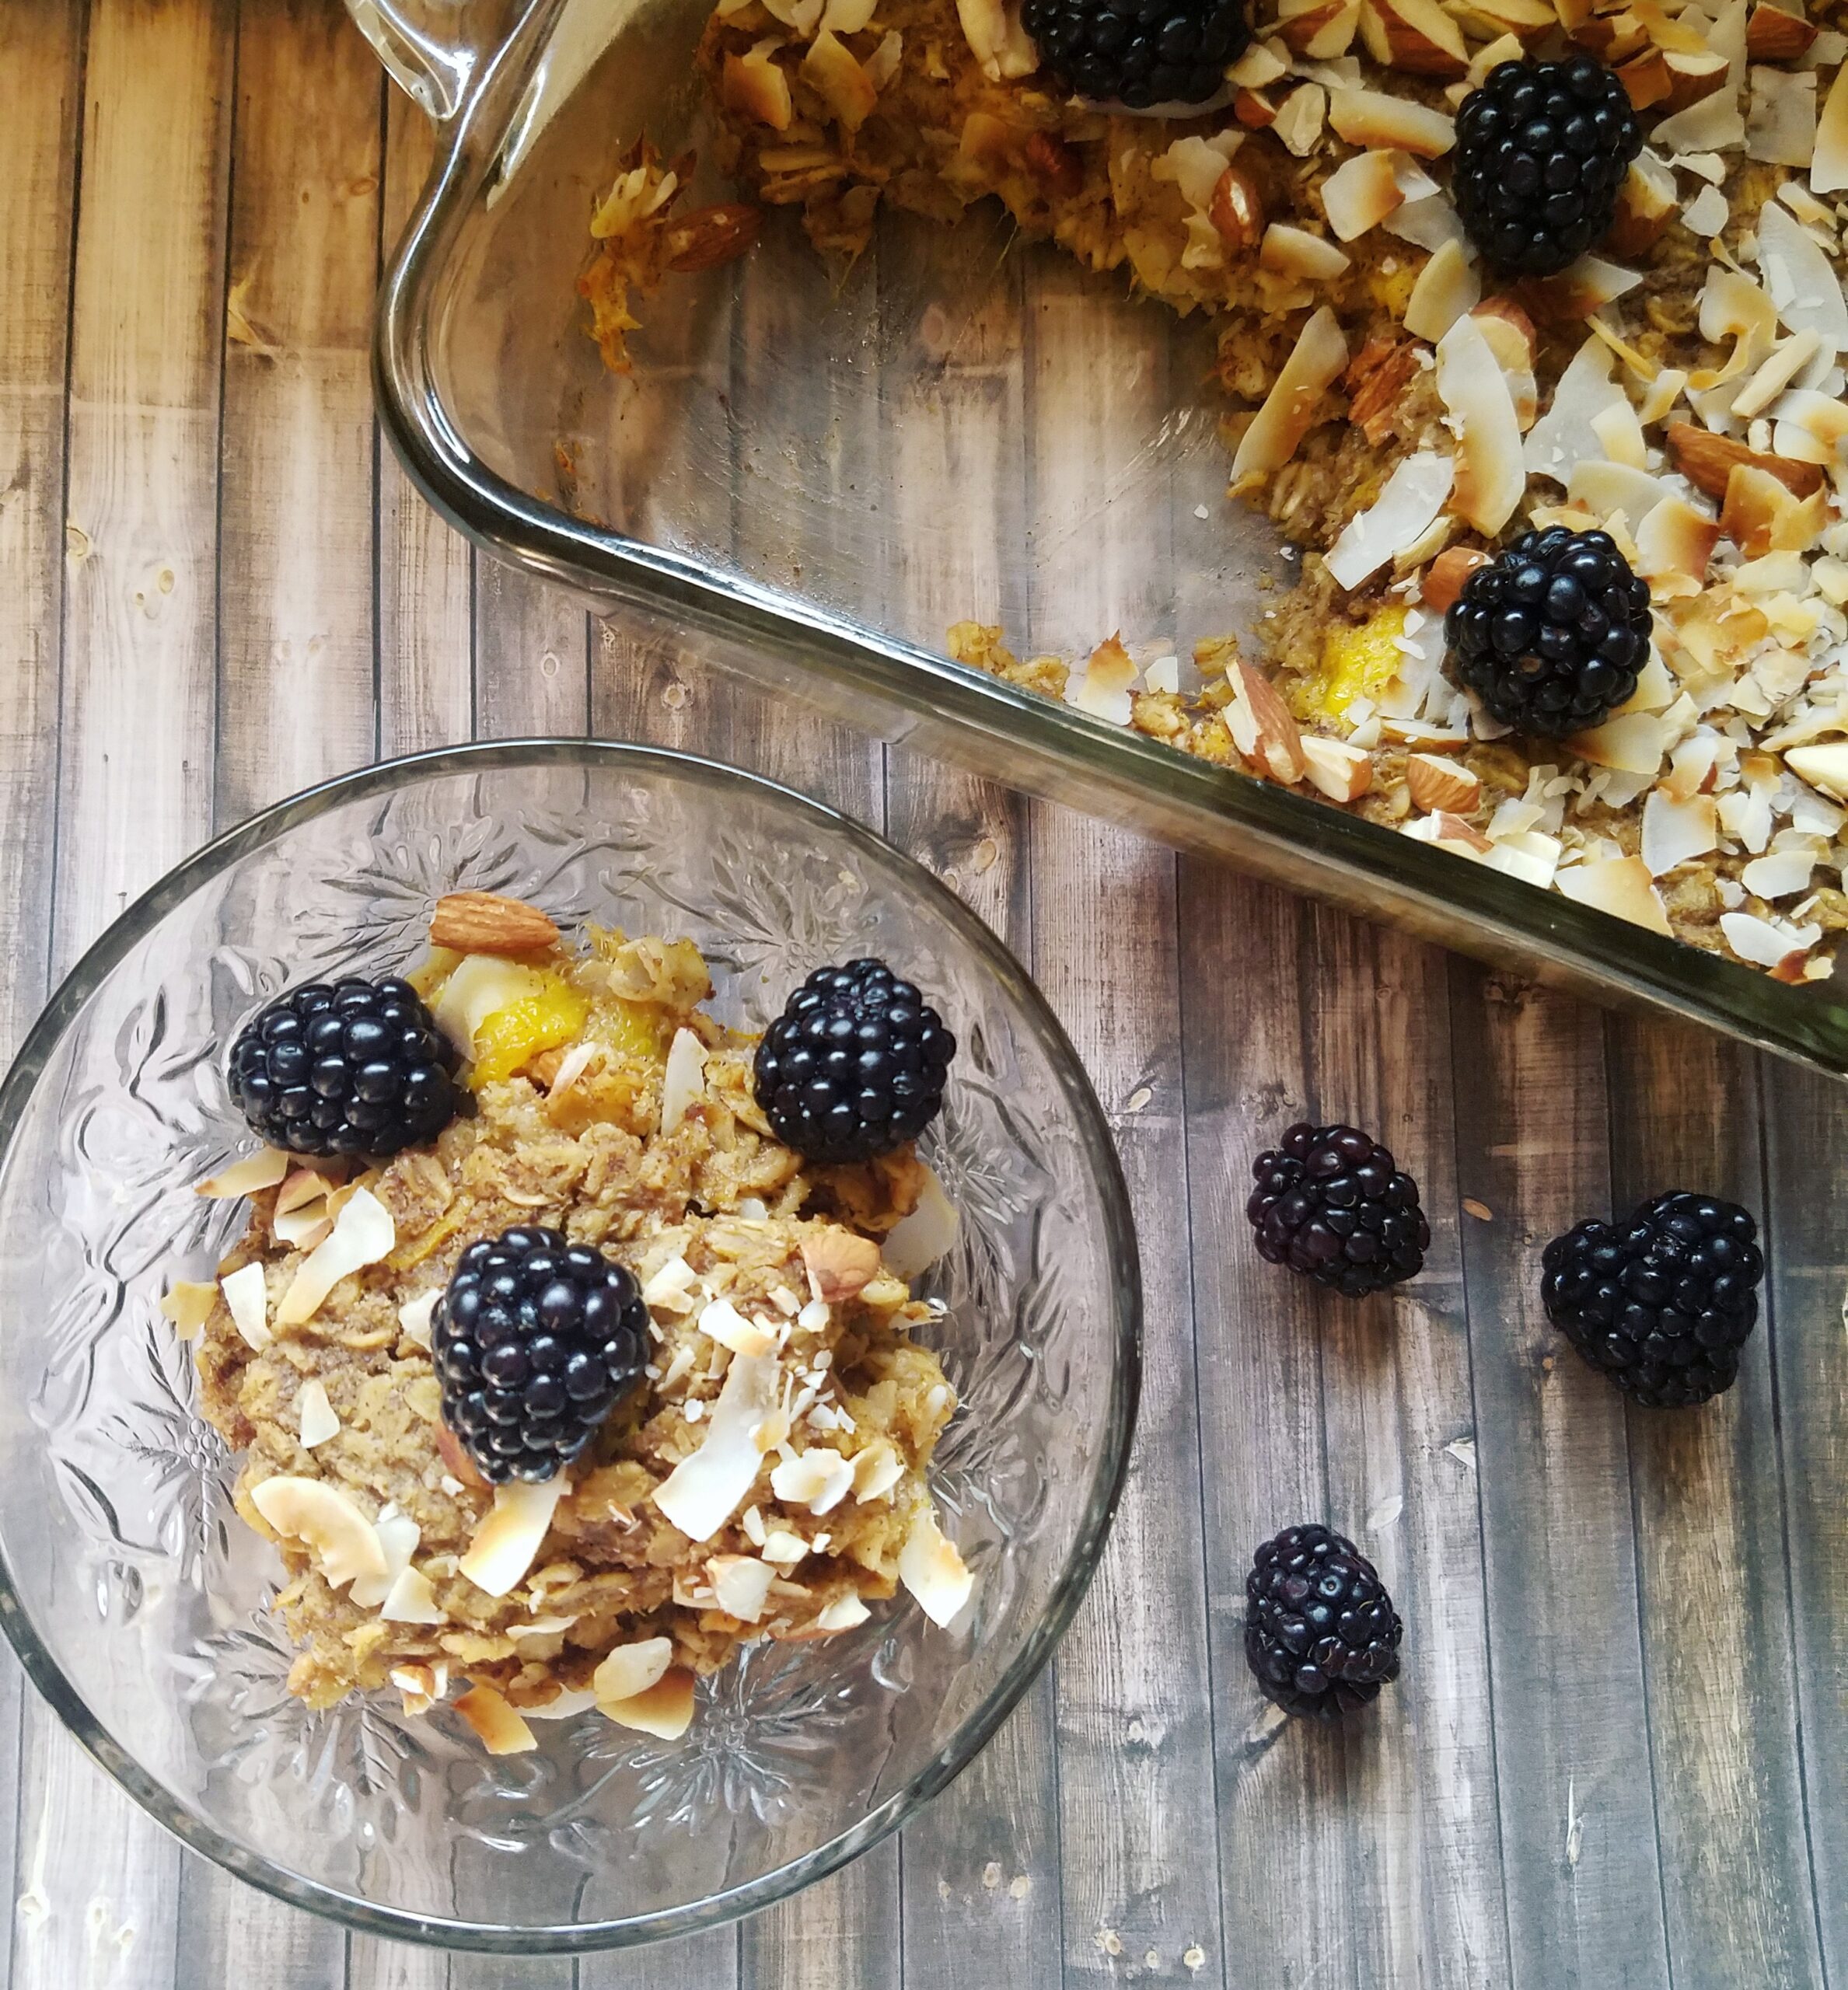
Plus, if I haven’t already convinced you, baked oatmeal is versatile and a great way to use up lots of fruit. My inspiration for baked oatmeal actually comes as an adaptation of a Love and Lemons recipe for Blueberry Coconut Baked Oatmeal. Her recipe is splendid but this tropical version with mango and plump juicy blackberries is so perfect for summer! 😀
This bake can be assembled ahead of time or simply the day you want to serve it.
Also, don’t be put off by the long list of ingredients. You likely have most of them on hand already and, if not, sub in what you do have! I like making the oatmeal mixture the night before so that way all I need to do is slip it into the oven in the morning. EASY. The oatmeal could also be assembled and baked straight away if that’s more your thing. My instructions are for the latter option but do what works for you.
If you like oatmeal, also be sure to check out my single-serving
Who’s making this for weekend brunch? 🙋 Drop me a comment or tag me on Instagram if you do!
Mango Blackberry Coconut Baked Oatmeal
Recipe Type: Breakfast, Brunch
Cuisine: American
Author: Melanie
Prep time:
Cook time:
Total time:
Serves: 6 servings
Ingredients
2 tablespoons ground flaxseed + 6 tablespoons warm water
¾ cup water or almond milk
2 tablespoons melted coconut oil
¼ cup brown sugar or coconut sugar
1 teaspoon baking powder
1 teaspoon cinnamon
¾ teaspoon sea salt
¾ tsp vanilla extract
½ tsp coconut extract (optional)
2 cups whole rolled oats
½ cup chopped or slivered almonds (save half for topping)
⅔ cup coconut flakes (save half for topping)
1 cup packed diced mango (from about 2 large mangoes)
½ – 1 cup blackberries (mixed in or as topping)
Instructions
Preheat the oven to 350°F and grease an 8×8-inch (or 9×11) baking dish with coconut oil or use cooking spray.
In a small bowl, combine the flaxseed and warm water and set aside to thicken for about 5 minutes.
Then, combine the water OR almond milk, coconut oil, and brown sugar and whisk to combine.
Next, add in the baking powder, cinnamon, salt, and extracts. Stir in the rolled oats and HALF of the almonds and coconut flakes.
Mix in the mango (and blackberries, if desired. I like to serve them fresh, as shown in the photo) before pouring the mixture into a baking dish. Cover the top with reserved coconut flakes and chopped almonds, lightly pressing the toppings into the oatmeal.
Bake for 40-50 minutes or until the top is crisp and golden. If the coconut flakes have browned then definitely remove the bake from the oven.
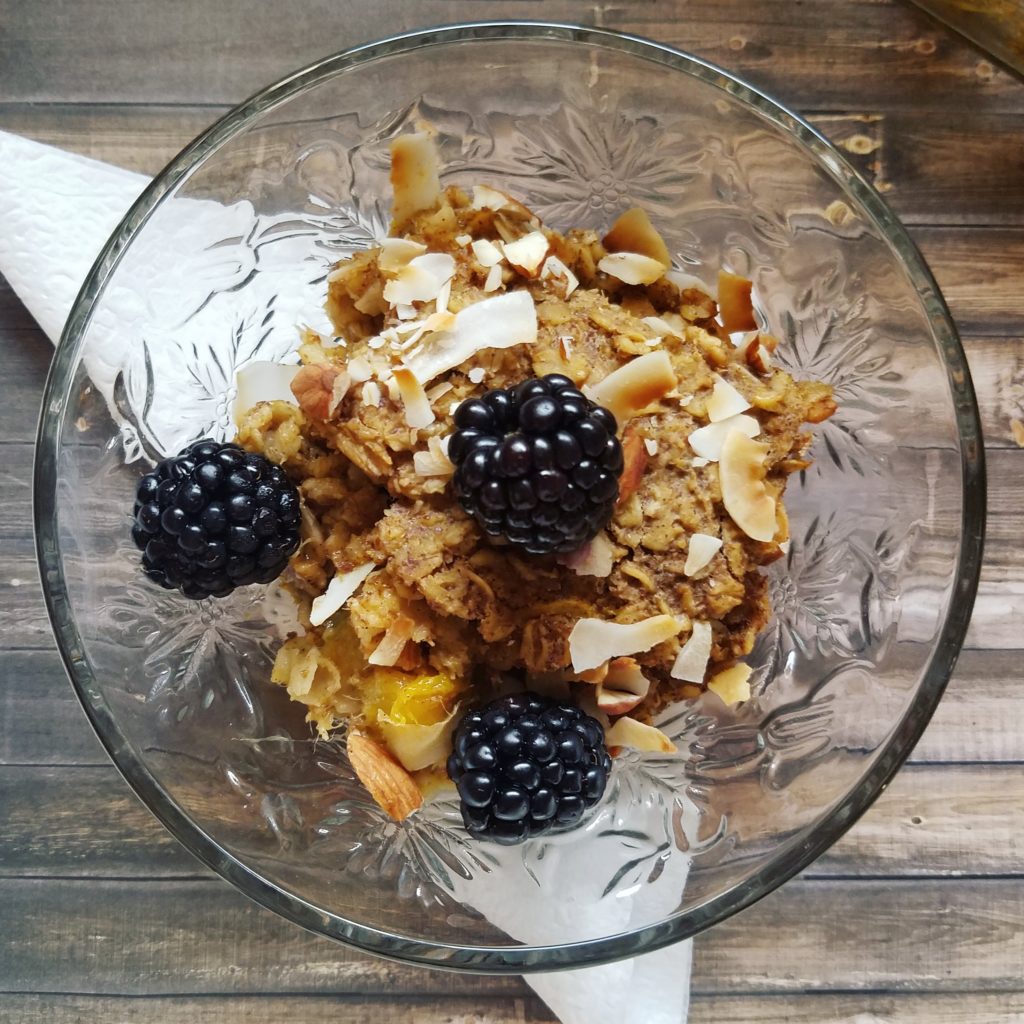
Lastly, let the oatmeal cool for 10 minutes before slicing and serving. Top with as many fresh blackberries as your heart desires!
Notes
You can substitute whatever fruit you like. I find that 1-1 ½ cups of fruit is ideal. The bake is only lightly sweetened but you can add in an extra ¼ cup of either sugar if your fruit isn’t very sweet or if you just prefer sweeter food.
Many times, the ideas for the things I make are inspired by the food I buy or taste elsewhere. Almost anything can be made at home for less and today’s snack bars are super easy, too!
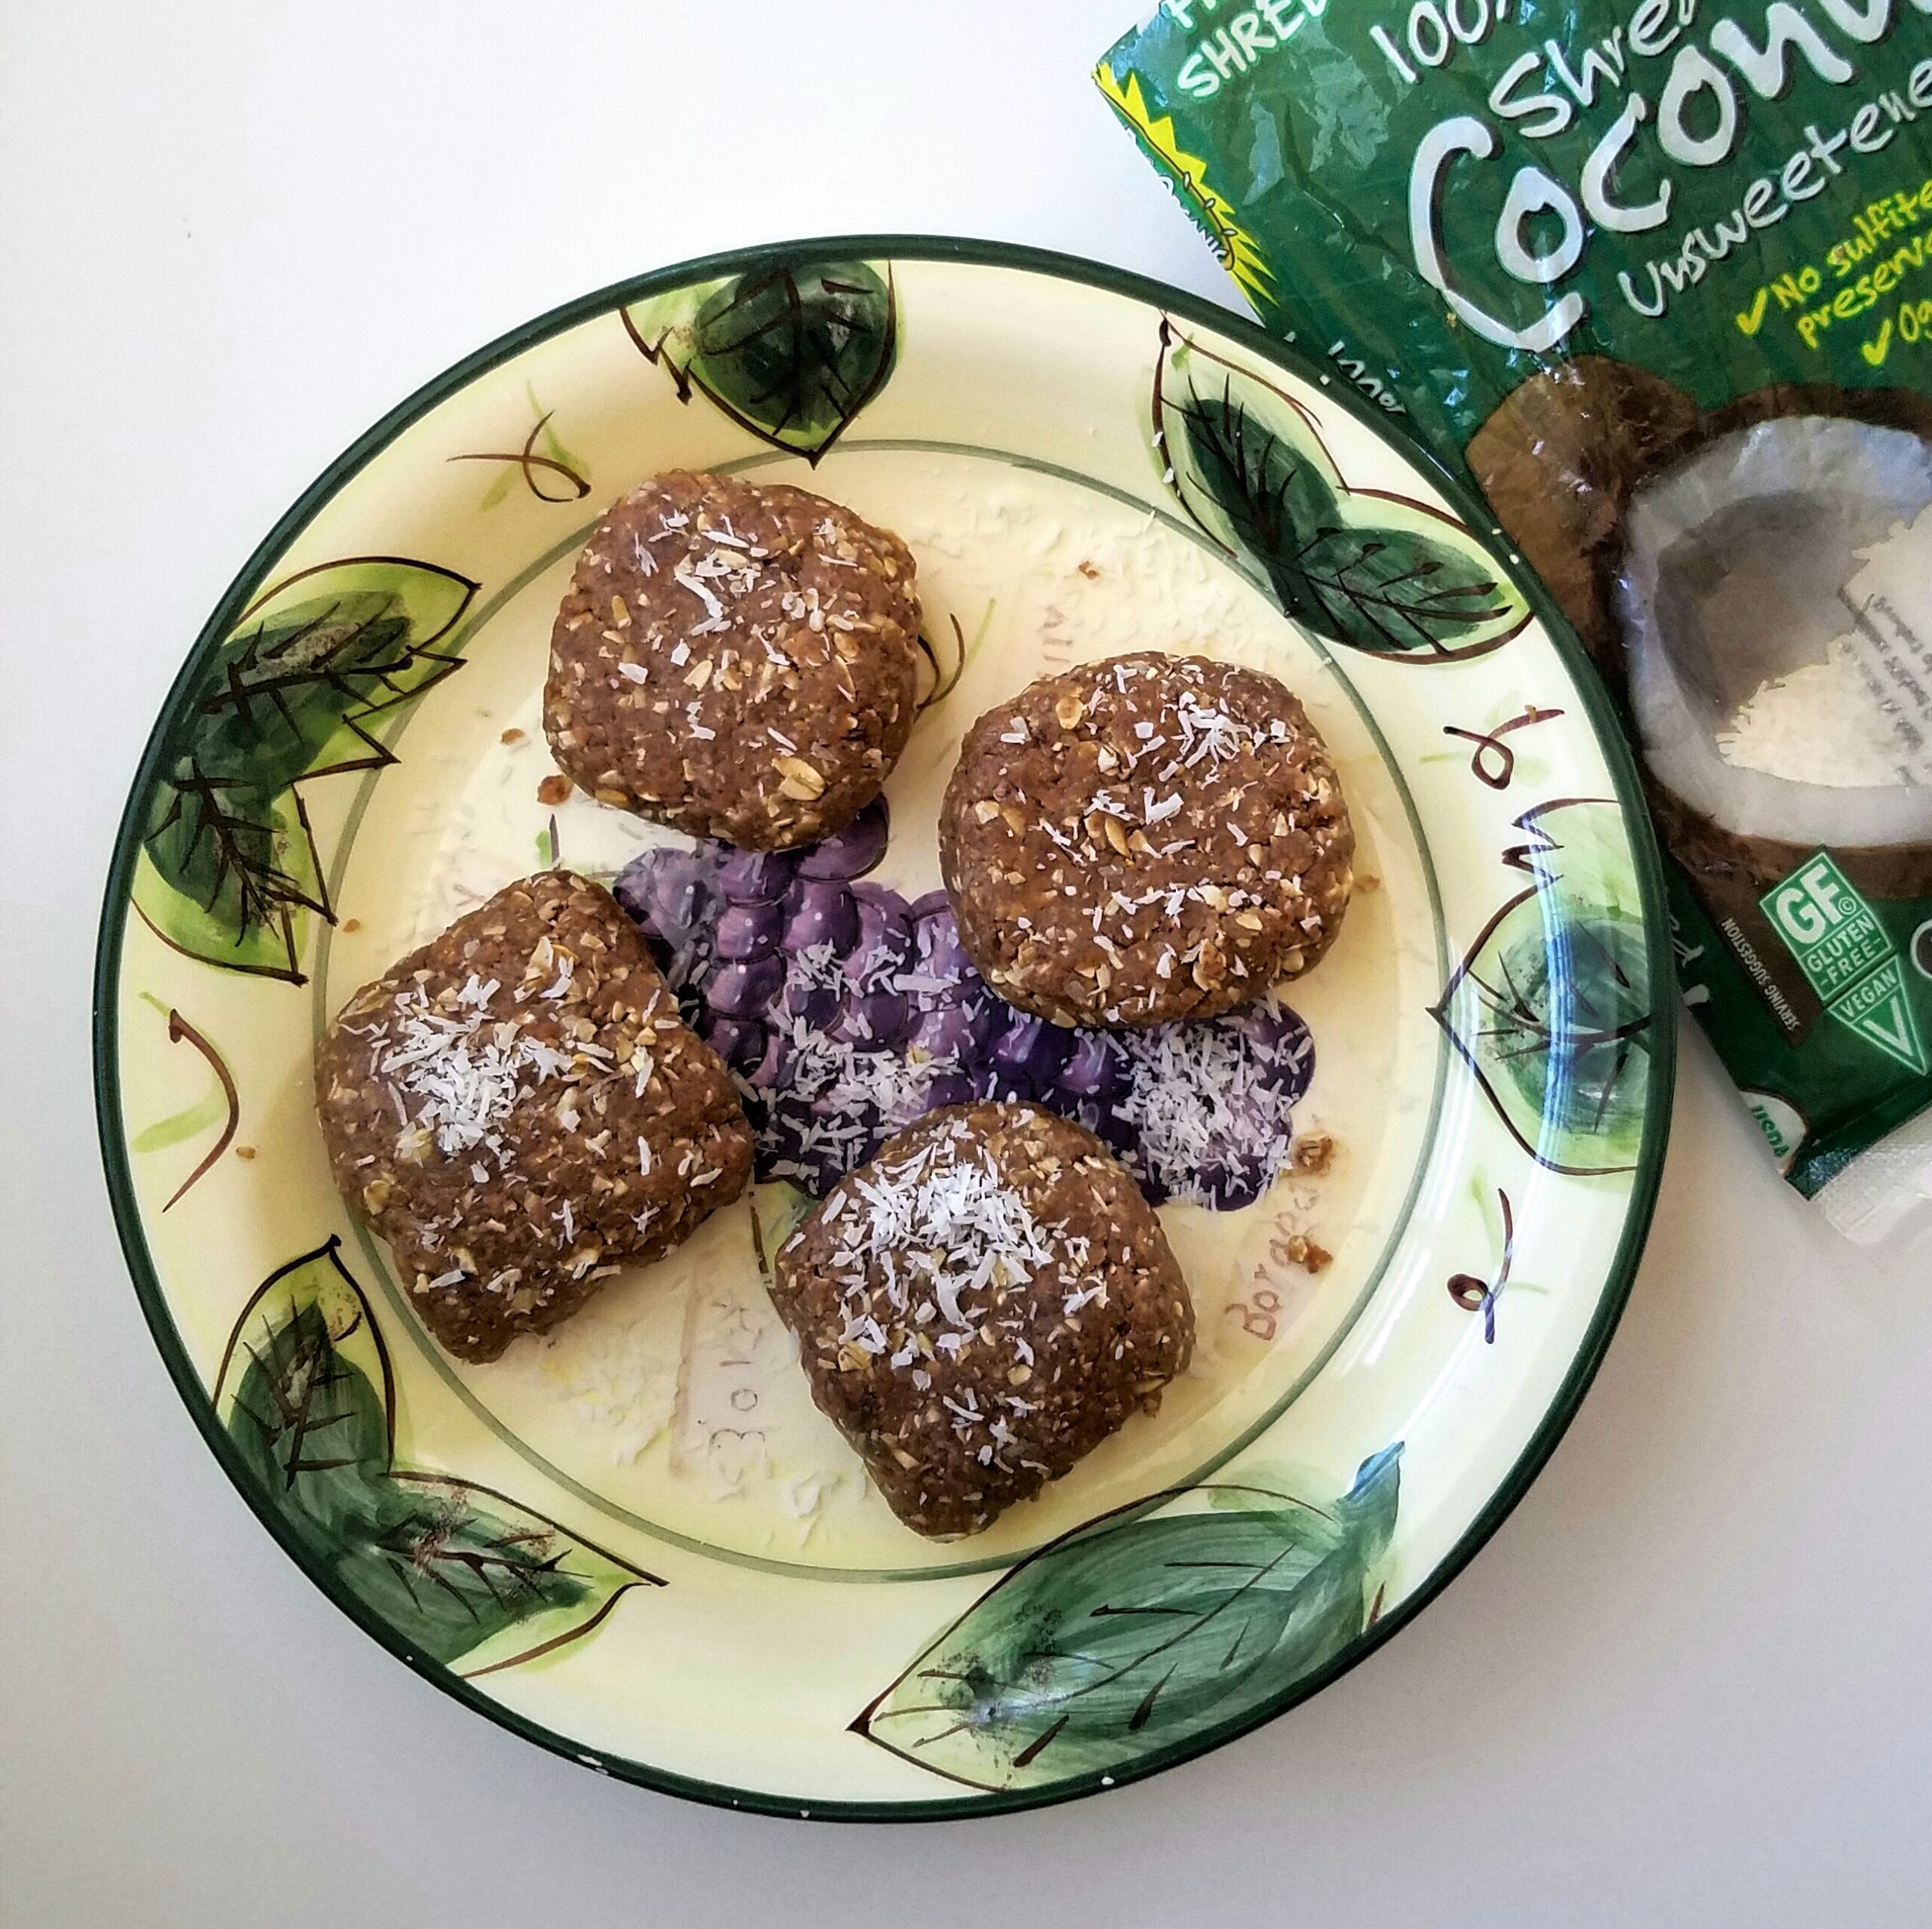
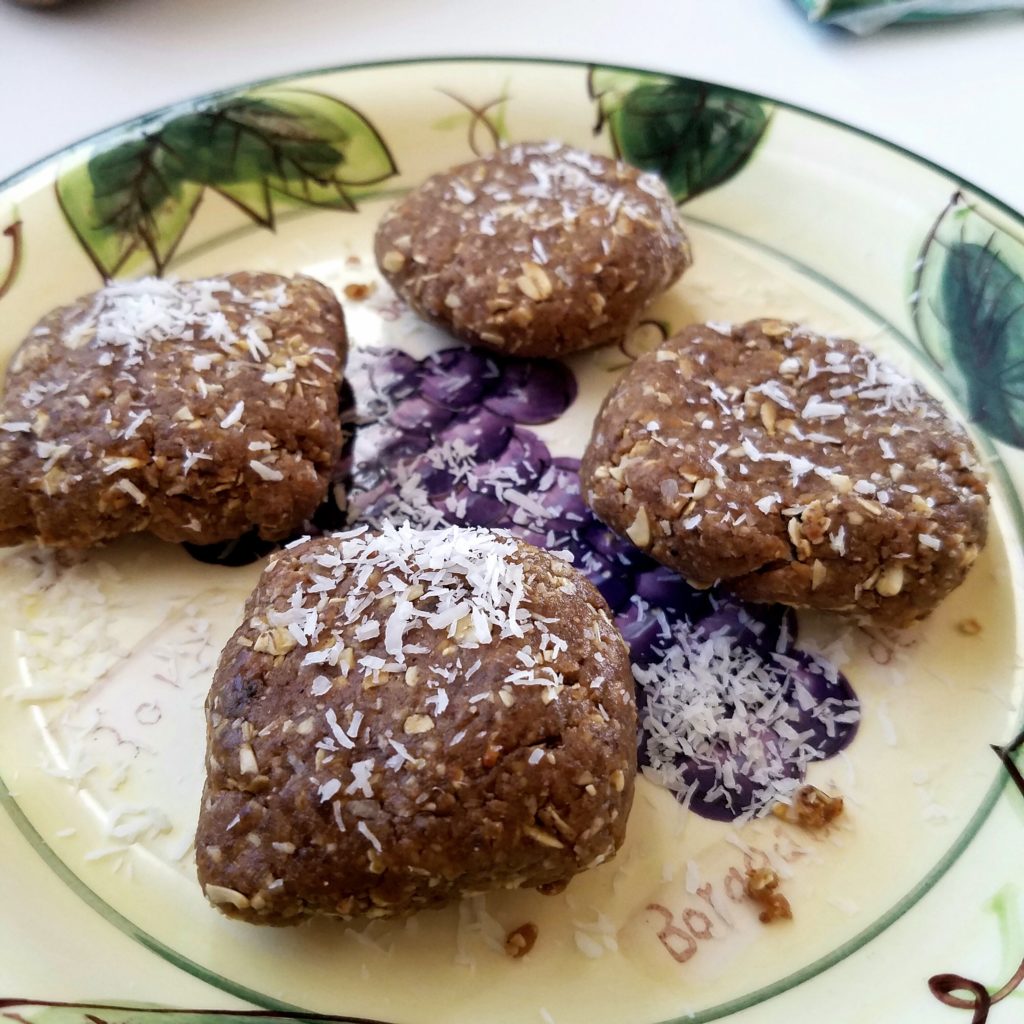
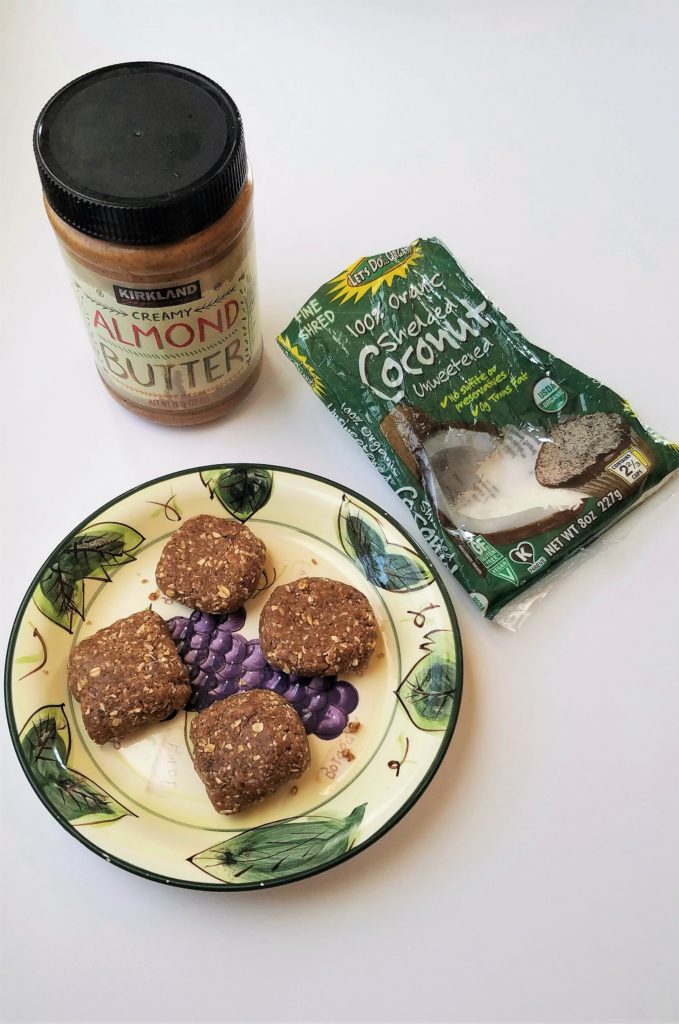
These Almond Coconut Bars are my ultimate homemade snack bar. They are inspired by my favorite Balanced Goodness Coconut + Granola Go Macro barsbut the ingredients are simplified. You could totally make them into balls if you prefer small energy bites but I prefer making them into square-shaped bars, as shown in the photos.
They are ridiculously simple to throw together so if you make them, let me know! 🙂
No-Bake Almond Coconut Bars
Recipe Type: Snacks
Author: Melanie
Prep time:
Cook time:
Total time:
Serves: 4 bars
Inspired by Go Macro Balanced Goodness Coconut + Granola bars. These bars are only four ingredients, naturally sweetened, and don’t require any baking.
Ingredients
½ cup (about 15 Neglet) sticky, pitted dates*
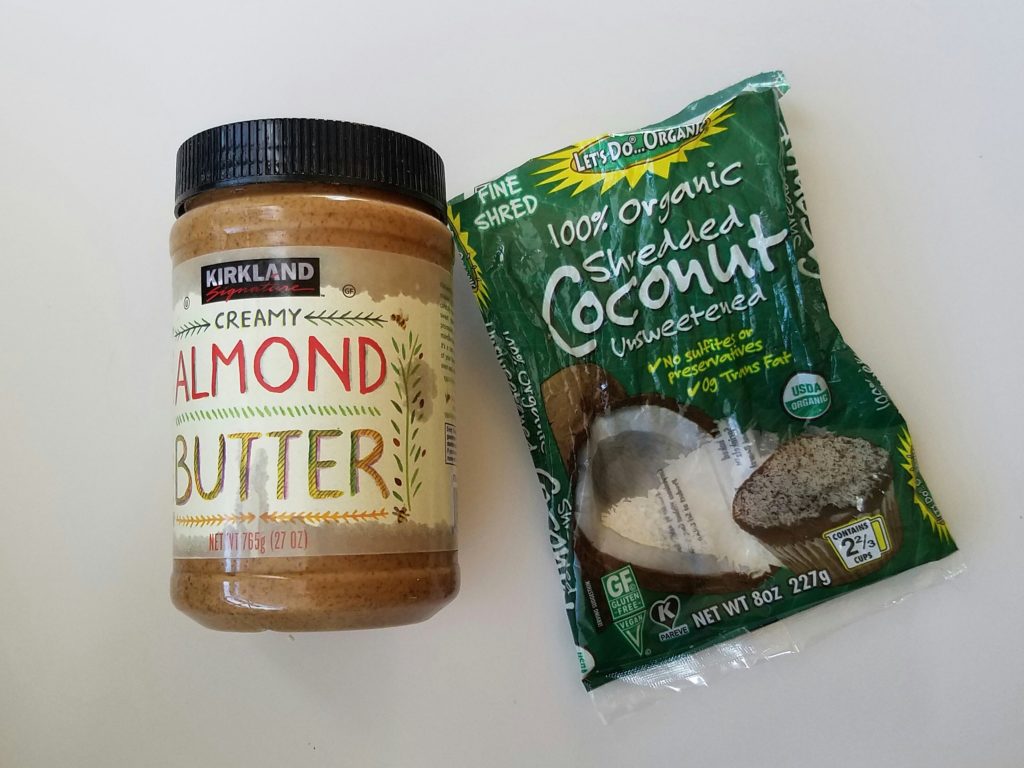
2 heaping tbsp of almond butter
¼ cup rolled oats
1 tbsp unsweetened desiccated coconut
Instructions
In a food processor, puree the dates to a thick paste. Add the almond butter and pulse.
Take the ¼ cup of rolled oats and add them to a nonstick pan. On a stovetop, lightly warm the oats until they smell/look toasted. Three minutes on medium heat should be enough.
Add the warm oats to the food processor, along with the coconut, and process until combined.
Mixture will look dry and crumbly but, as you pick it up with your hands, it should mash together. Add 2 teaspoons of warm water if the mixture does not mash together and process again (I didn’t need to add any).
Separate the mixture into 4 balls and form into square-shaped bars.
They will keep at room temperature for a day, or store in the refrigerator for up to a month.
Notes
*If your dates have been stored in the fridge or freezer, or simply aren’t sticky, soak them in hot water to soften. I like to heat up some water in a pot on the stove and let the dates rest in the hot water for 10 minutes.
On cold days, on rainy days, on sunny days, or cloudy days, I will always be in the mood for a smoothie. In fact, the jury is still out on whether I consume more smoothies in winter months or summertime.
On a slightly related side note:
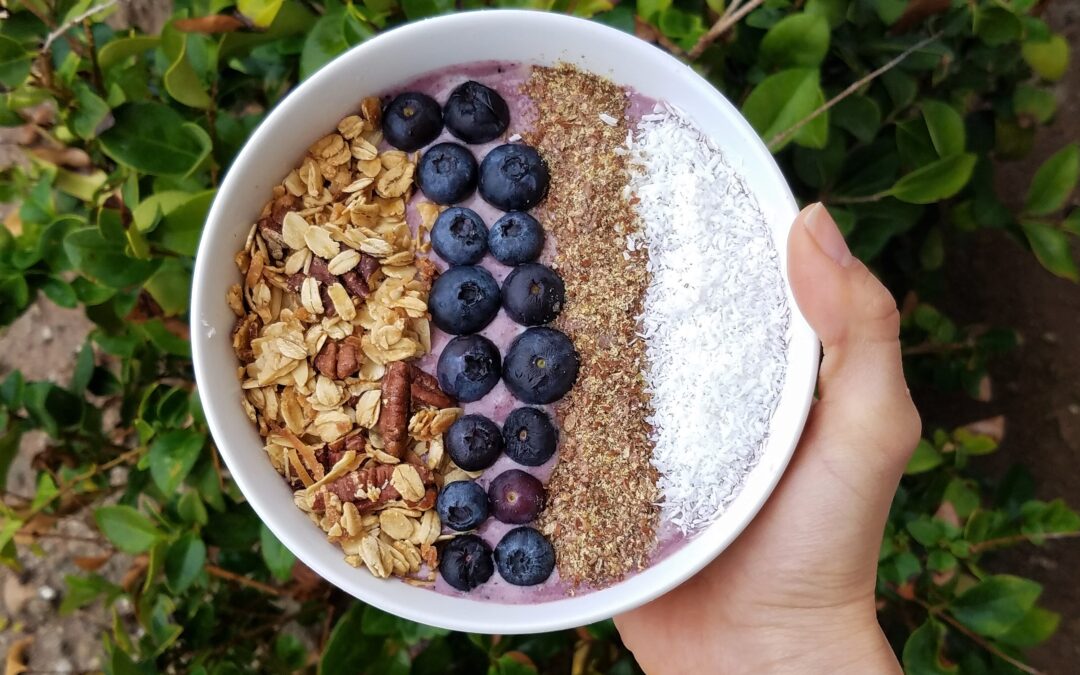
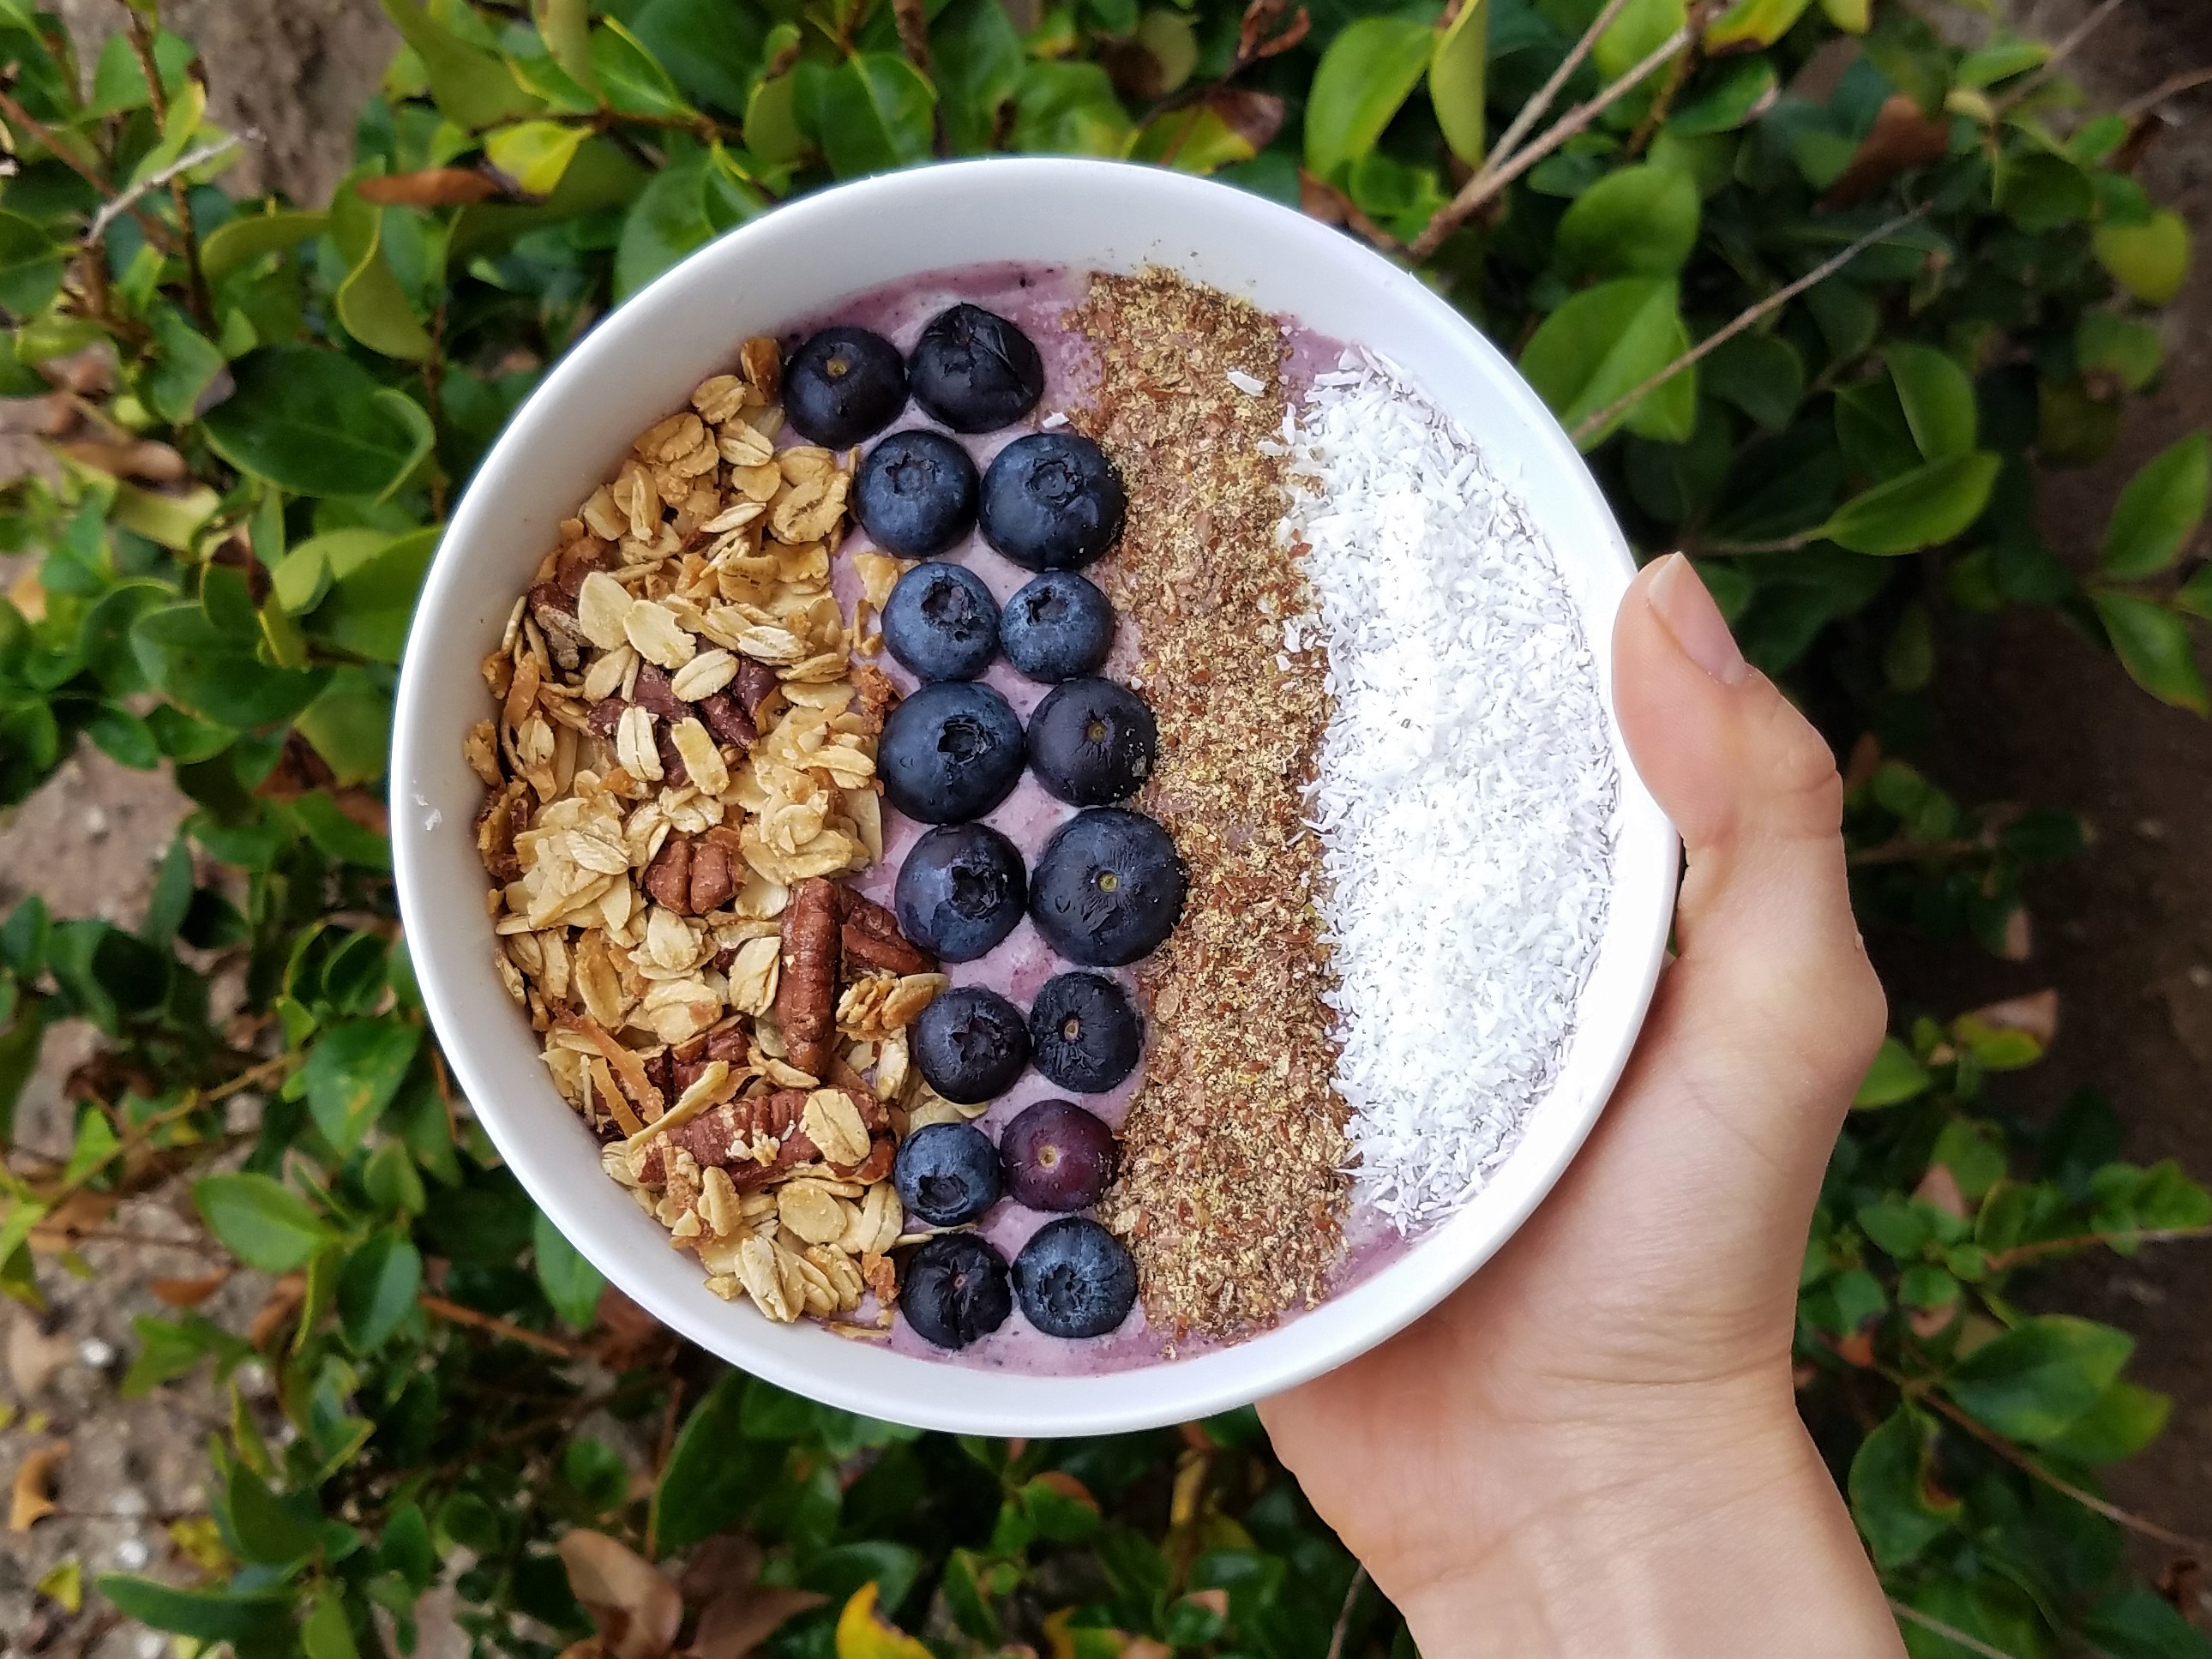
there was a lot of mud from the previous night’s rain when I made this smoothie bowl. I didn’t let that stop me from marching outside in my boots to snap a picture. 🙂 The lighting is much better outdoors! Plus, my neighbors would probably wonder where I’m at if they didn’t see me go outside to take a picture of my breakfast. You know, ‘cause that’s the usual these days.
Anyway, this photo is from a while back but I’ve had this for breakfast a number of times since. I rarely make the same smoothie twice but there is something particularly crave-worthy about blueberries that makes me want to have them in a smoothie several days in a row. This simple smoothie is the best way to make that happen.
Blueberry Coconut Smoothie
Recipe Type: Breakfast, Smoothie
Author: Melanie
Prep time:
Cook time:
Total time:
Serves: 1 smoothie
Creamy coconut milk combines with frozen banana and blueberries to make a delicious rich and tropical smoothie.
If using protein powder, add that to the blender first, followed by the coconut milk and frozen fruit.
The smoothie might be tough to blend but it’s perfectly thick with a small amount of liquid. Add a tablespoon of additional milk to the blender if the mixture is not budging.
Scoop the smoothie contents into a bowl and add the recommended toppings, or, simply some coconut flakes to jazz up the tropical factor.
Notes
Prep time does not include freezing the fruit. A very necessary step for the ultimate creamy smoothie!
We use cookies on our website to give you the most relevant experience by remembering your preferences and repeat visits. By clicking “Accept”, you consent to the use of ALL the cookies.
This website uses cookies to improve your experience while you navigate through the website. Out of these, the cookies that are categorized as necessary are stored on your browser as they are essential for the working of basic functionalities of the website. We also use third-party cookies that help us analyze and understand how you use this website. These cookies will be stored in your browser only with your consent. You also have the option to opt-out of these cookies. But opting out of some of these cookies may affect your browsing experience.
Necessary cookies are absolutely essential for the website to function properly. These cookies ensure basic functionalities and security features of the website, anonymously.
Cookie
Duration
Description
cookielawinfo-checbox-analytics
11 months
This cookie is set by GDPR Cookie Consent plugin. The cookie is used to store the user consent for the cookies in the category "Analytics".
cookielawinfo-checbox-functional
11 months
The cookie is set by GDPR cookie consent to record the user consent for the cookies in the category "Functional".
cookielawinfo-checbox-others
11 months
This cookie is set by GDPR Cookie Consent plugin. The cookie is used to store the user consent for the cookies in the category "Other.
cookielawinfo-checkbox-necessary
11 months
This cookie is set by GDPR Cookie Consent plugin. The cookies is used to store the user consent for the cookies in the category "Necessary".
cookielawinfo-checkbox-performance
11 months
This cookie is set by GDPR Cookie Consent plugin. The cookie is used to store the user consent for the cookies in the category "Performance".
viewed_cookie_policy
11 months
The cookie is set by the GDPR Cookie Consent plugin and is used to store whether or not user has consented to the use of cookies. It does not store any personal data.
Functional cookies help to perform certain functionalities like sharing the content of the website on social media platforms, collect feedbacks, and other third-party features.
Performance cookies are used to understand and analyze the key performance indexes of the website which helps in delivering a better user experience for the visitors.
Analytical cookies are used to understand how visitors interact with the website. These cookies help provide information on metrics the number of visitors, bounce rate, traffic source, etc.
Advertisement cookies are used to provide visitors with relevant ads and marketing campaigns. These cookies track visitors across websites and collect information to provide customized ads.