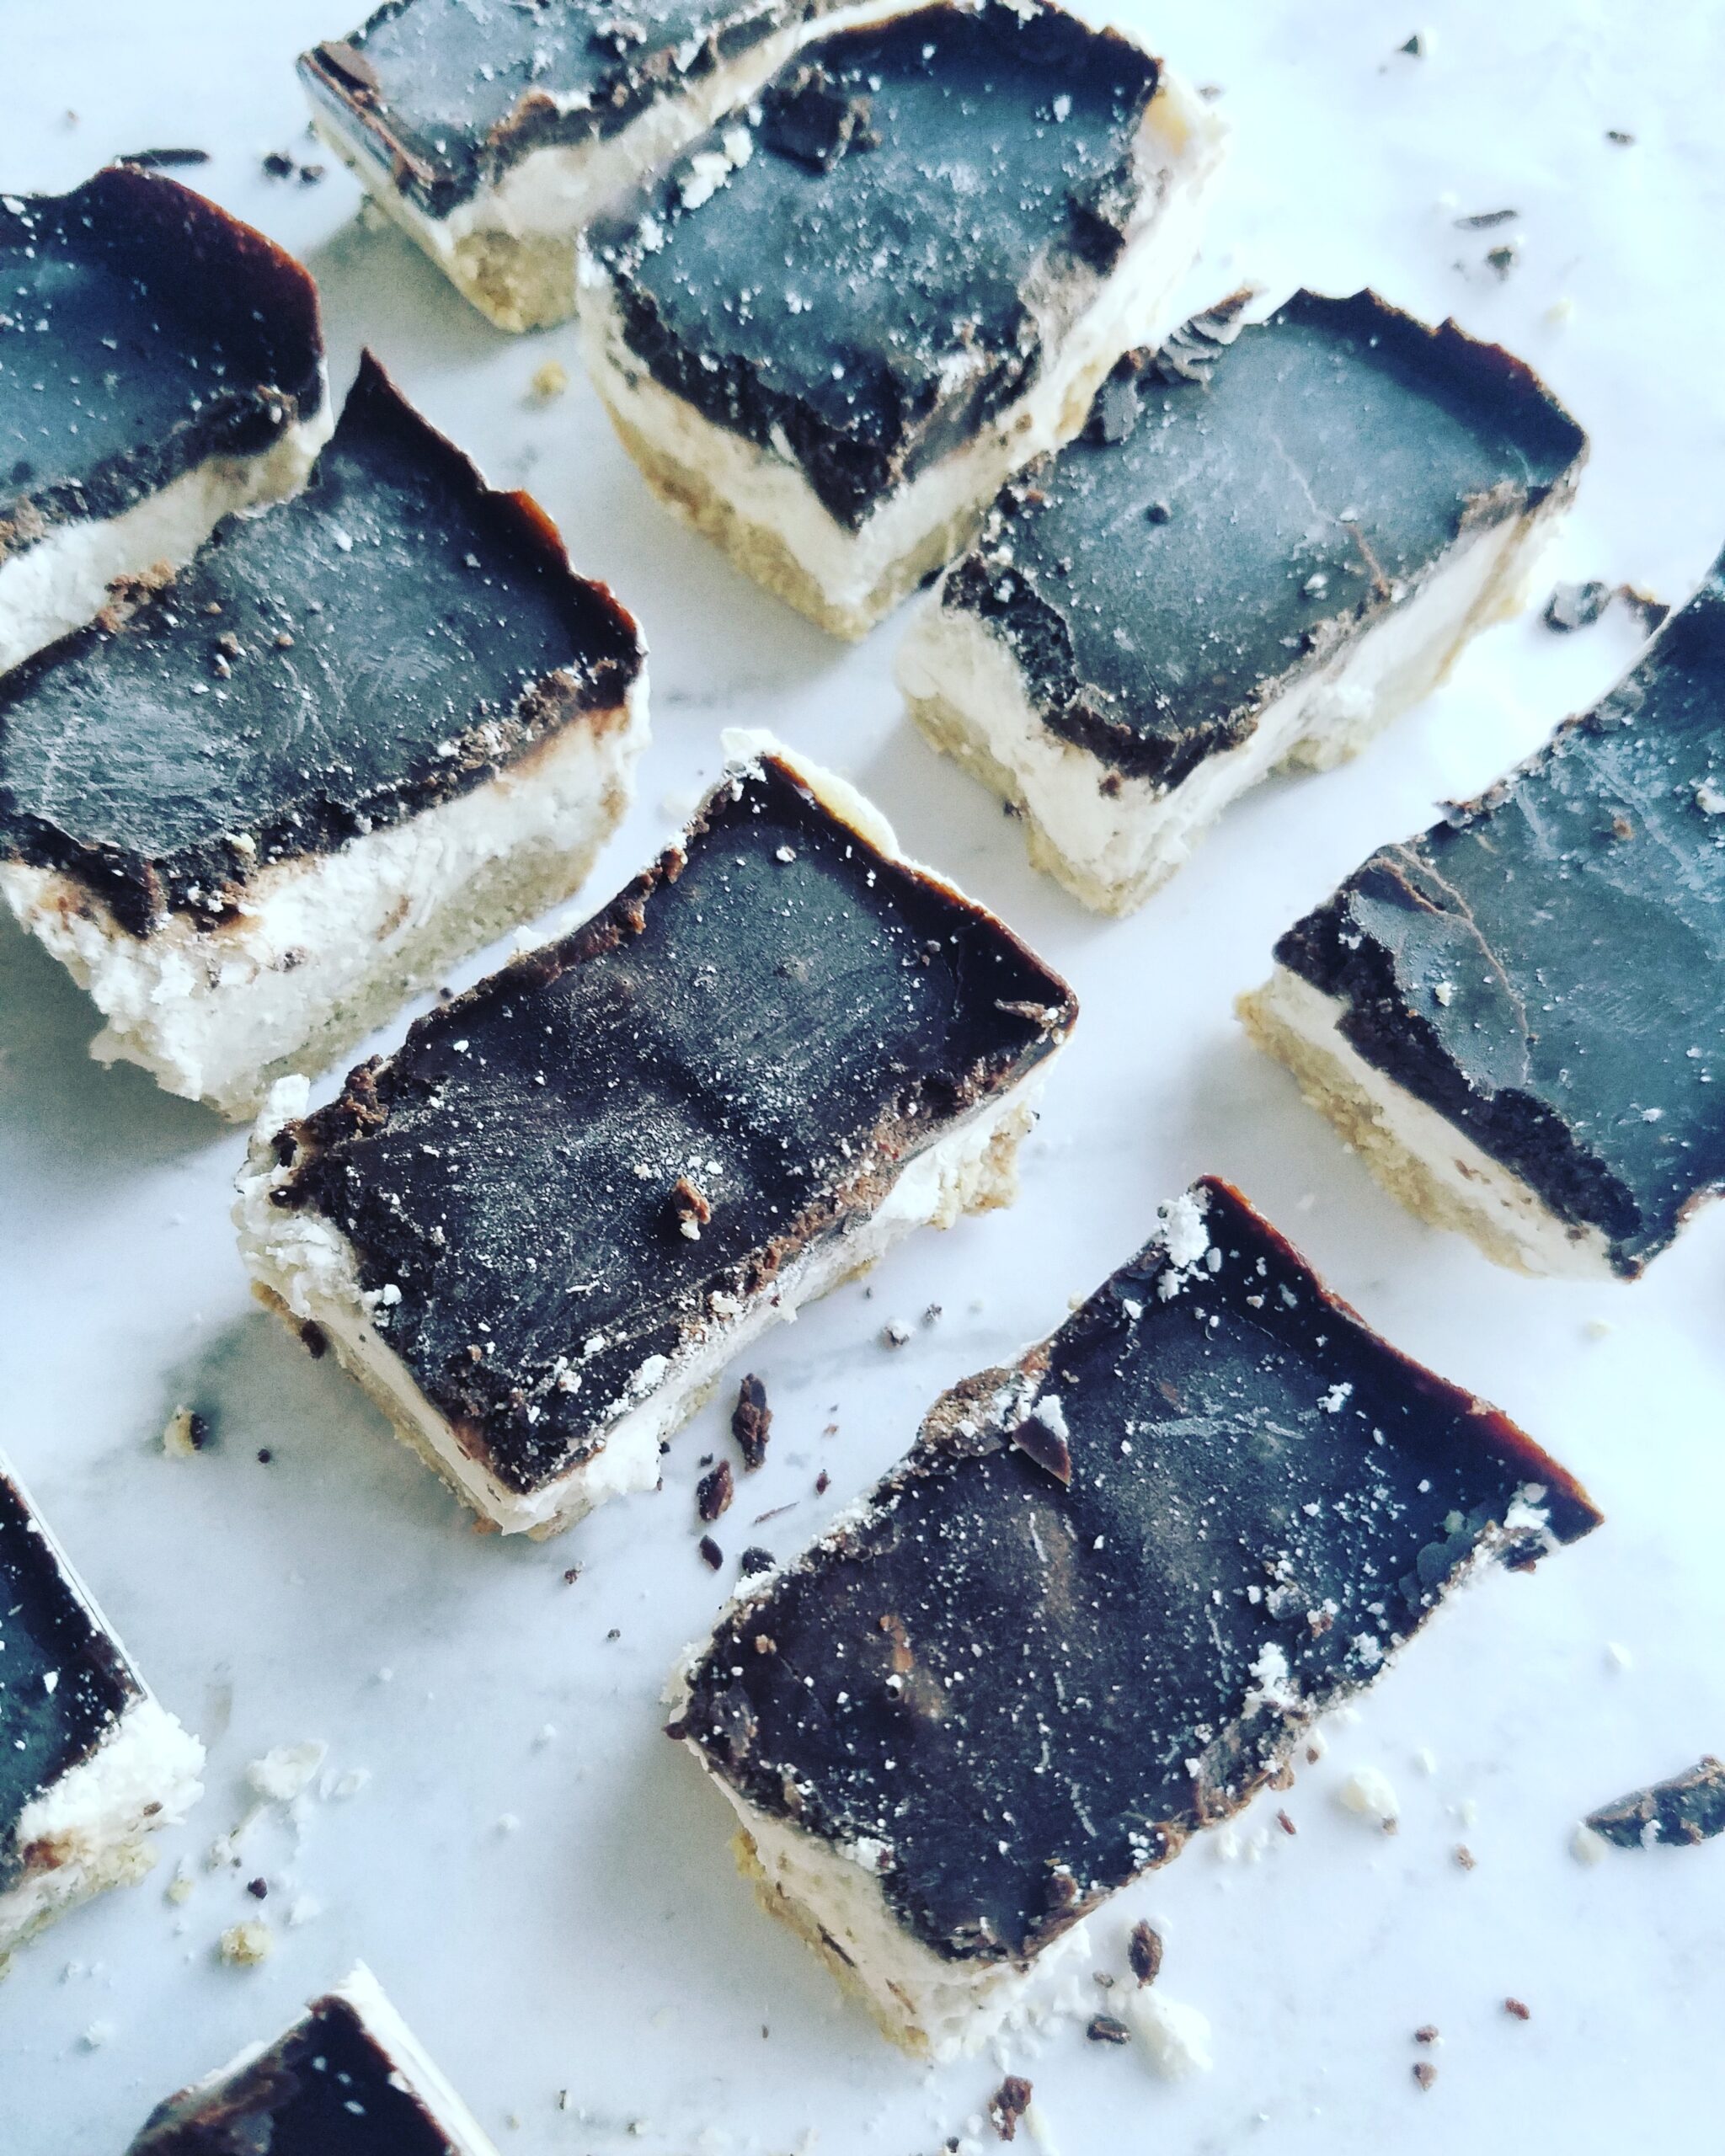
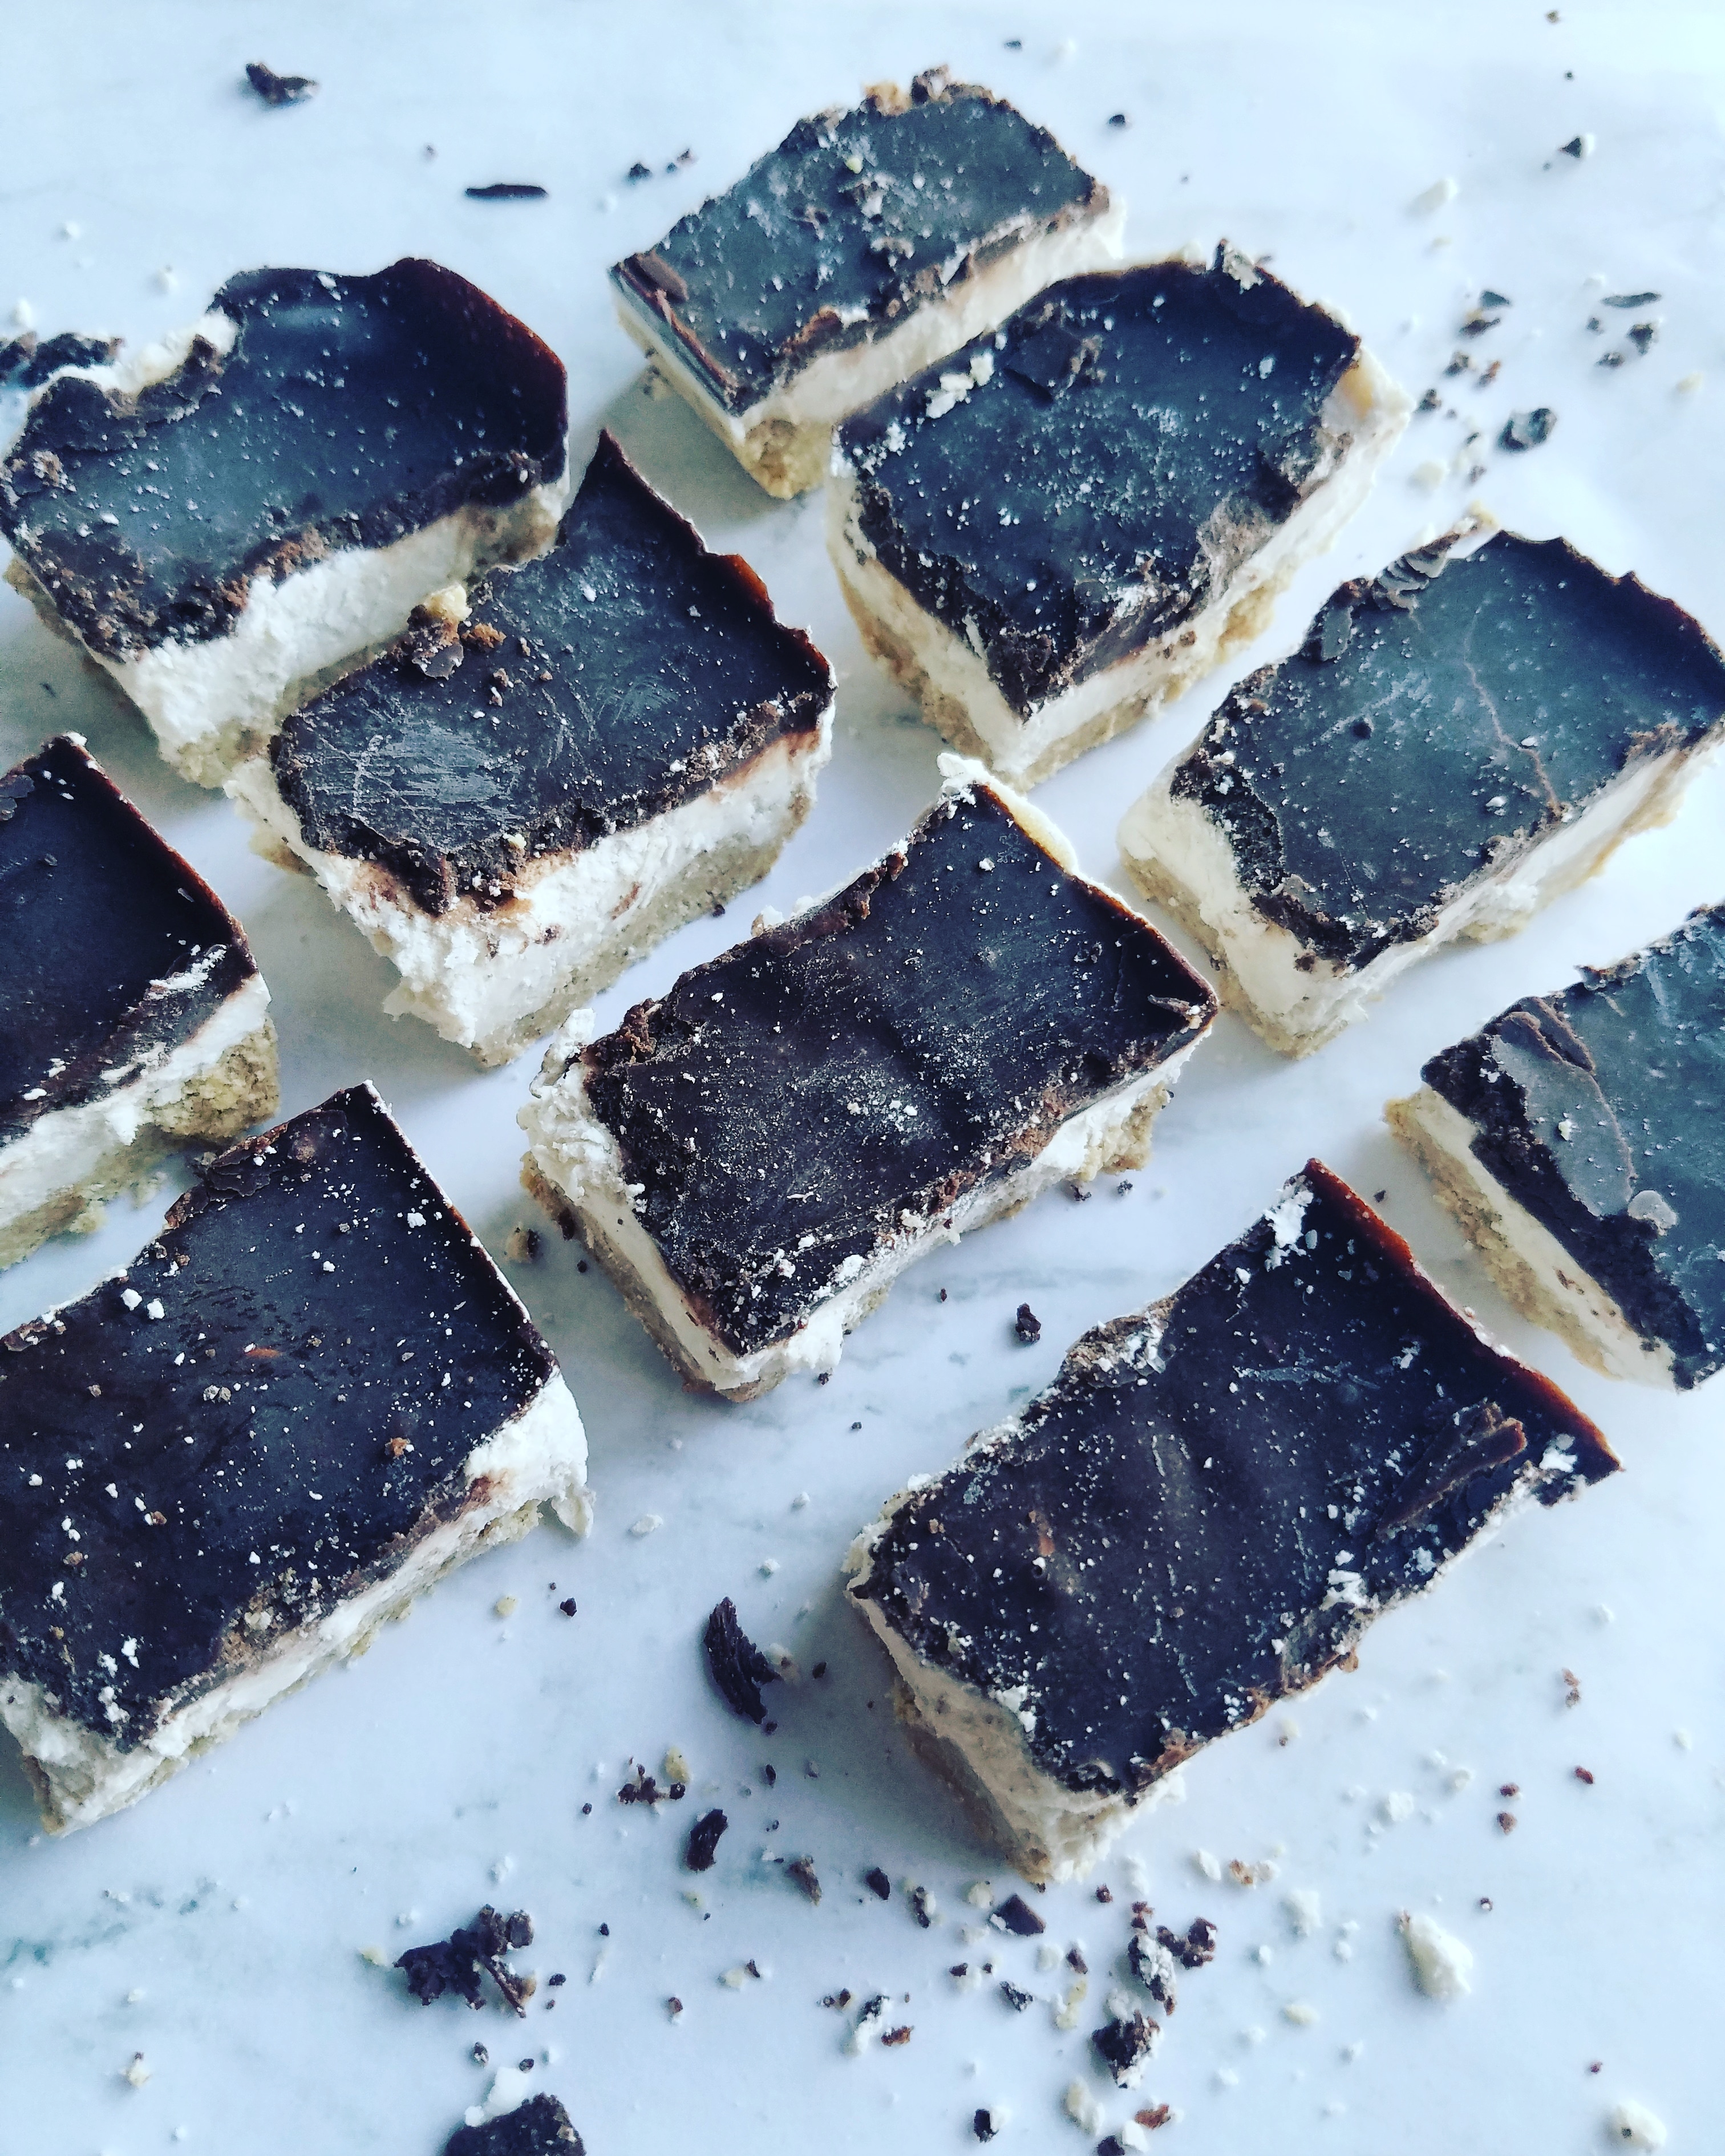
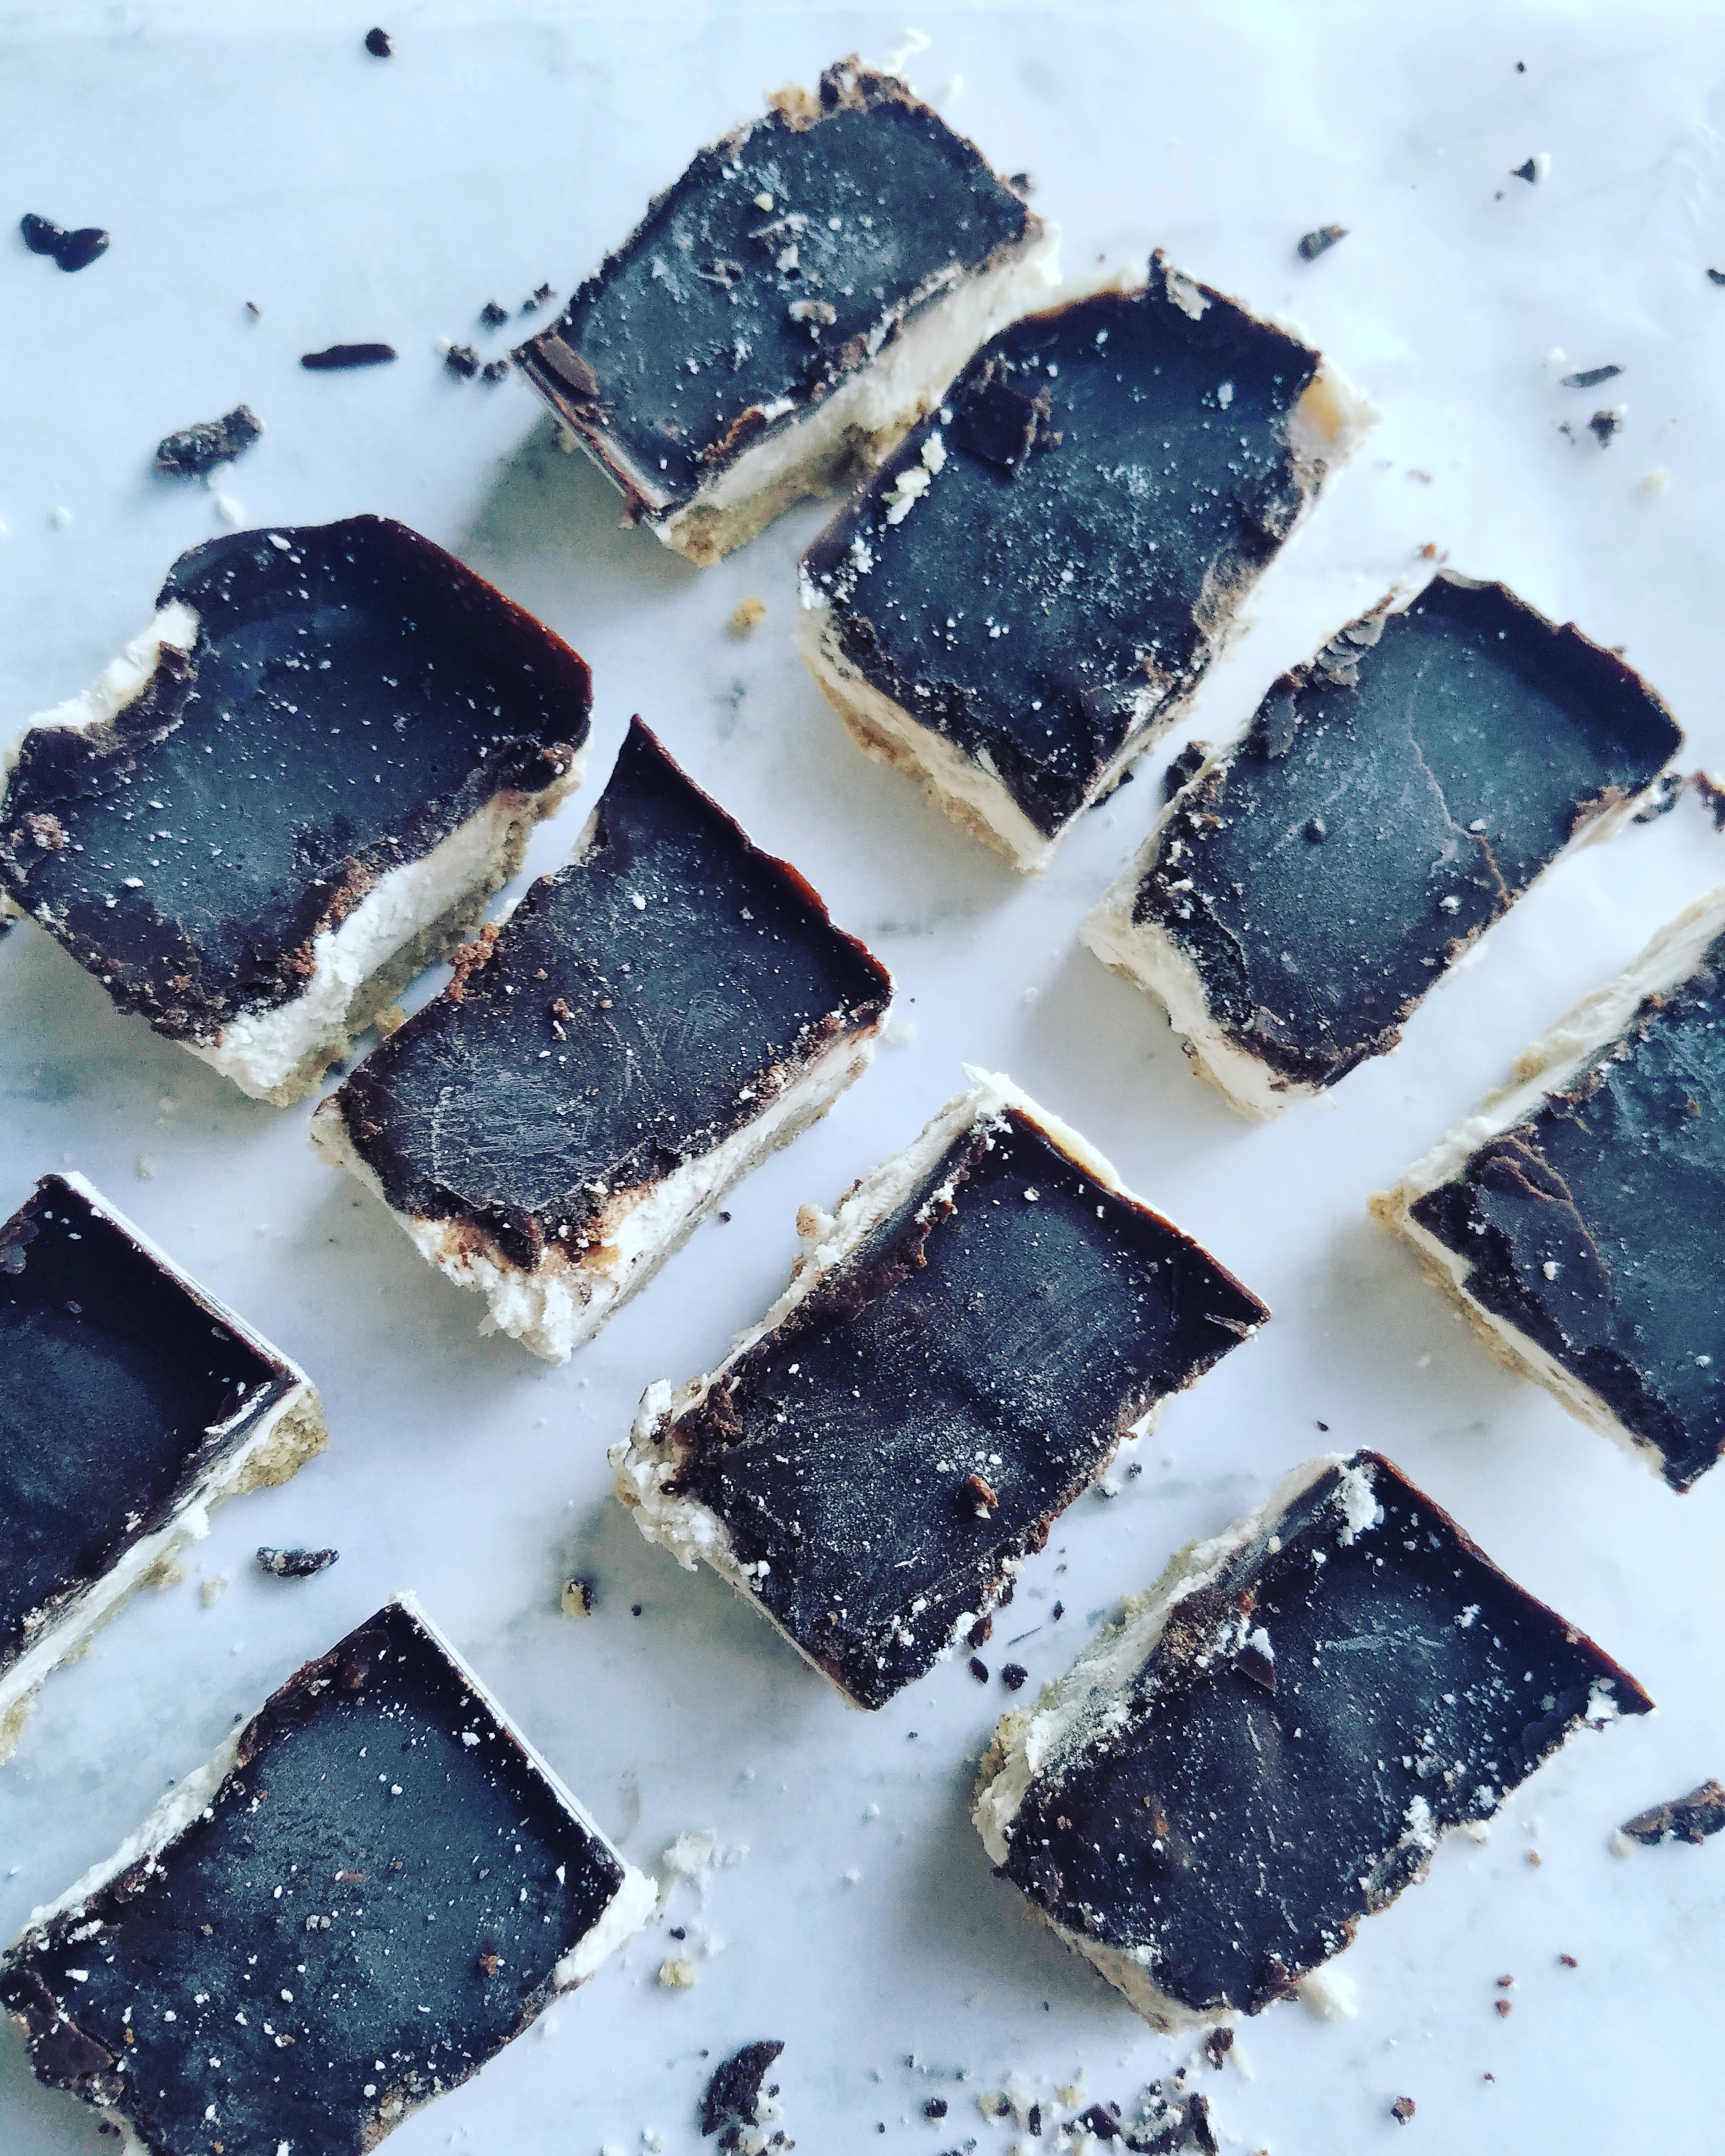
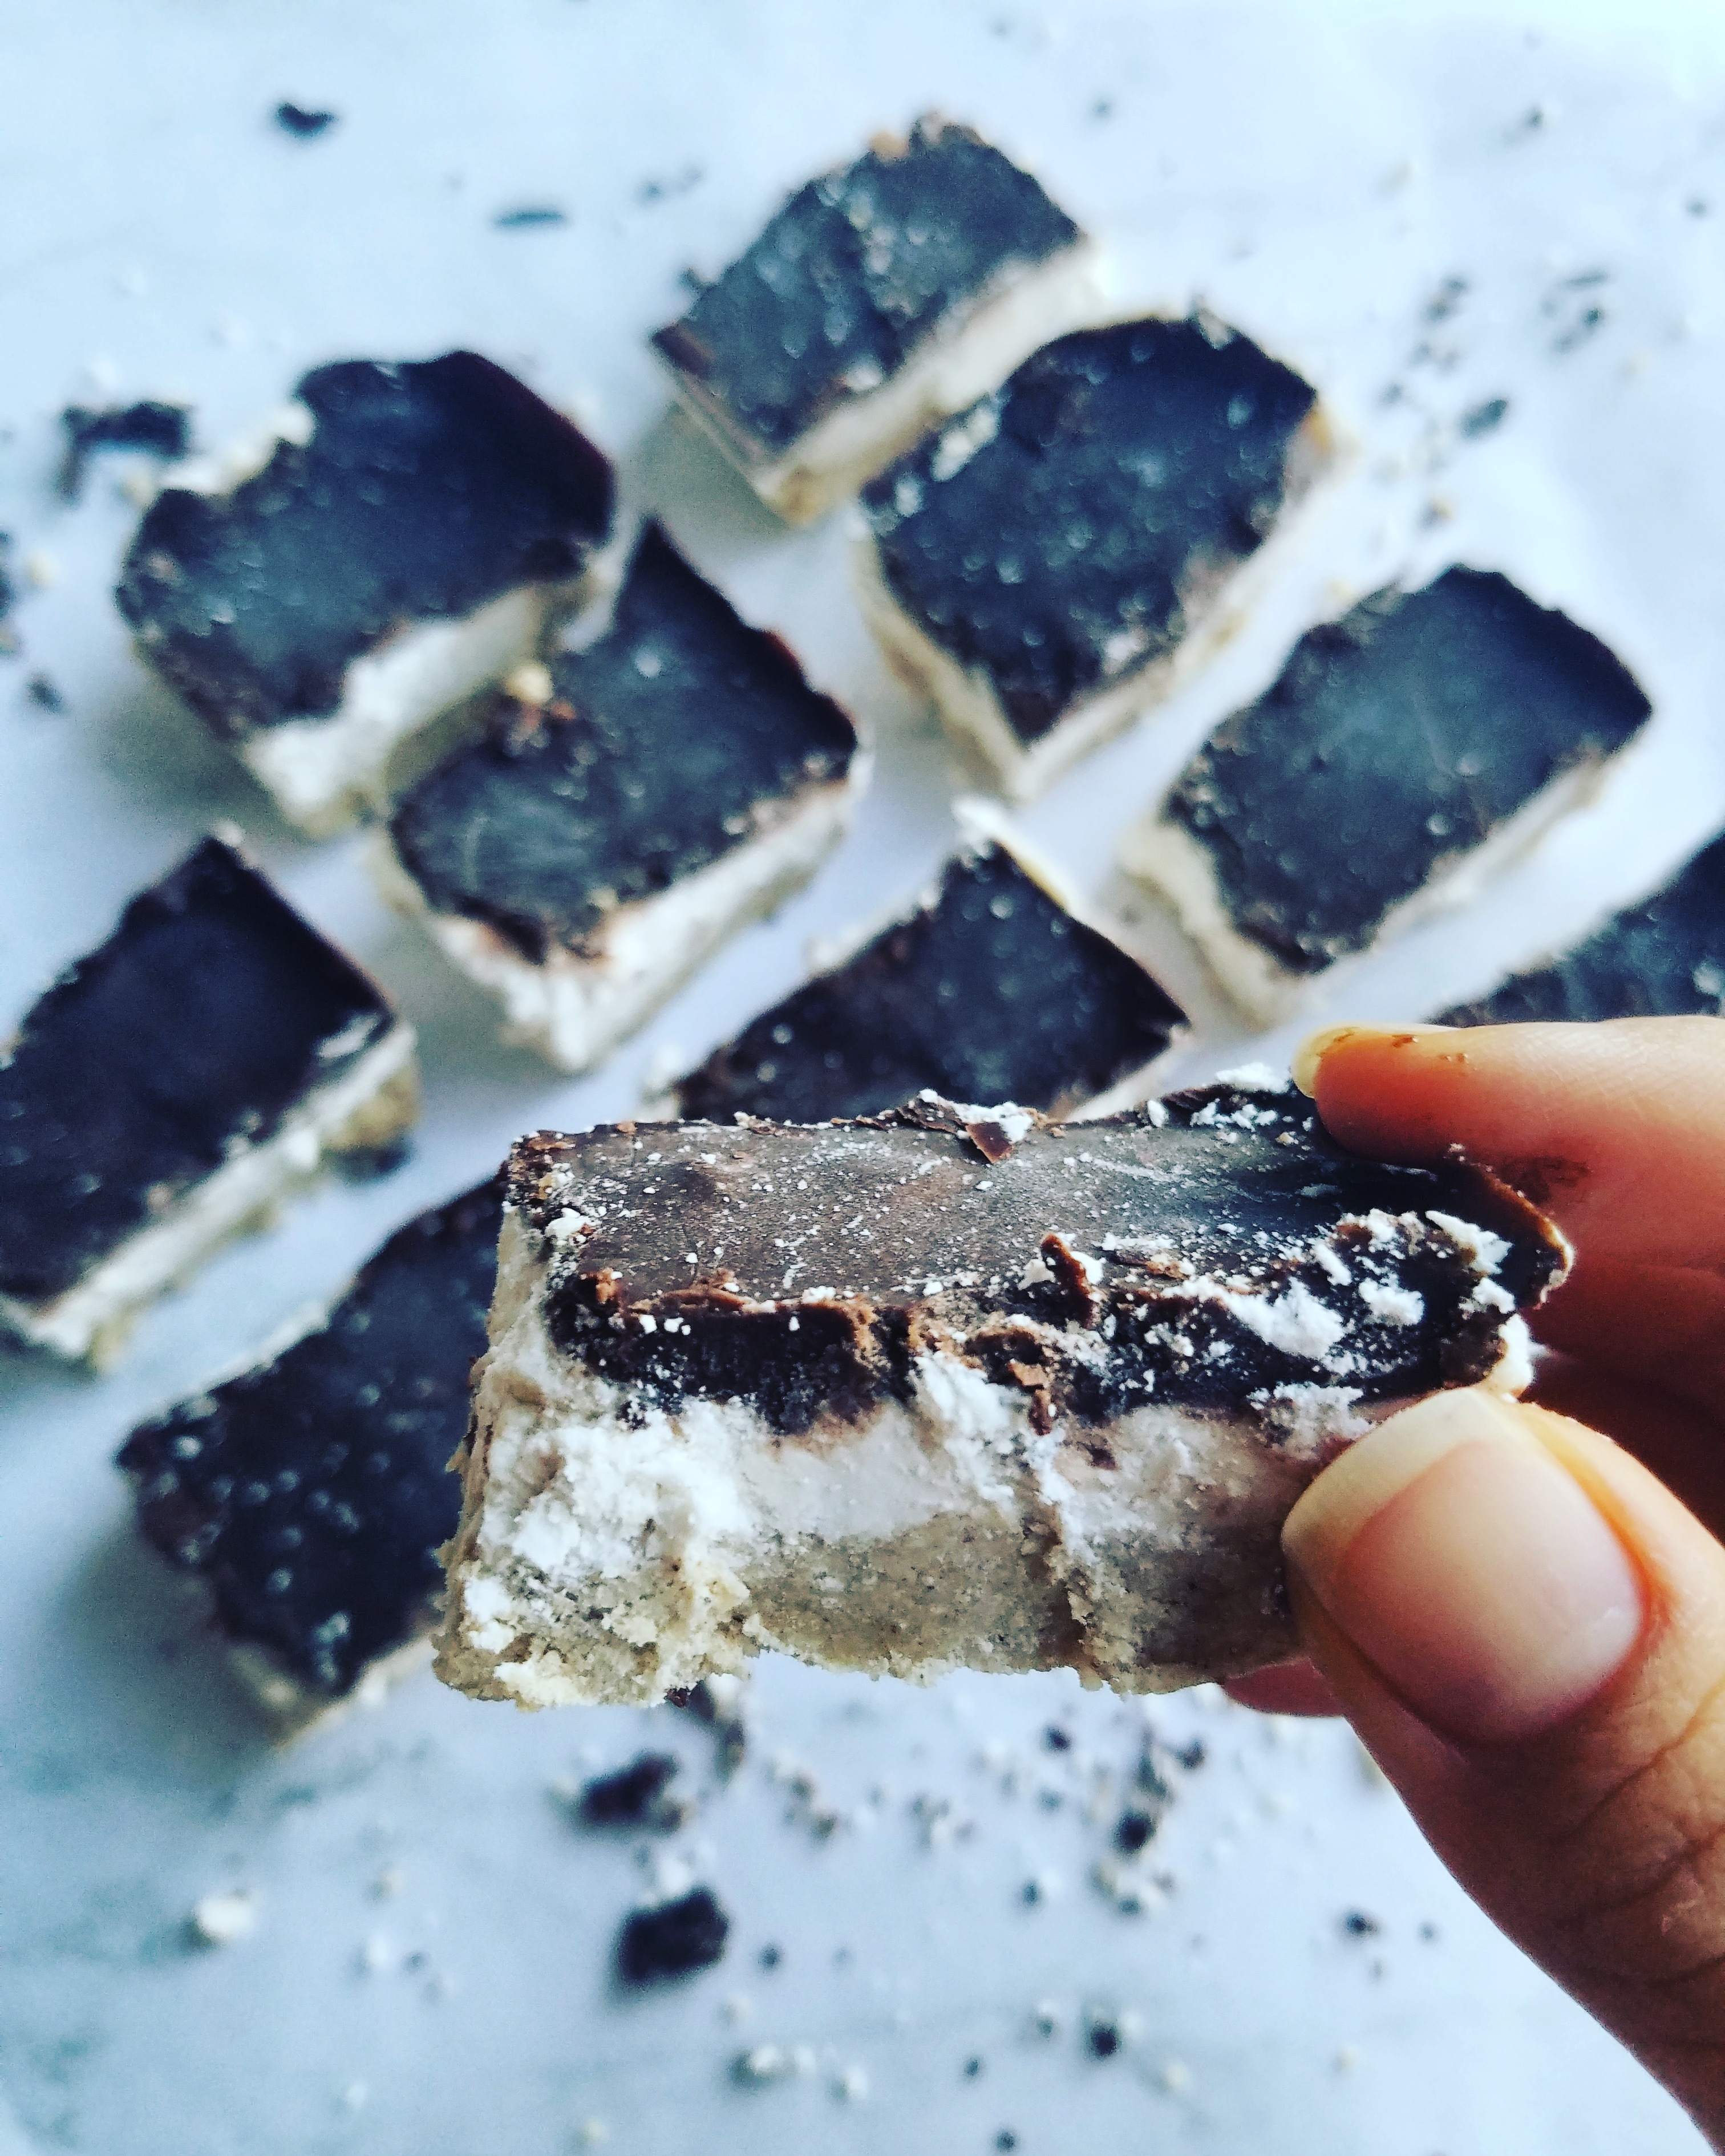
Almond, chocolate, and coconut come together to give you the magic that is Frozen Almond Joy Layer Bars. My spin on the classic treat is low-sugar and ultra creamy thanks to some simple ingredients and the trusty freezer!
Brr! Is that the first hint of cold weather that I’m feeling? My mom always jokes that I am the first one to pull out my boots and cardigans the moment a breeze is in the air. Basically, at this point, I’m restraining myself until November rolls around…but come November 1st, the boots are ON.
For now, the only cold weather I’m getting is coming from opening the freezer to grab one of these Frozen Almond Joy Layer Bars! LOL. Even as the winter season approaches, I love the taste of coconut treats. After all, it can’t be all pumpkin and gingerbread flavors all the time. (Though, I will certainly be enjoying some of both!)
So, make these whenever you’re feeling some fresh, cool, creamy, dreamy coconut, almond, and chocolate vibes.
Frozen Almond Joy Layer Bars
Recipe Type: Dessert
Author: Melanie
Prep time:
Cook time:
Total time:
Serves: 12 bars
Almond, chocolate, and coconut come together to give you the magic that is Frozen Almond Joy Layer Bars. My spin on the classic treat is low-sugar and ultra creamy thanks to some simple ingredients and the trusty freezer!
Ingredients
Crust
¾ cup almond flour
2 tbsp coconut flour
½ scoop protein powder (I like Tone it Up Peanut Butter or Vanilla)
½ tsp vanilla extract
2 tbsp melted coconut oil
2-4 tbsp almond milk
1 tbsp honey
Filling
½ cup coconut butter
½ cup almond milk
½ tbsp honey or maple syrup
½ cup shredded coconut
Topping
2 ½ tbsp cacao powder
1 tbsp honey or maple syrup
2 tbsp melted coconut oil
2 tbsp creamy almond butter
¼ tsp vanilla extract
Instructions
Grab a loaf pan and line it with some wax or parchment paper. I don’t always do this but it makes it a little easier to remove the bars from the pan.
Next, in a bowl, combine the crust ingredients. The batter should be on the crumbly side but smash together between your fingers. If the mixture only crumbles without the mash, add another tablespoon or two of almond milk and combine. Then, press the mixture into the bottom of your (lined) loaf pan and set in the freezer.
At this point, wipe out any crumbs left behind because we’re using the same bowl! Add the coconut butter to the bowl with the almond milk and microwave for 15 seconds so it is warm and mixable. Then mix in the honey and shredded coconut.
Remove the loaf pan from the freezer and add pat down the filling layer before returning it back to the freezer.
For the final step, wipe out the same bowl and begin adding the topping ingredients. Make sure not to leave any clumps or that will show on top of the bars. Again, remove the loaf pan from the freezer and spread the chocolate topping over the filling. Note: if for some reason the filling seems wet, leave it in the freezer for 10 minutes before adding the chocolate topping.
Lastly, I recommend freezing the bars for at least 3 hours before cutting into them. The Frozen Almond Joy Layer Bars can then be stored in an airtight container in the fridge or freezer.
3.5.3251
They are just the ticket when I’m craving a fresh treat that won’t mess with my blood sugar! Healthy fats from coconut butter + chocolate is simply the best combo! Let me know if you guys try these bars out.
Pumpkin Spice and everything nice is what makes fall feel like FALL for me. Please, hold the eye roll. Evidently, the internet is all hyped about fall these days but let me tell you: I’ve been a fan of fall before it was trendy. Yes, I went there. Fall holds meaning for me even without the glamorized PSL which may actually have a new flavor competitor around—see here. Basically, winter and spring are almost nonexistent in southern California. And summer? No thank you, 120 degree weather.
My dear fall, you are what I look forward to each year. All I need are some breezy cool days where I can wear my cardigan and scarf and sip on my eat my pumpkin coconut treats. HOORAY!
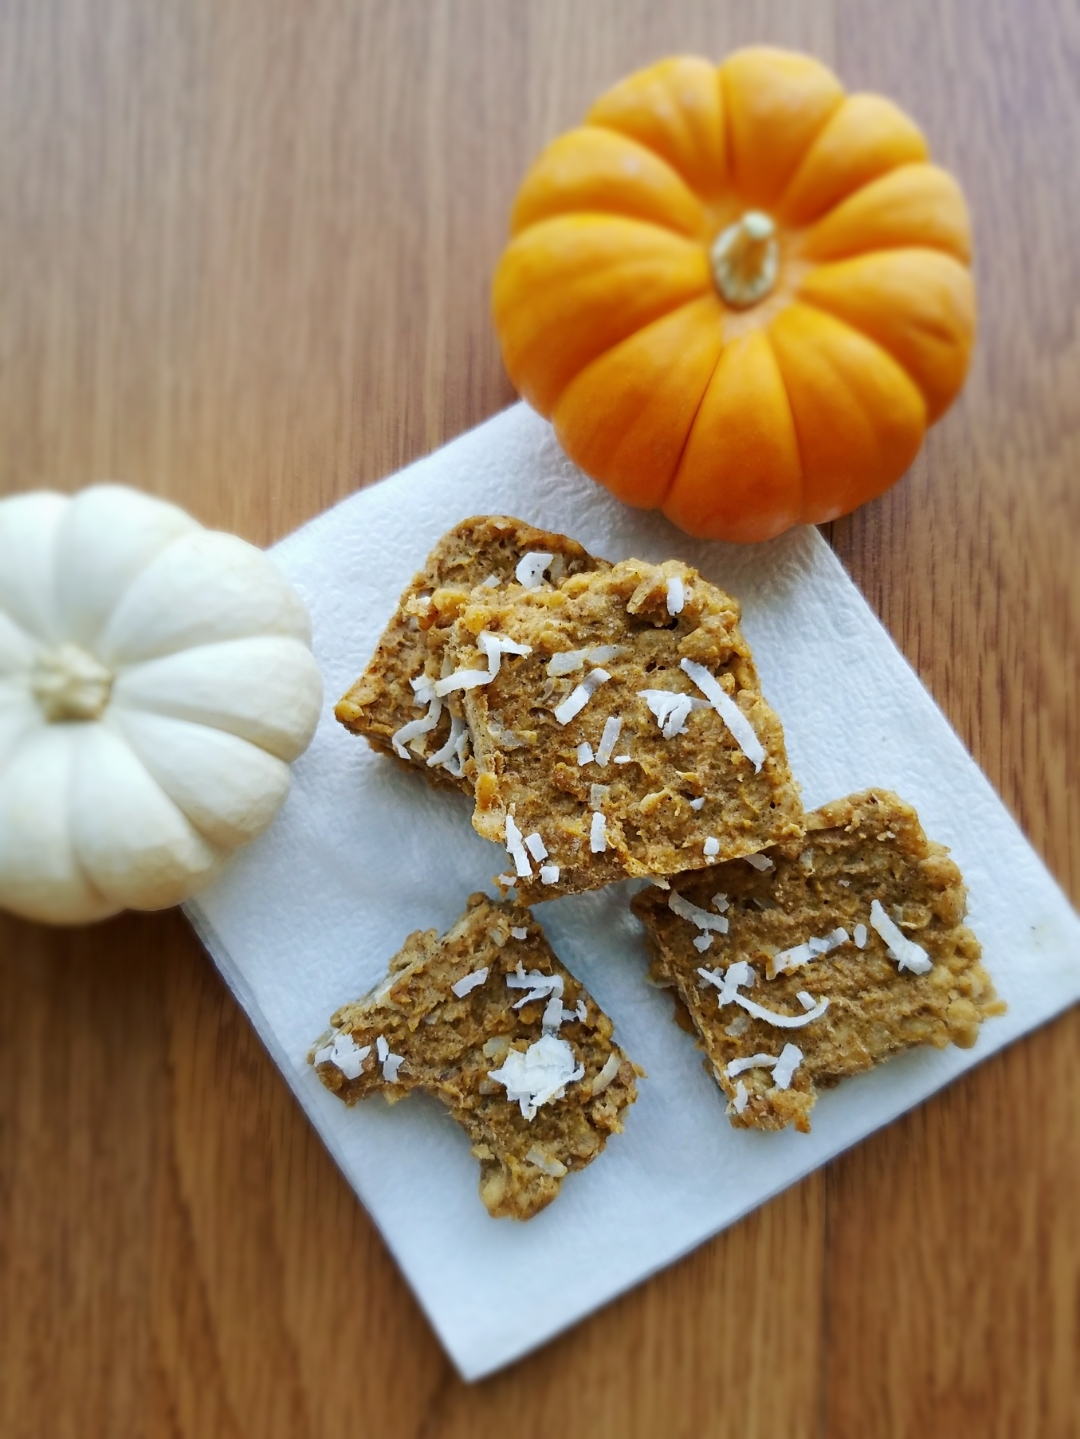
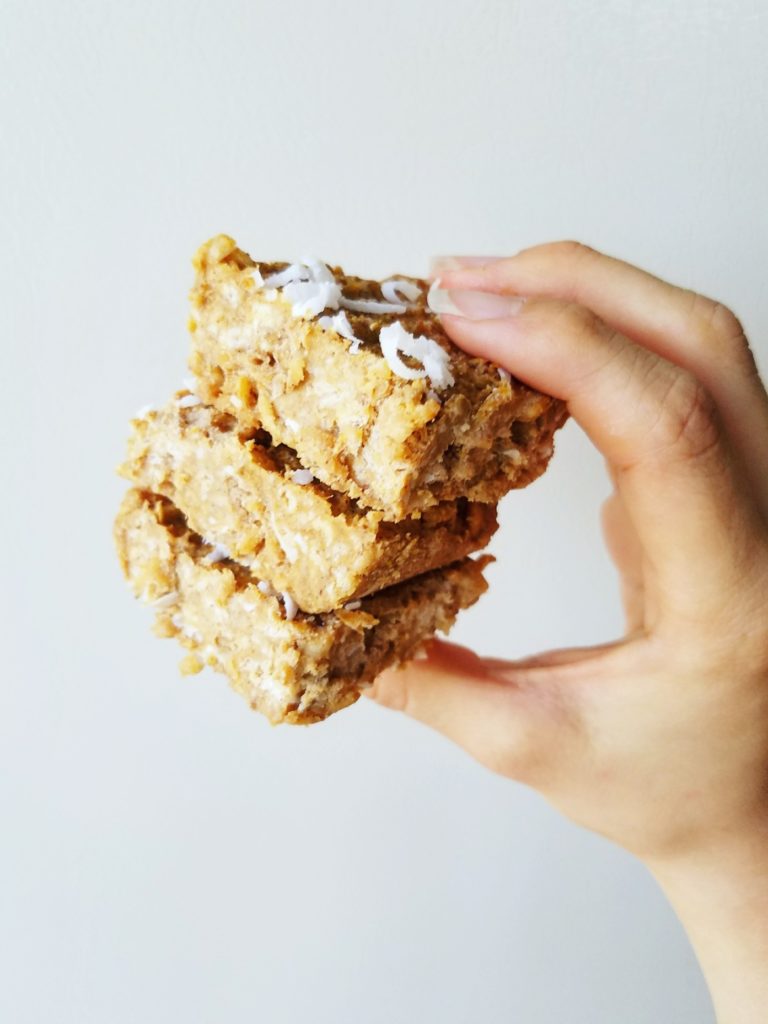
Throwback moment: my favorite childhood snack was the packaged rice krispy treats. Not even the homemade kind! The rice krispy treats in the blue packaging were perfect because of their balance of sweetness and textures—crunchy yet soft! As you know, I like healthifying sweet treats. So, I put a spin on my fave classic WITHOUT marshmallows for some pumpkin coconut NOT SCARY treat fun. I know, it almost sounds sacrilegious. Still, I think you’ll find that these are sweet and satisfying on their own and healthier than the sugar-laden original.
Also, this recipe is a good use for date puree, or, date caramel as Minimalist Baker calls it. Honestly, date caramel is what sweet dreams are made of and I highly recommend making some. Although, if you want to substitute whole dates, you can try 2 (take out the pits!) and blend them up with the pumpkin and coconut oil until smooth.
I know fall is all about baking but make room in your freezer for this no-bake treat! You can thank me later.
Pumpkin Coconut Treat Bars
Recipe Type: Snacks
Author: Melanie
Prep time:
Cook time:
Total time:
Serves: 8 bars
These Pumpkin Coconut Not Scary Treat Bars are made with ingredients you can recognize. They’re wholesome, satisfying, and no marshmallows are required!
Ingredients
¼ cup pumpkin puree
¼ cup melted coconut oil
2 tbsp almond butter
3 tbsp date caramel
1 tsp cinnamon
½ tsp nutmeg
½ tsp allspice
1/8 tsp salt
2 cups Erewhon cinnamon brown rice cereal or other brown rice cereal
2 tbsp sweetened shredded coconut, plus more for topping
Instructions
First up, grease a loaf pan with coconut oil or line with wax paper so that the bars will be easy to remove.
In a medium bowl, combine the pumpkin, coconut oil, almond butter, date caramel, and spices. Stir in the brown rice cereal and shredded coconut. Adjust to taste by adding a pinch of salt or a sprinkle of granulated sugar, if needed.
Press the mixture into the loaf pan, making sure to fill the corners. Then, place in the freezer for 2 hours to solidify.
Remove from freezer and cut into 8 squares. The bars taste best when stored in the freezer. Just leave them out to thaw for a minute before you are ready to eat one!
Notes
I used sweetened shredded coconut because I ran out of the unsweetened kind. You could definitely use unsweetened shredded coconut and perhaps add a teaspoon of granulated sweetener like coconut or brown sugar to make the bars sweeter. I just don’t recommend coconut flakes because those will be too thick and chunky for the bars.[br]Additionally, “cook time” reflects time in the freezer. This is a no-bake recipe.
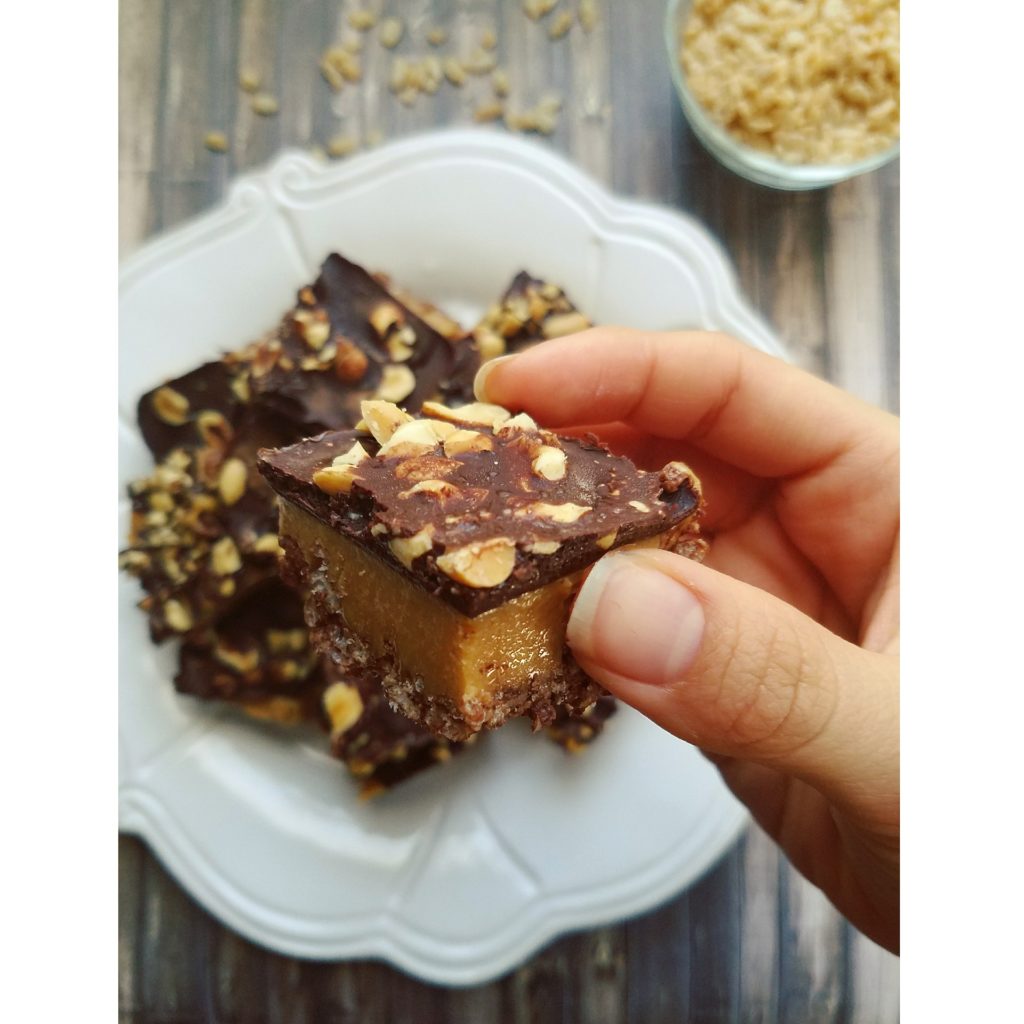
If you’ve been following my A Day of FLO Living posts, then you’ll know I enjoy eating food that is nourishing for me and my cycle. Now, I’m not going to sit here and tell you that chocolate-topped peanut butter crisp bars are “health food” but I’ll say they come close. During my ovulatory phase I was craving sweets LIKE CRAZY—specifically chocolate. Lucky for me, chocolate is on the list of WomanCode approved foods for ovulatory phase. Yippee!
So, I went into the kitchen, with a bit of guidance from Angela Liddons’ Oh She Glows Everyday Cookbook, and got experimenting. I used Angela’s recipe for Nut-Free Dream Bars as a base but I tinkered with the sweetener, salt, and, of course, the nut butter. For me, what makes these bars awesome is the pairing of protein and fat, both of which lessen the sugar punch and make these bars satiating. Of course, macronutrients aside, the chocolate-peanut butter combination is also a huge appeal!
They require a small amount of prep but NO BAKING. This is a freezer treat at its finest. Plus, once made, they will last forever in the freezer! Just let them defrost for a few minutes before biting into them. If you can exercise restraint, let them defrost for five to ten minutes and the peanut butter filling gets extra creamy and oozy. In fact, the filling contrasts so nicely in that state with the crisp crust and solid chocolate topping. Together, the three layers make for one delightfully decadent and delicious dessert or snack.
Let me know if you give these bars a try! Just writing this post makes me crave one so I’ll be at my freezer if you need me! 👋
Creamy Peanut Butter Chocolate Crisp Bars
Recipe Type: Dessert
Cuisine: American
Author: Melanie
Prep time:
Cook time:
Total time:
Serves: 18-20 bars
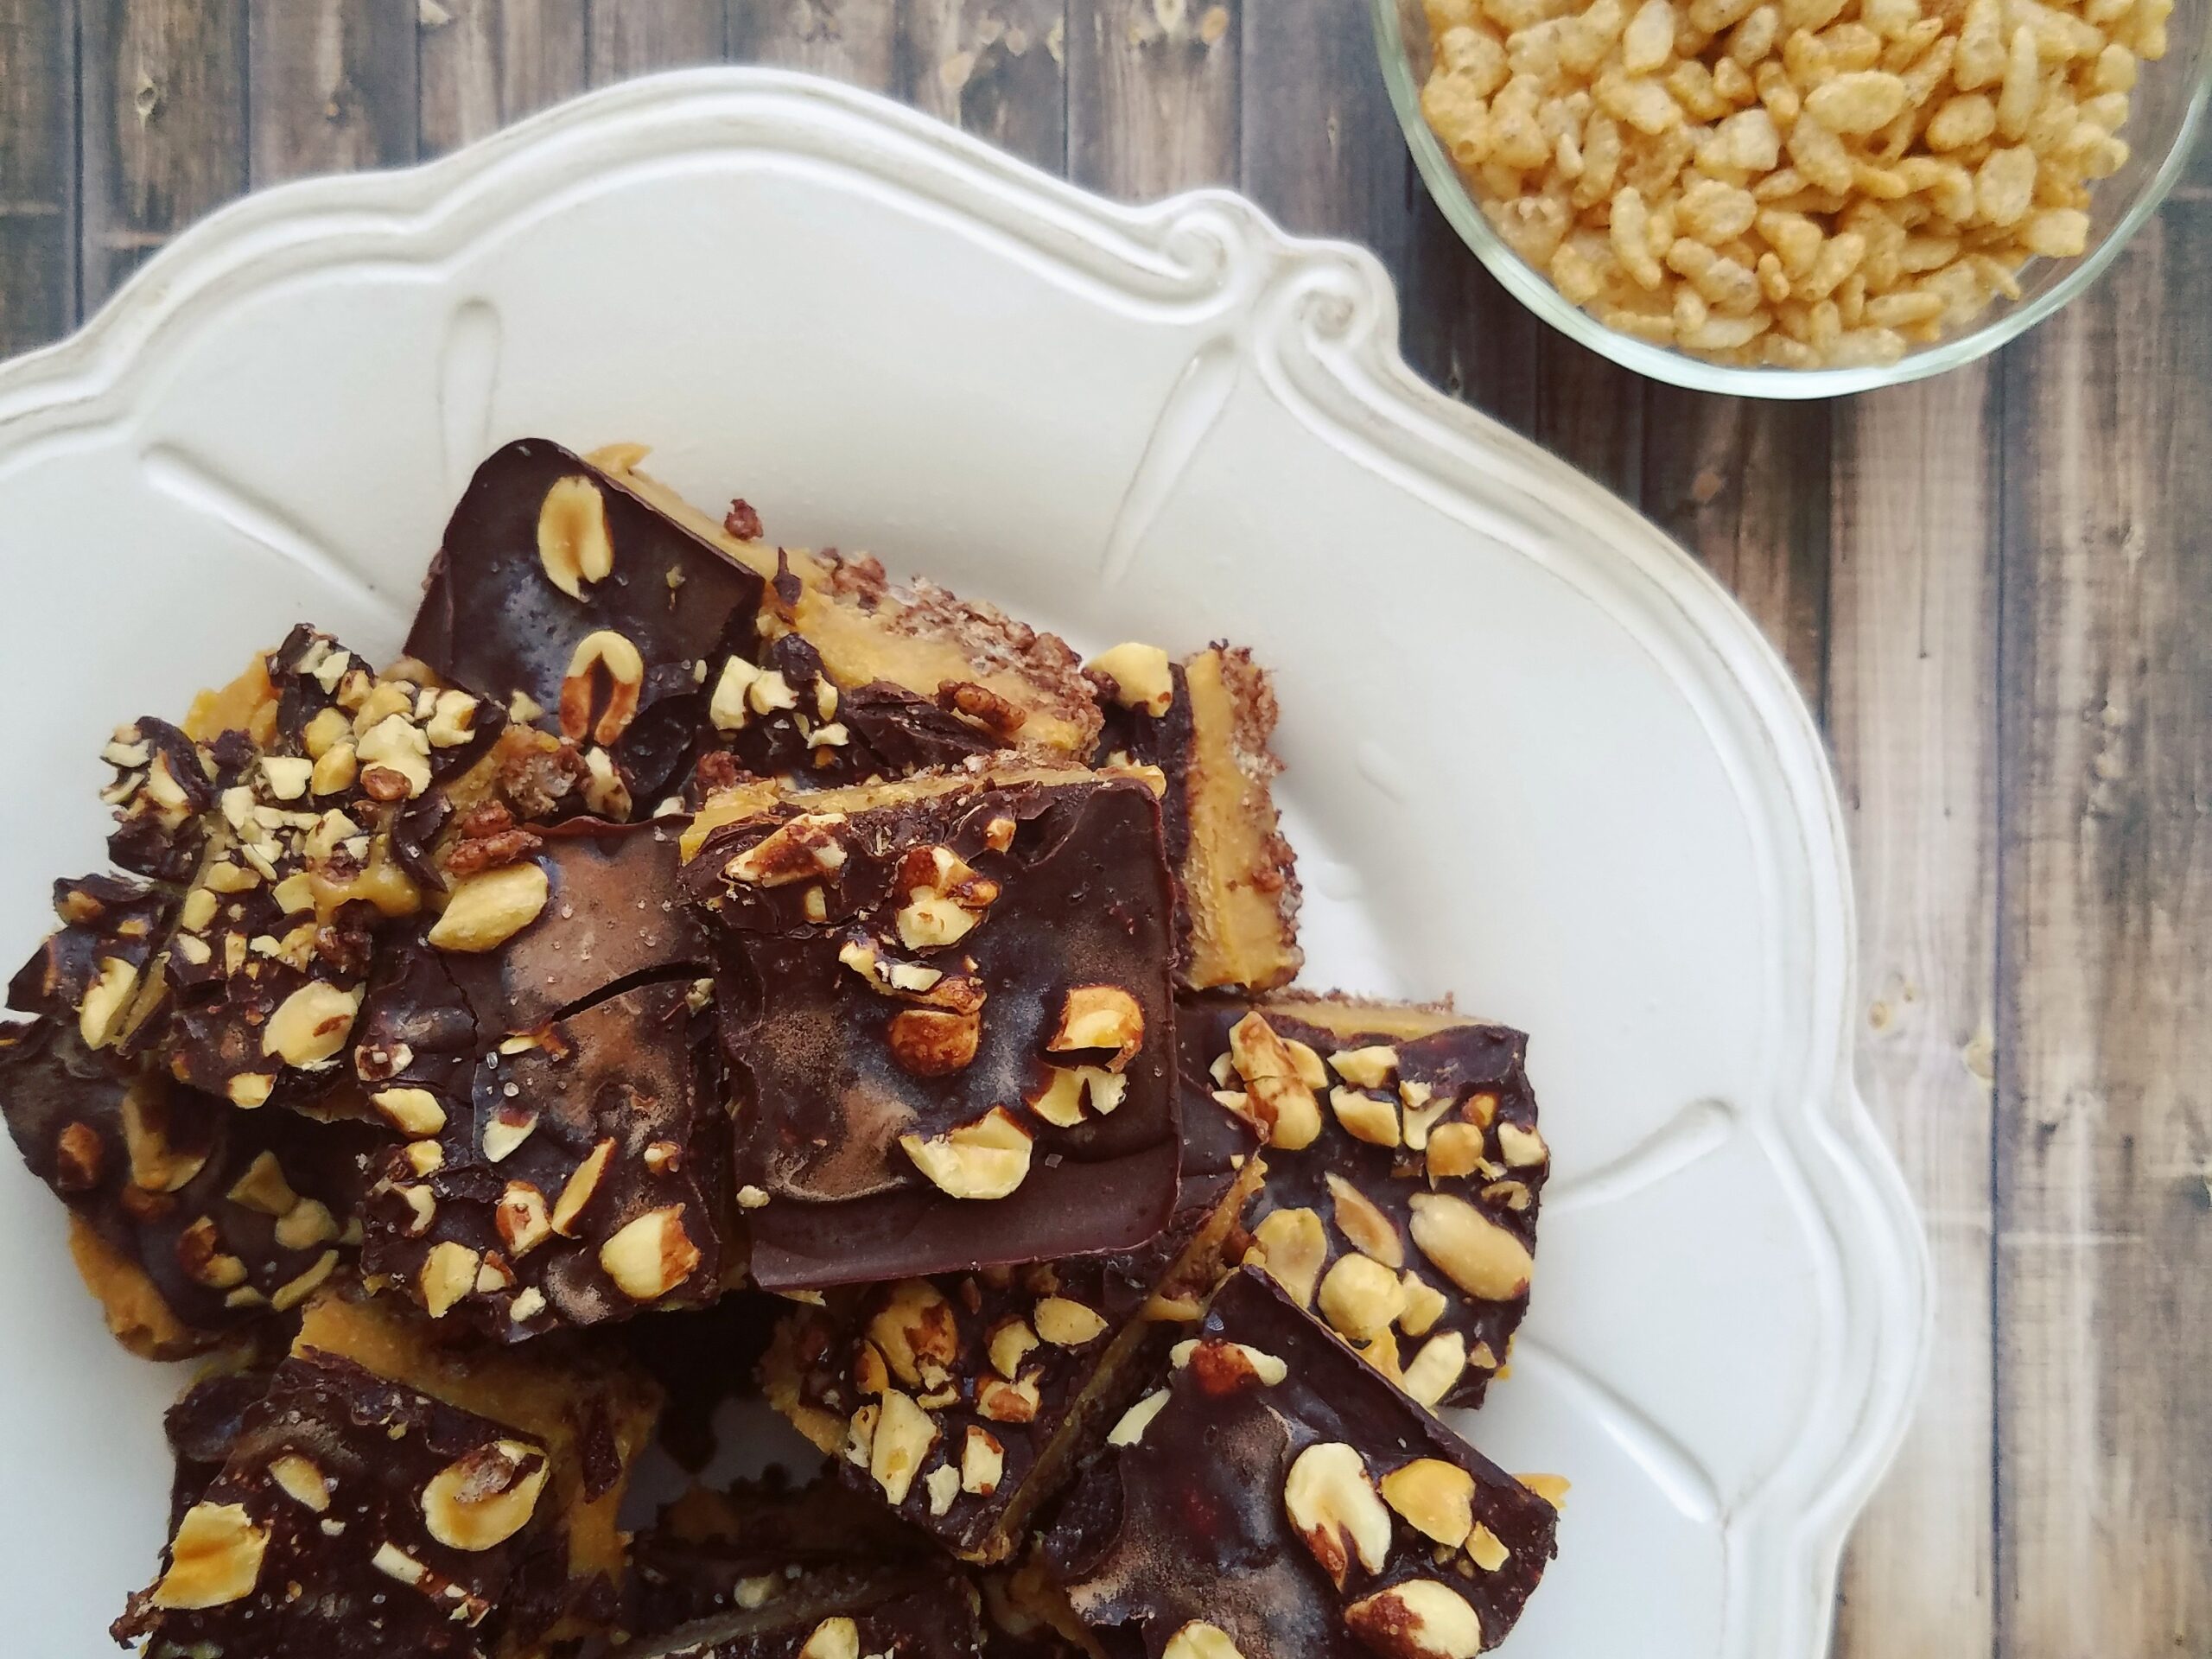
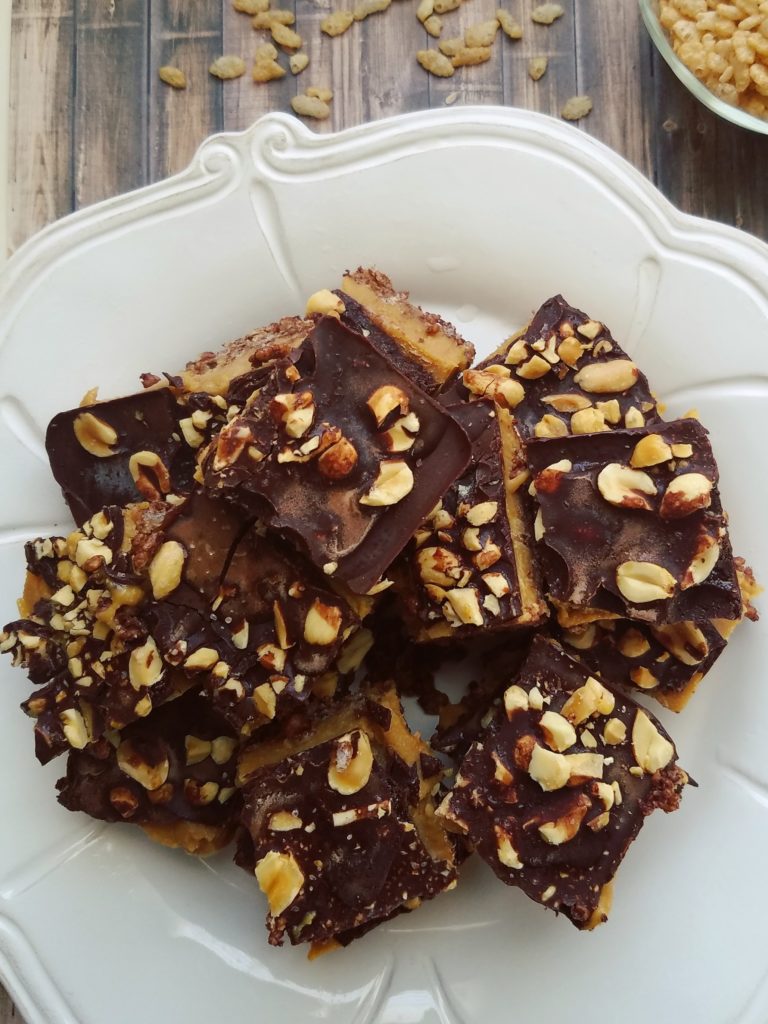
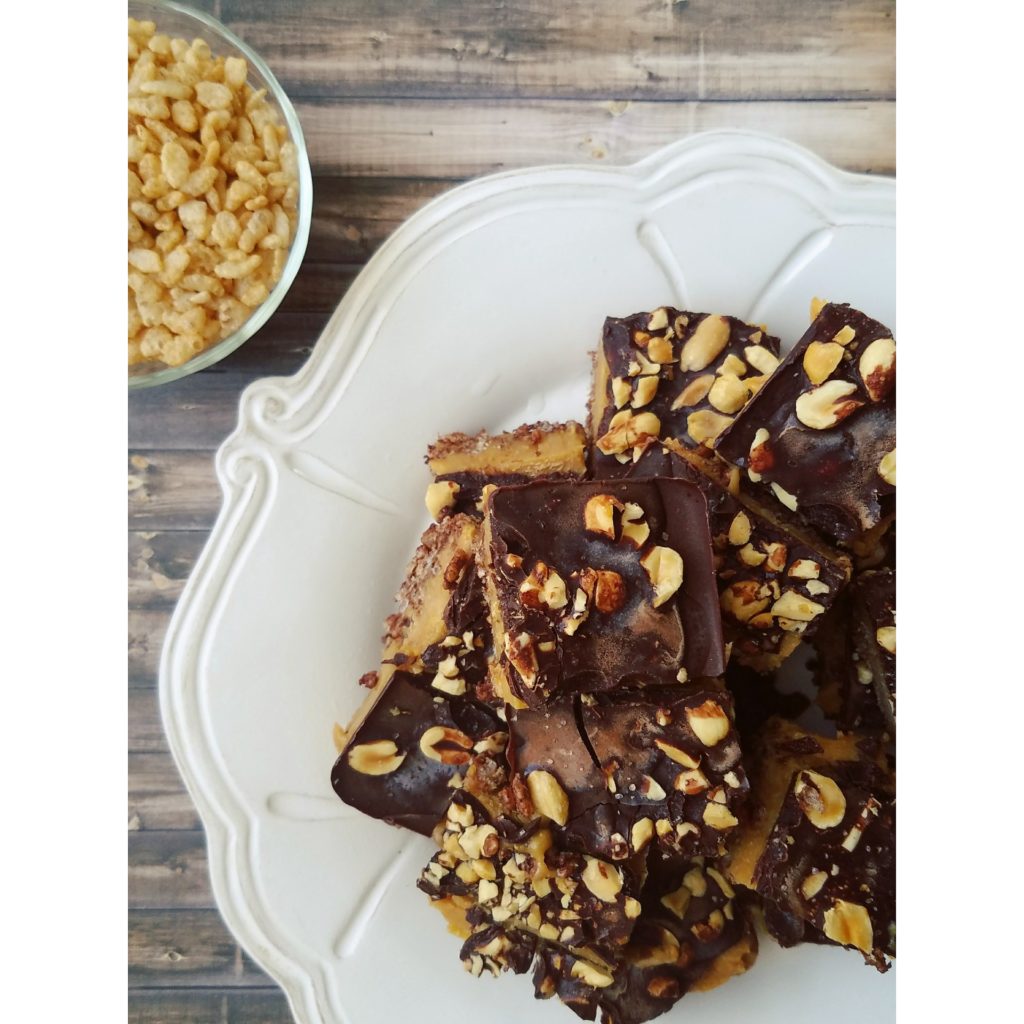
These rich and creamy no-bake bars, adapted from Angela Liddon’s recipe, make for a satisfying dessert or snack when those chocolate peanut butter cravings kick in! The combination of crispiness from the crust and creaminess from the bars just can’t be beat!
Ingredients
Crust Ingredients:
1 ½ tbsp melted virgin coconut oil
1 ½ cups Erewhon Organic Cinnamon Brown Rice Cereal
2 tbsp cacao powder or cocoa powder
2 tbsp maple syrup
a pinch of salt
Filling Ingredients:
1 cup natural peanut butter
¼ cup maple syrup
¼ cup melted virgin coconut oil
¼ to ½ tsp salt, depending on the saltiness of the peanut butter
1 tsp vanilla extract
Chocolate Topping Ingredients:
1/3 cup melted virgin coconut oil
1/3 cup cacao or cocoa powder
1 tbsp maple syrup
1/3 cup unsalted dry-roasted peanuts, chopped, for topping
Sea salt, for topping, optional
Instructions
Line a large loaf tin (see notes) with parchment paper and lightly grease with coconut oil.
In a bowl, combine the first 5 ingredients for the crust. With a rubber spatula, mash up the cereal until it looks crumby and thoroughly coated. Then, press the crust down into the bottom of the loaf tin. Place it in the freezer while you prepare the filling.
In the same bowl, rinsed and wiped clean, combine the next five ingredients. As a precaution, make sure the ingredients for the filling are all room temperature. If the maple syrup or peanut butter are cold then that will make the coconut oil seize up. The mixture should be smooth. Adjust salt to taste.
Remove the crust from the freezer and pour the filling on top. Gently swivel the pan so that the filling covers the crust completely and so that the top is flat and even. Now, the filling will set in the freezer for an hour before the final topping.
After waiting the appropriate amount of time for the filling to solidify, begin making the chocolate topping. Whisk together melted coconut oil, cacao powder, and maple syrup until no clumps remain. Chop the peanuts and keep them at the ready.
Remove the loaf tin from the freezer and pour the chocolate over the filling. Be warned: it freezes almost instantaneously! While the chocolate is still wet, throw on the peanuts and a sprinkle of sea salt. The chocolate layer will soon solidify from the cold from the loaf tin.
You may then remove the bars, using the parchment paper to lift them out. Move them to a cutting board and slowly cut into 18-20 squares. If the bars seem melty in any way, do put them back into the freezer for 10 minutes or so. They may fall apart if you try cutting them while soft.
The peanut butter chocolate dream bars are best stored in the freezer. Pull one out when you want to enjoy a bar and let it sit at room temperature for up to 3-5 minutes. They will soften to an easier-to-bite state. Wait a little longer and the peanut butter filling gets extra oozy and delicious!
Notes
My baking tin is 9.5 x 5 inches though Angela’s recipe uses a 10 x 6 inch pan. I believe that a standard 9 x 5 loaf tin could work, too but your bars will just be a bit thicker.[br]Cooking time also reflects freezing time in this recipe.
When I was younger, my mom used to bake up cookies every few weeks to feed the sweet tooth that my sister and I had. As a kid, nothing was better than a glass of milk and a belly full of cookies. YES. I had no self-restraint and never stopped at just one. Homemade cookies are best when fresh so I would eat 4-5 that first day…and the second day…and maybe just two or three after that…if there were still any cookies left.
Sadly, traditional cookies have several cups of sugar, white flour, butter, plus additional sugary add-ins. Yupp, I don’t know how young Melanie did it! If I tried to recreate my old 4-5 cookies indulgence these days I would definitely end up with a stomach ache. Nowadays, I don’t crave cookies in the same way. Though, sometimes your girl gets a craving for healthified versions of old favorites. Thus, I whipped up some cookies that I consider to be more nutritionally balanced.
Ingredients breakdown:
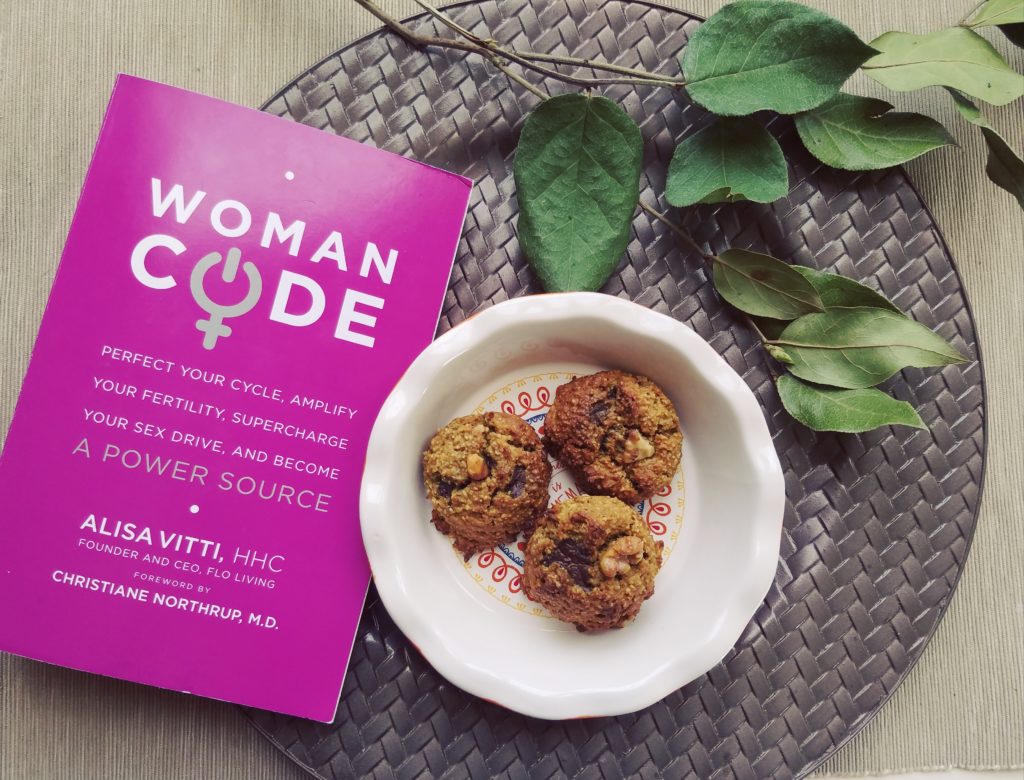
We’ve got banana and pumpkin to soften up the cookies and a mere ½ cup of sugar to sweeten them up. I am extremely cautious about my sugar intake and, ever since reading Woman Code, I try to avoid adding excess sugar unless absolutely necessary (sidenote: possible post on this in the upcoming future). The fact is: cookies just don’t taste like cookies without some kind of sweetener. These are just lightly sweetened with a mixture of brown and coconut sugar. Of course, you could add an extra ¼ cup of sugar for sweeter cookies. Feel free taste-test the batter 😉 Though, I think you’ll find there is something nice about the subtle level of sweetness in these.
Also, let’s not forget about fats. I know there are some cookie recipes out there that might bake up with simply banana but I like incorporating healthy fats into my food. Why, you ask? Well, fat helps slow the absorption of sugar and keeps me satiated. Not to mention, it helps make the cookies crisp up on the outside and stay fluffy on the inside.
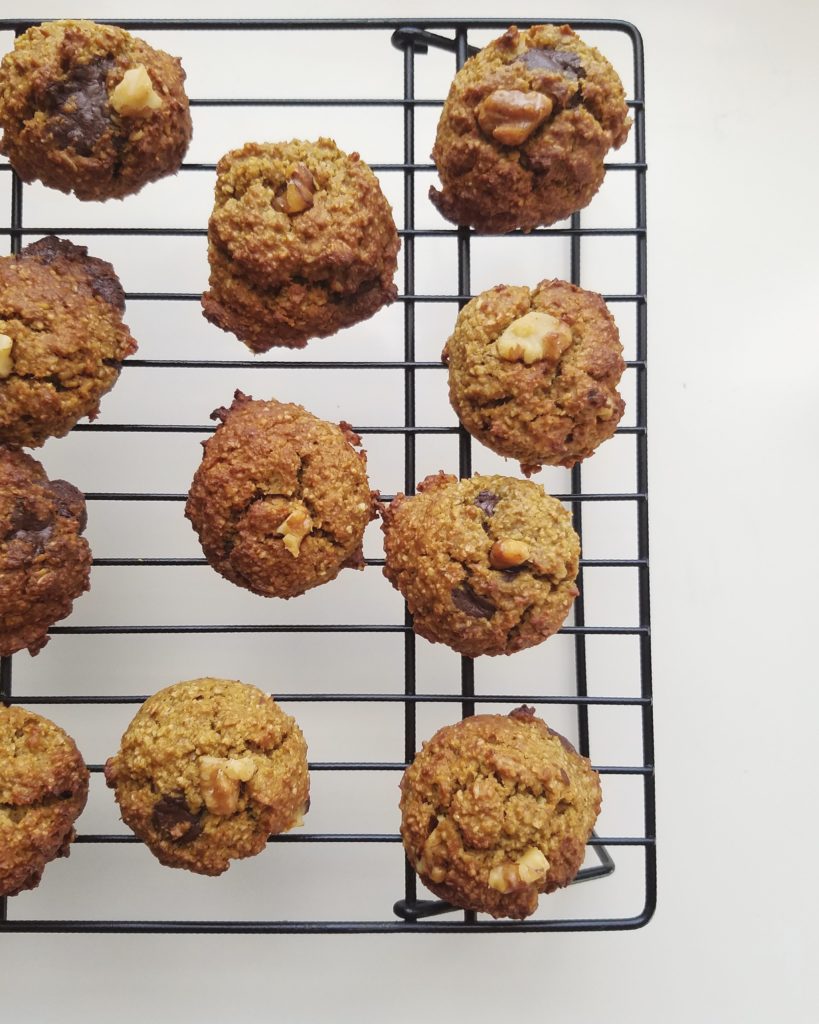
In addition, you can include up to a cup worth of dried fruit, nuts, ALOHA brand chopped chocolate, or whatever you like. I went with a small amount of chocolate and walnuts to add a bit more healthy fats and protein. Speaking of protein, definitely try adding a scoop of your favorite protein powder, if you’d like. Sometimes my family can taste the protein powder in baked goods so I went with an unflavored plant-based protein powder from The Natural Citizen. That is totally optional, though. I’ll provide alternatives to the protein powder in the recipe!
Without further ado, here is the recipe for the pumpkin cookies:
GF + V Pumpkin Cookies
Recipe Type: Snacks, Dessert
Cuisine: Cookies
Author: Melanie
Prep time:
Cook time:
Total time:
Serves: 24
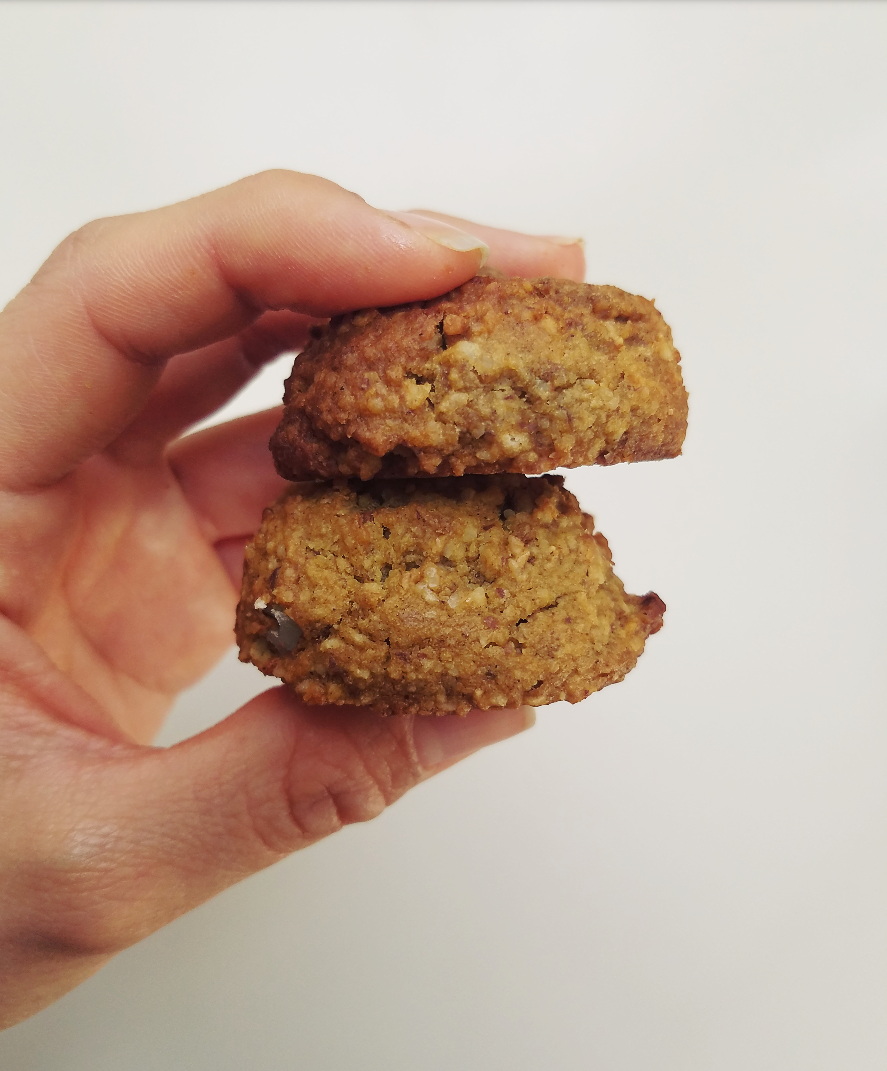
I call these cookies while my sister likes to call them muffins. Whatever you call them, they are good. My sister is hard to please but I got a thumbs up from her with these cookies (or muffins). They are lightly sweet but still delicious!
2 servings of unflavored plant-based protein powder (½ cup worth)*
1/3 cup chopped dark chocolate
½ cup chopped walnuts, save some for topping
Instructions
Preheat the oven to 375°F and line a large baking sheet with parchment paper or baking mat.
In a medium bowl, combine the banana and pumpkin puree. Then, stir in the sugars, baking soda, spices, coconut oil, and vanilla extract.
Use a food processor or blender to process the almonds to make a fine flour. Repeat for the oat flour.
To the wet ingredients, add the processed almond and oat flour, along with the whole rolled oats and protein powder.
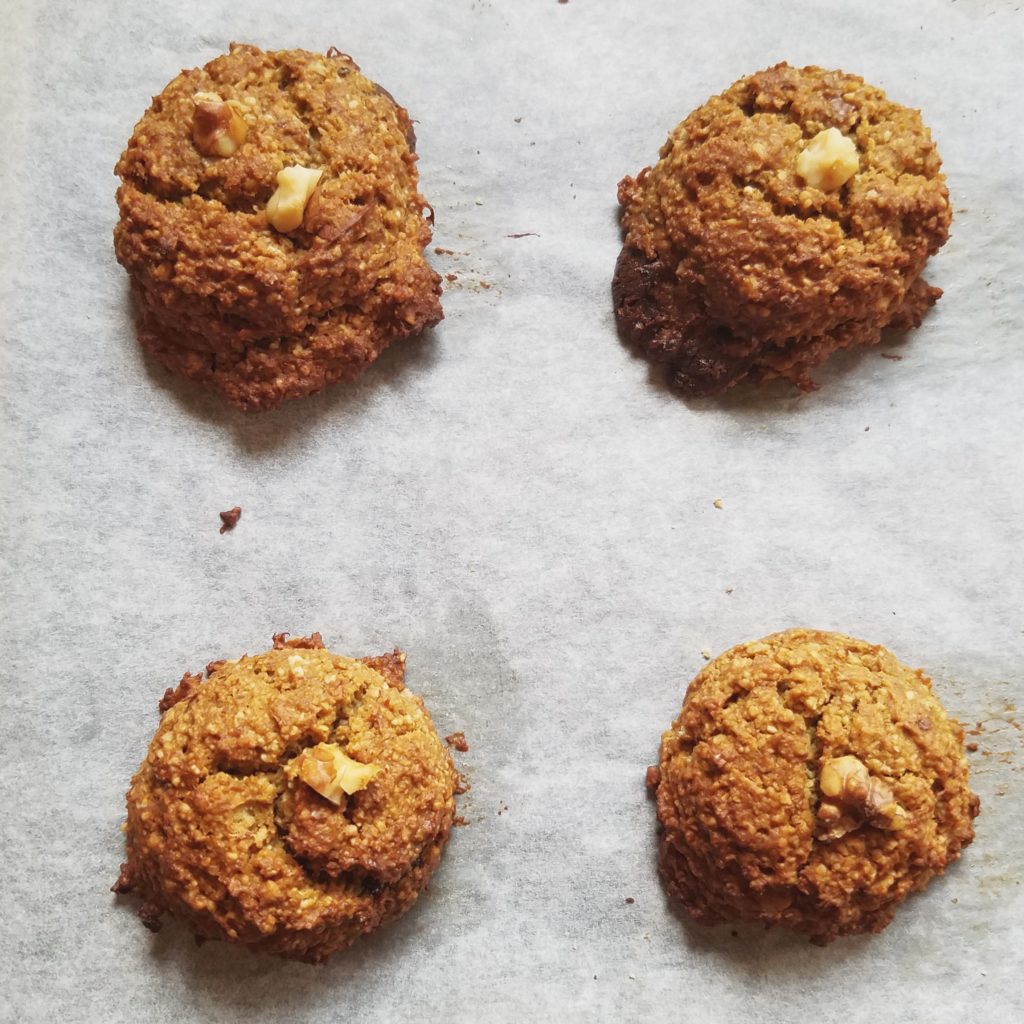
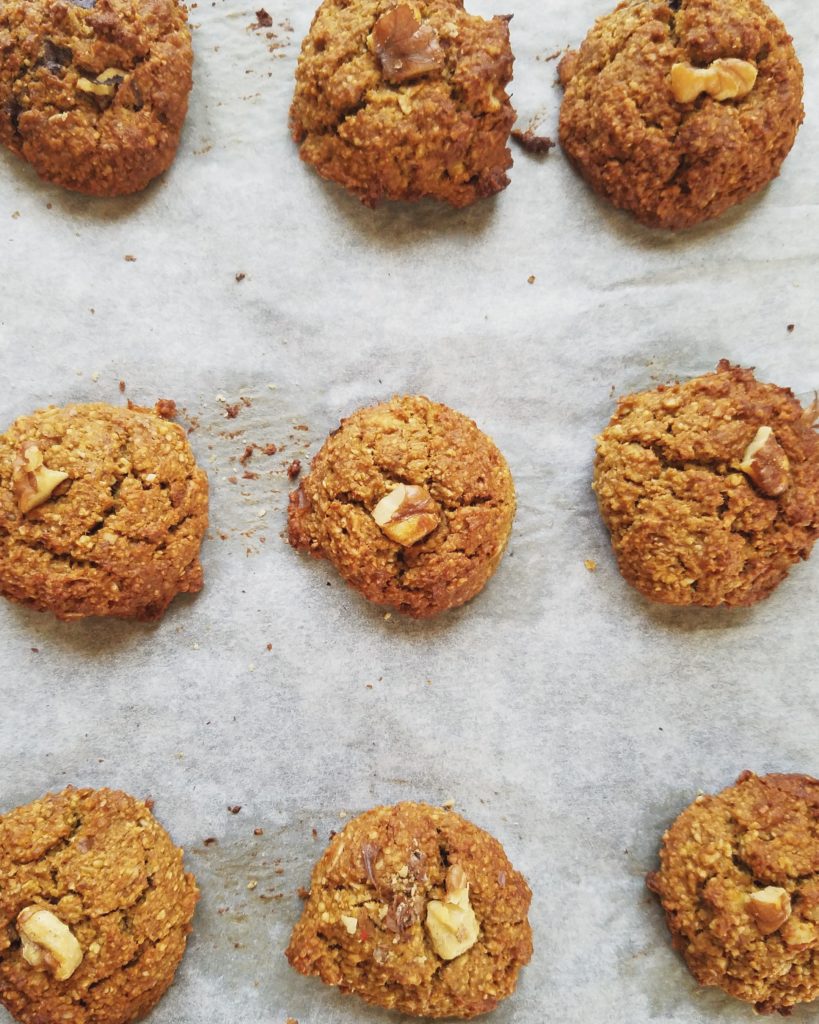
Next, fold in the chocolate chips and half of the walnuts. Use a large cookie scoop to drop dollops of the cookie dough onto the baking sheet. Place a few walnut crumbs on top of each cookie.
Bake for 13 to 14 minutes or until the tops have browned (don’t under-bake). Let the cookies cool on the baking sheet for a minute before moving to a wire rack to cool for 10 to 15 minutes more. Bake the remaining cookie dough until all is finished.
I know cookies are irresistible out of the oven but if you wait for them to cool, they will be much better. They won’t be as fall-apart delicate and their flavor will be more visible.
When cookies are completely cool, they can be stored in an airtight container or frozen.
Notes
*I use The Natural Citizen’s unflavored Organic Protein in this recipe. A flavored protein may mess with the taste so I recommend this one. Alternatively, you can easily substitute the ½ cup of protein powder for more oat flour or almond flour.[br]Evidently, if any of the ingredients are cold, that will make the coconut oil clump up. Small specks are okay but large clumps need to be dissolved. You can lightly warm the batter in a microwave safe bowl and proceed with the recipe.[br]Instead of grinding almonds yourself (which I recommend for the freshest taste), you can also use ½ cup almond or peanut flour.
I know what it feels like to get major cravings all of a sudden and desire immediate satisfaction.
I try not to keep unhealthy snacks or desserts around my house because I do not want the temptation.
Sure, I could make myself a healthy dessert but the thought of going through a lengthy process to whip up something is not always appealing. Plus, what would I do with the leftovers? Or, more likely, the problem will be that there are no leftovers.
Sometimes I have no self-restraint 🙈
Thus, I have created a treat to satisfy the quick snack cravings in a way that won’t leave you feeling yucky from an overindulgent dessert.
I cover all the sweet treat bases:
Warm
Crispy
Fruity
Peanut-buttery
Crunchy (Wait, is that the same as crispy? Nope!)
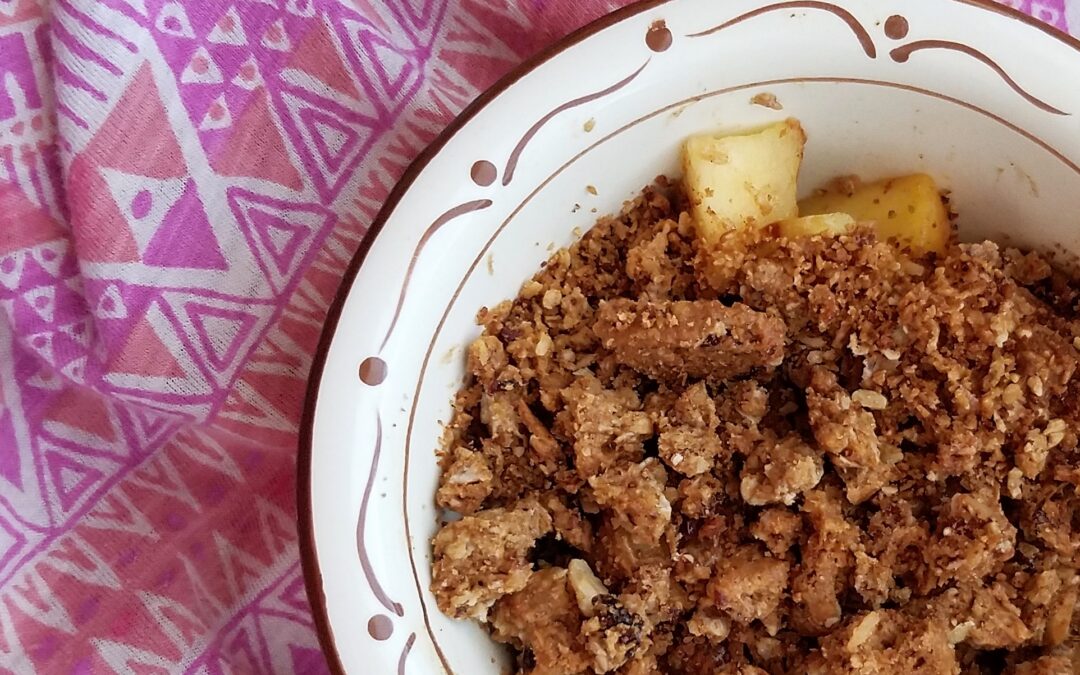
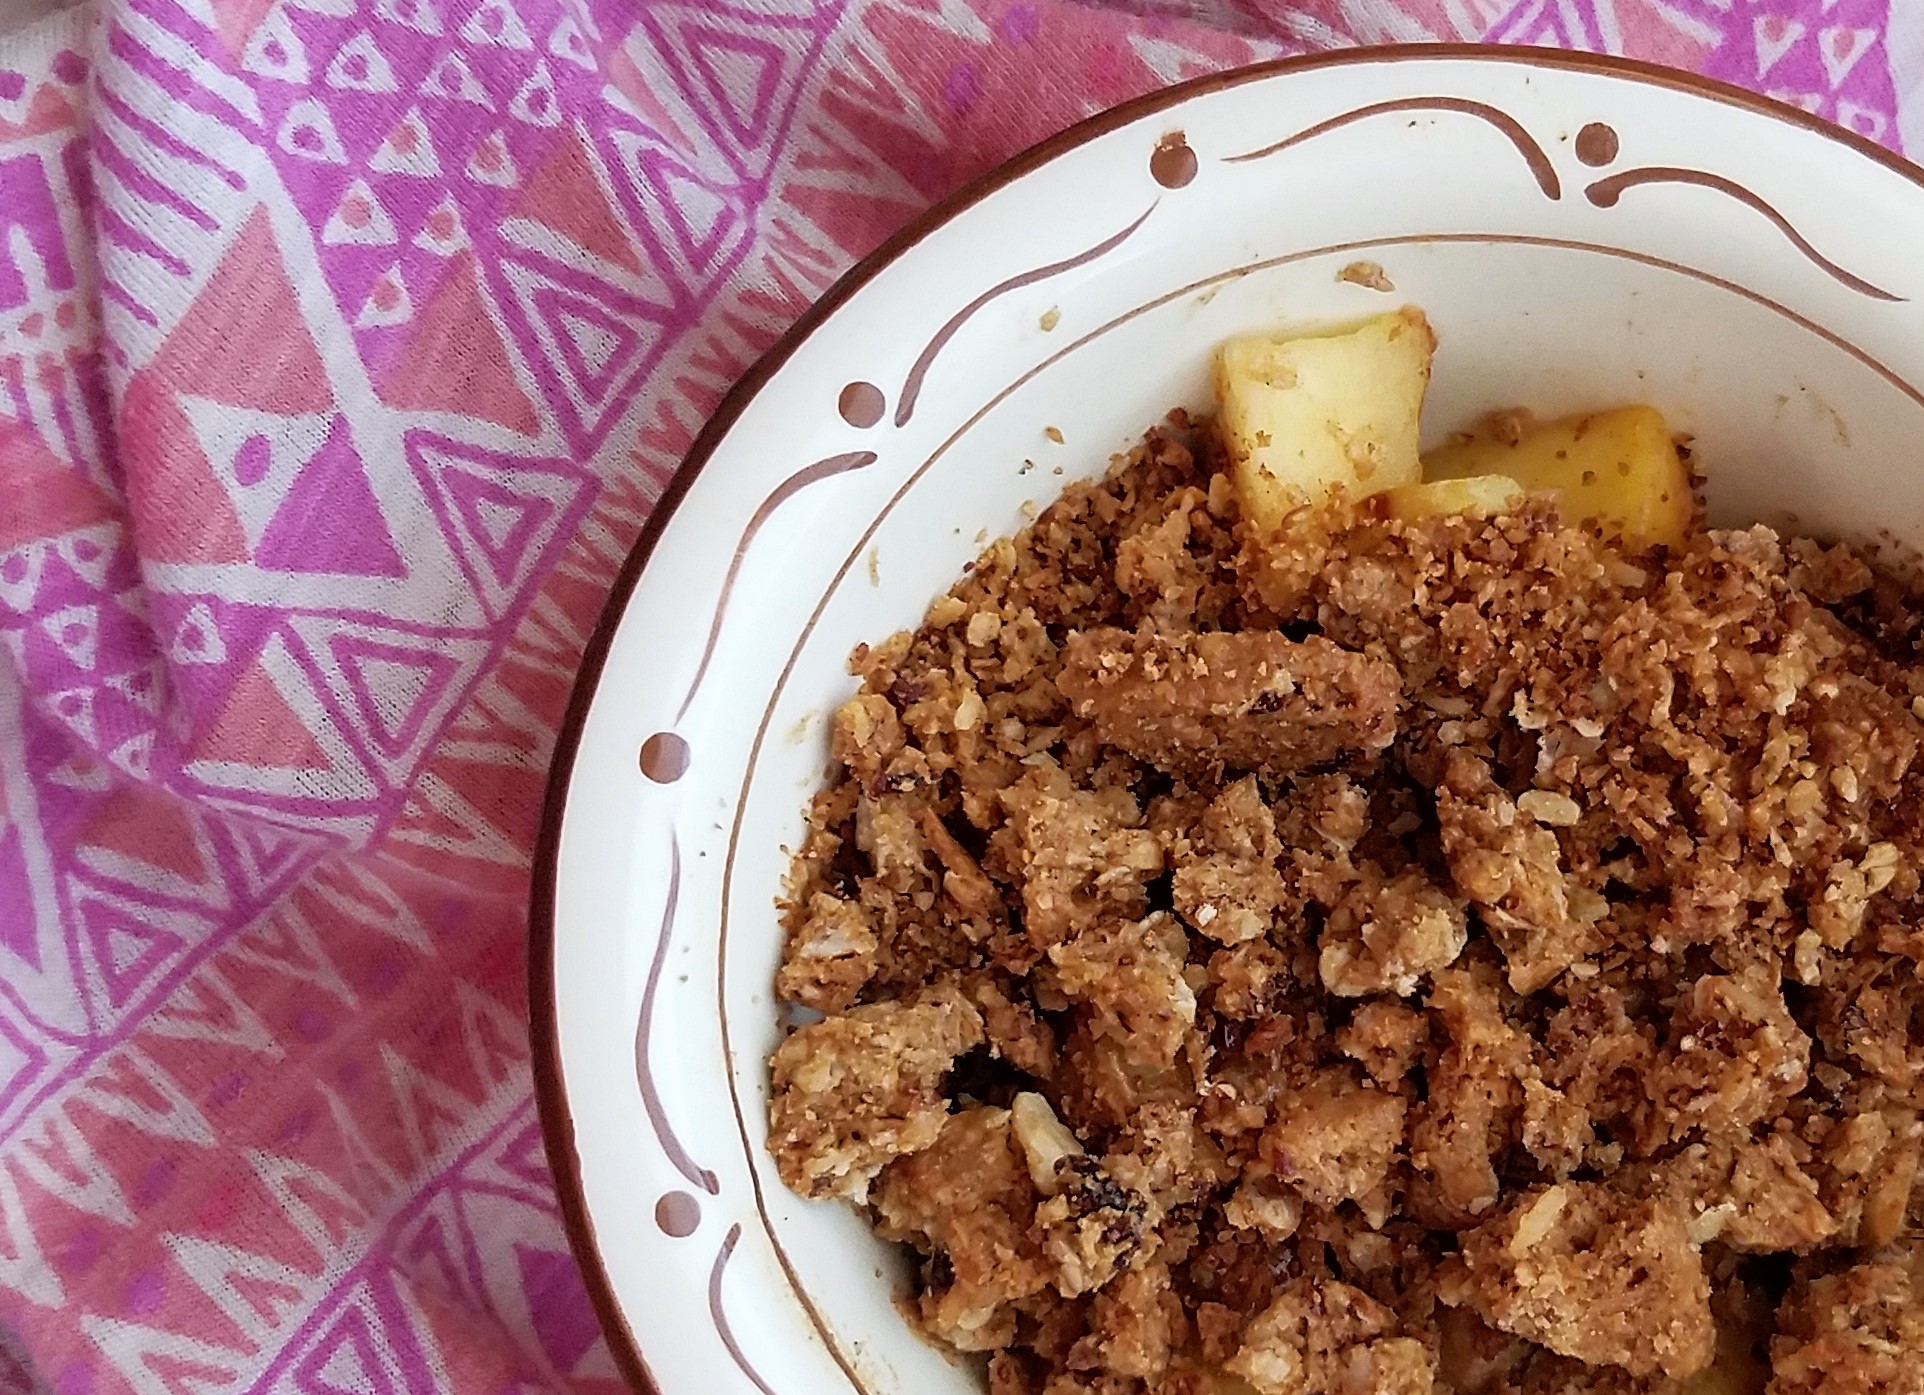
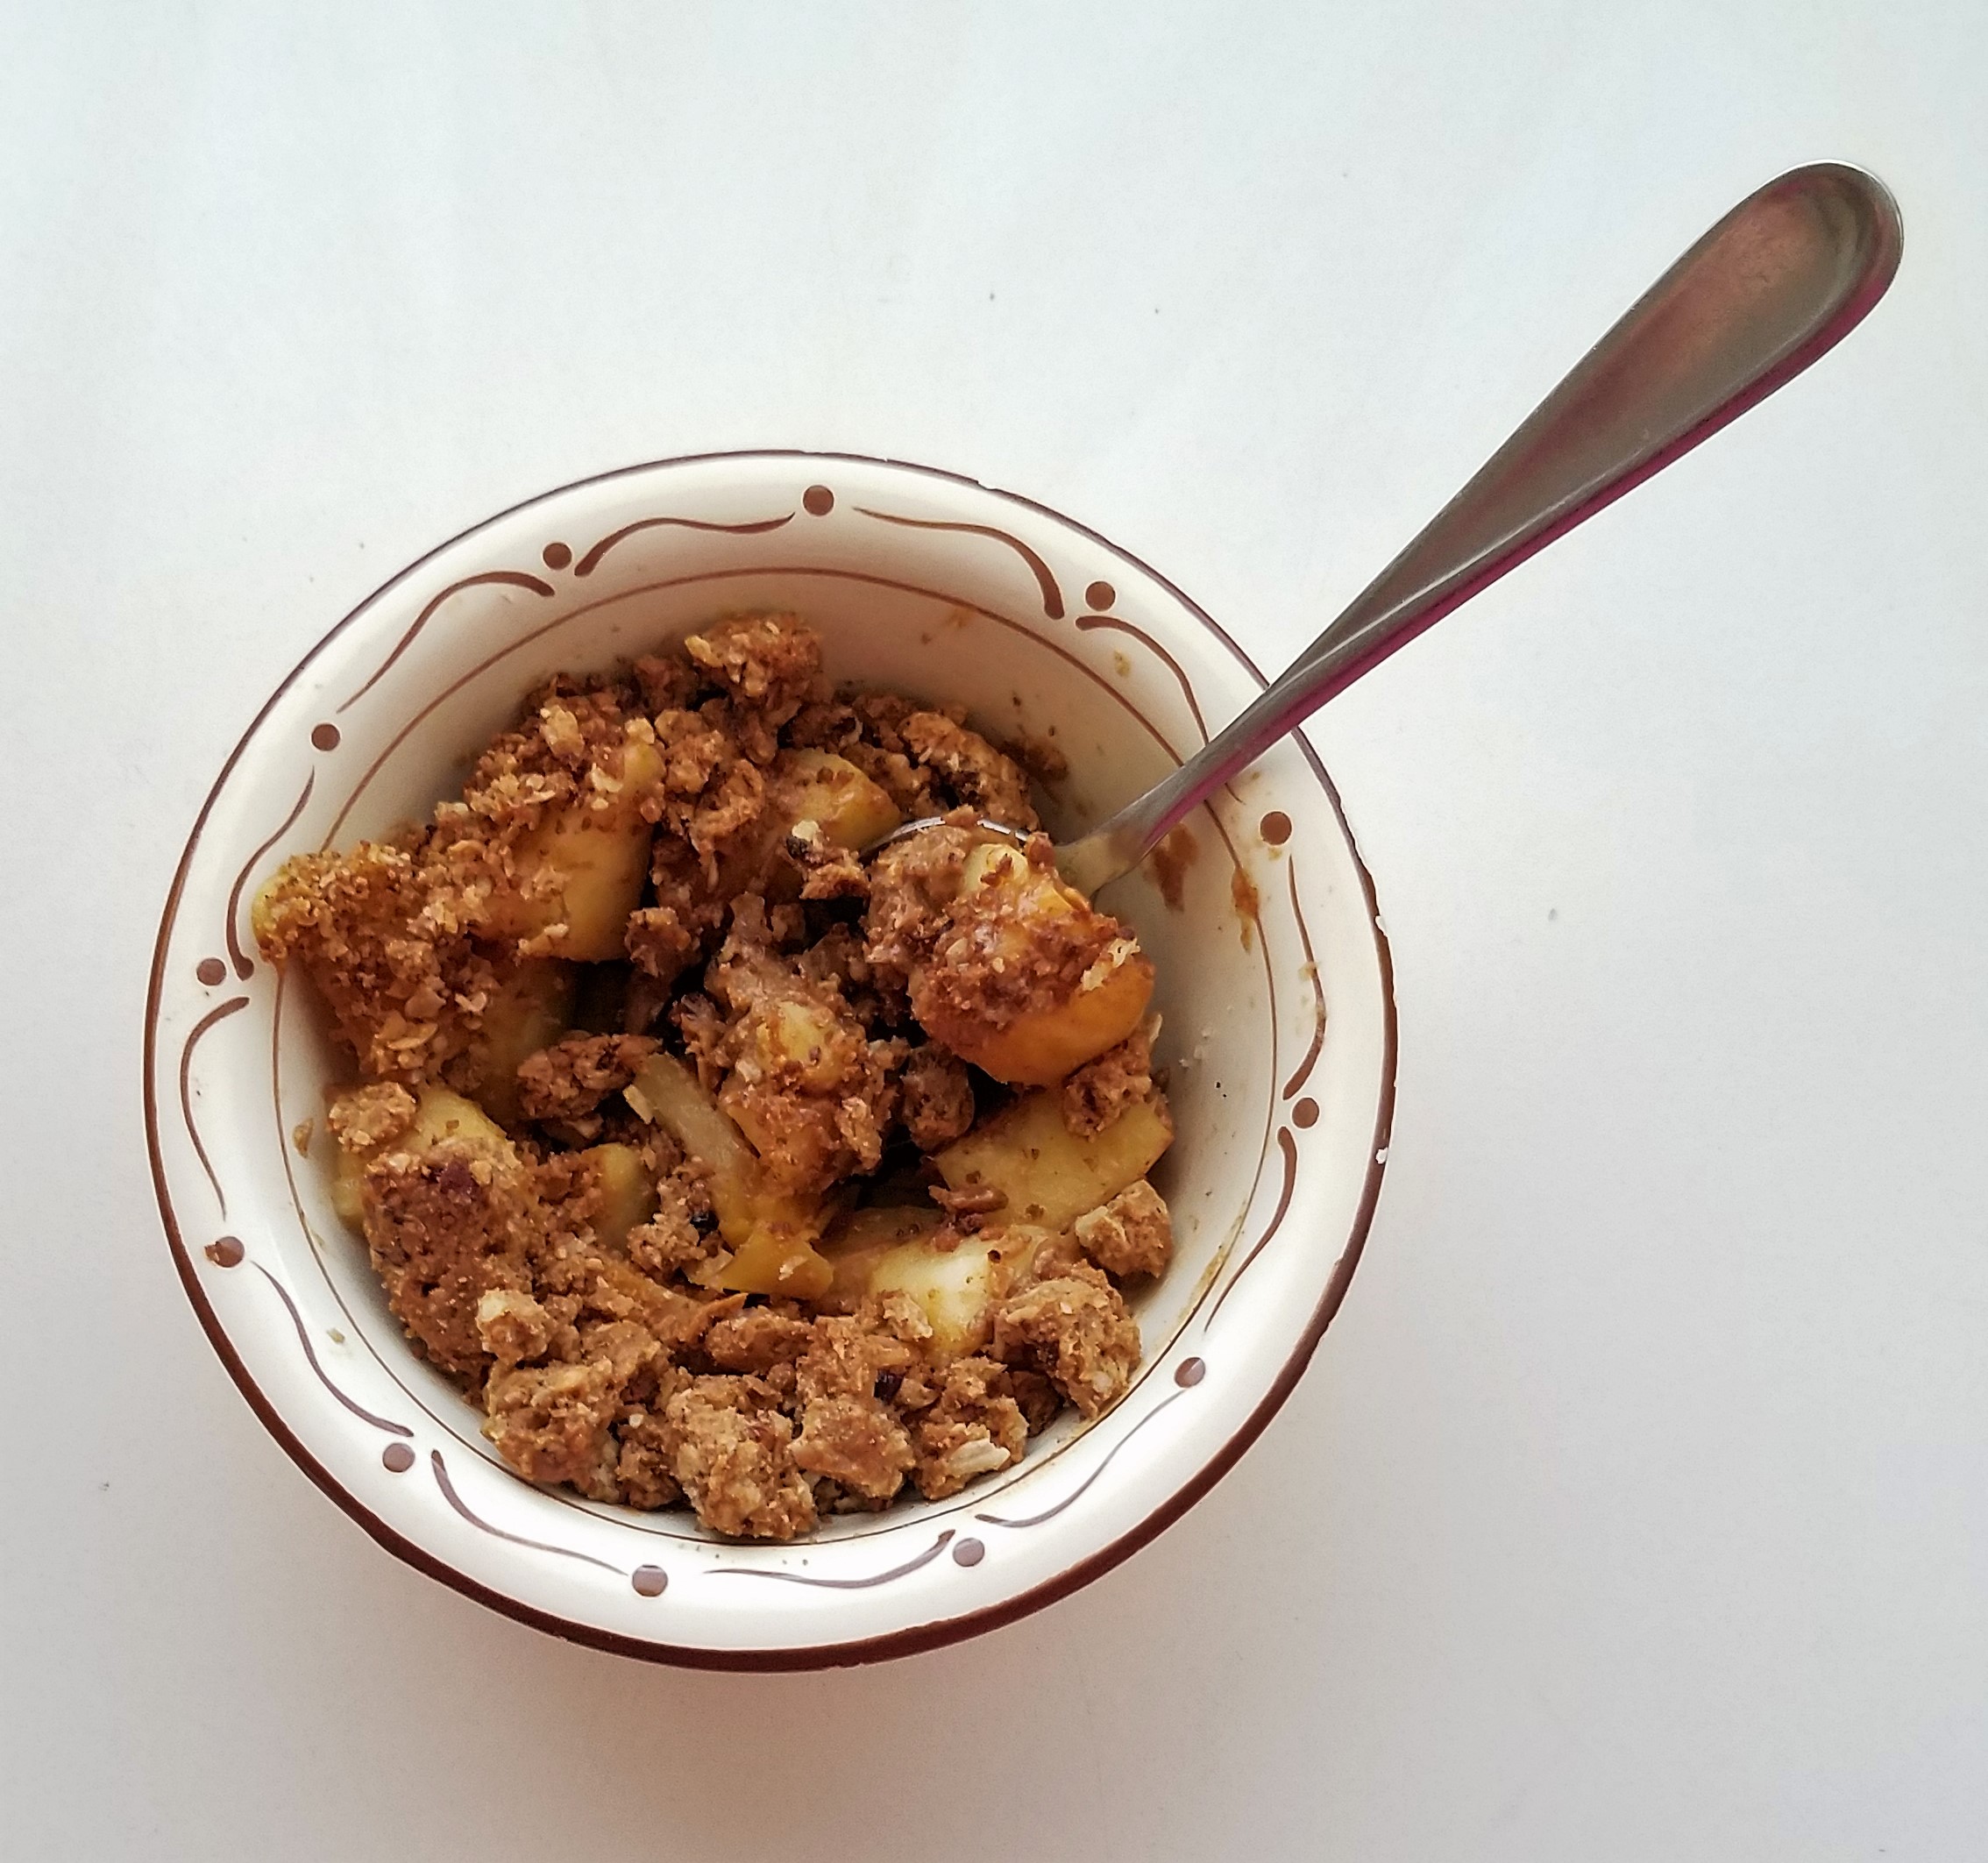
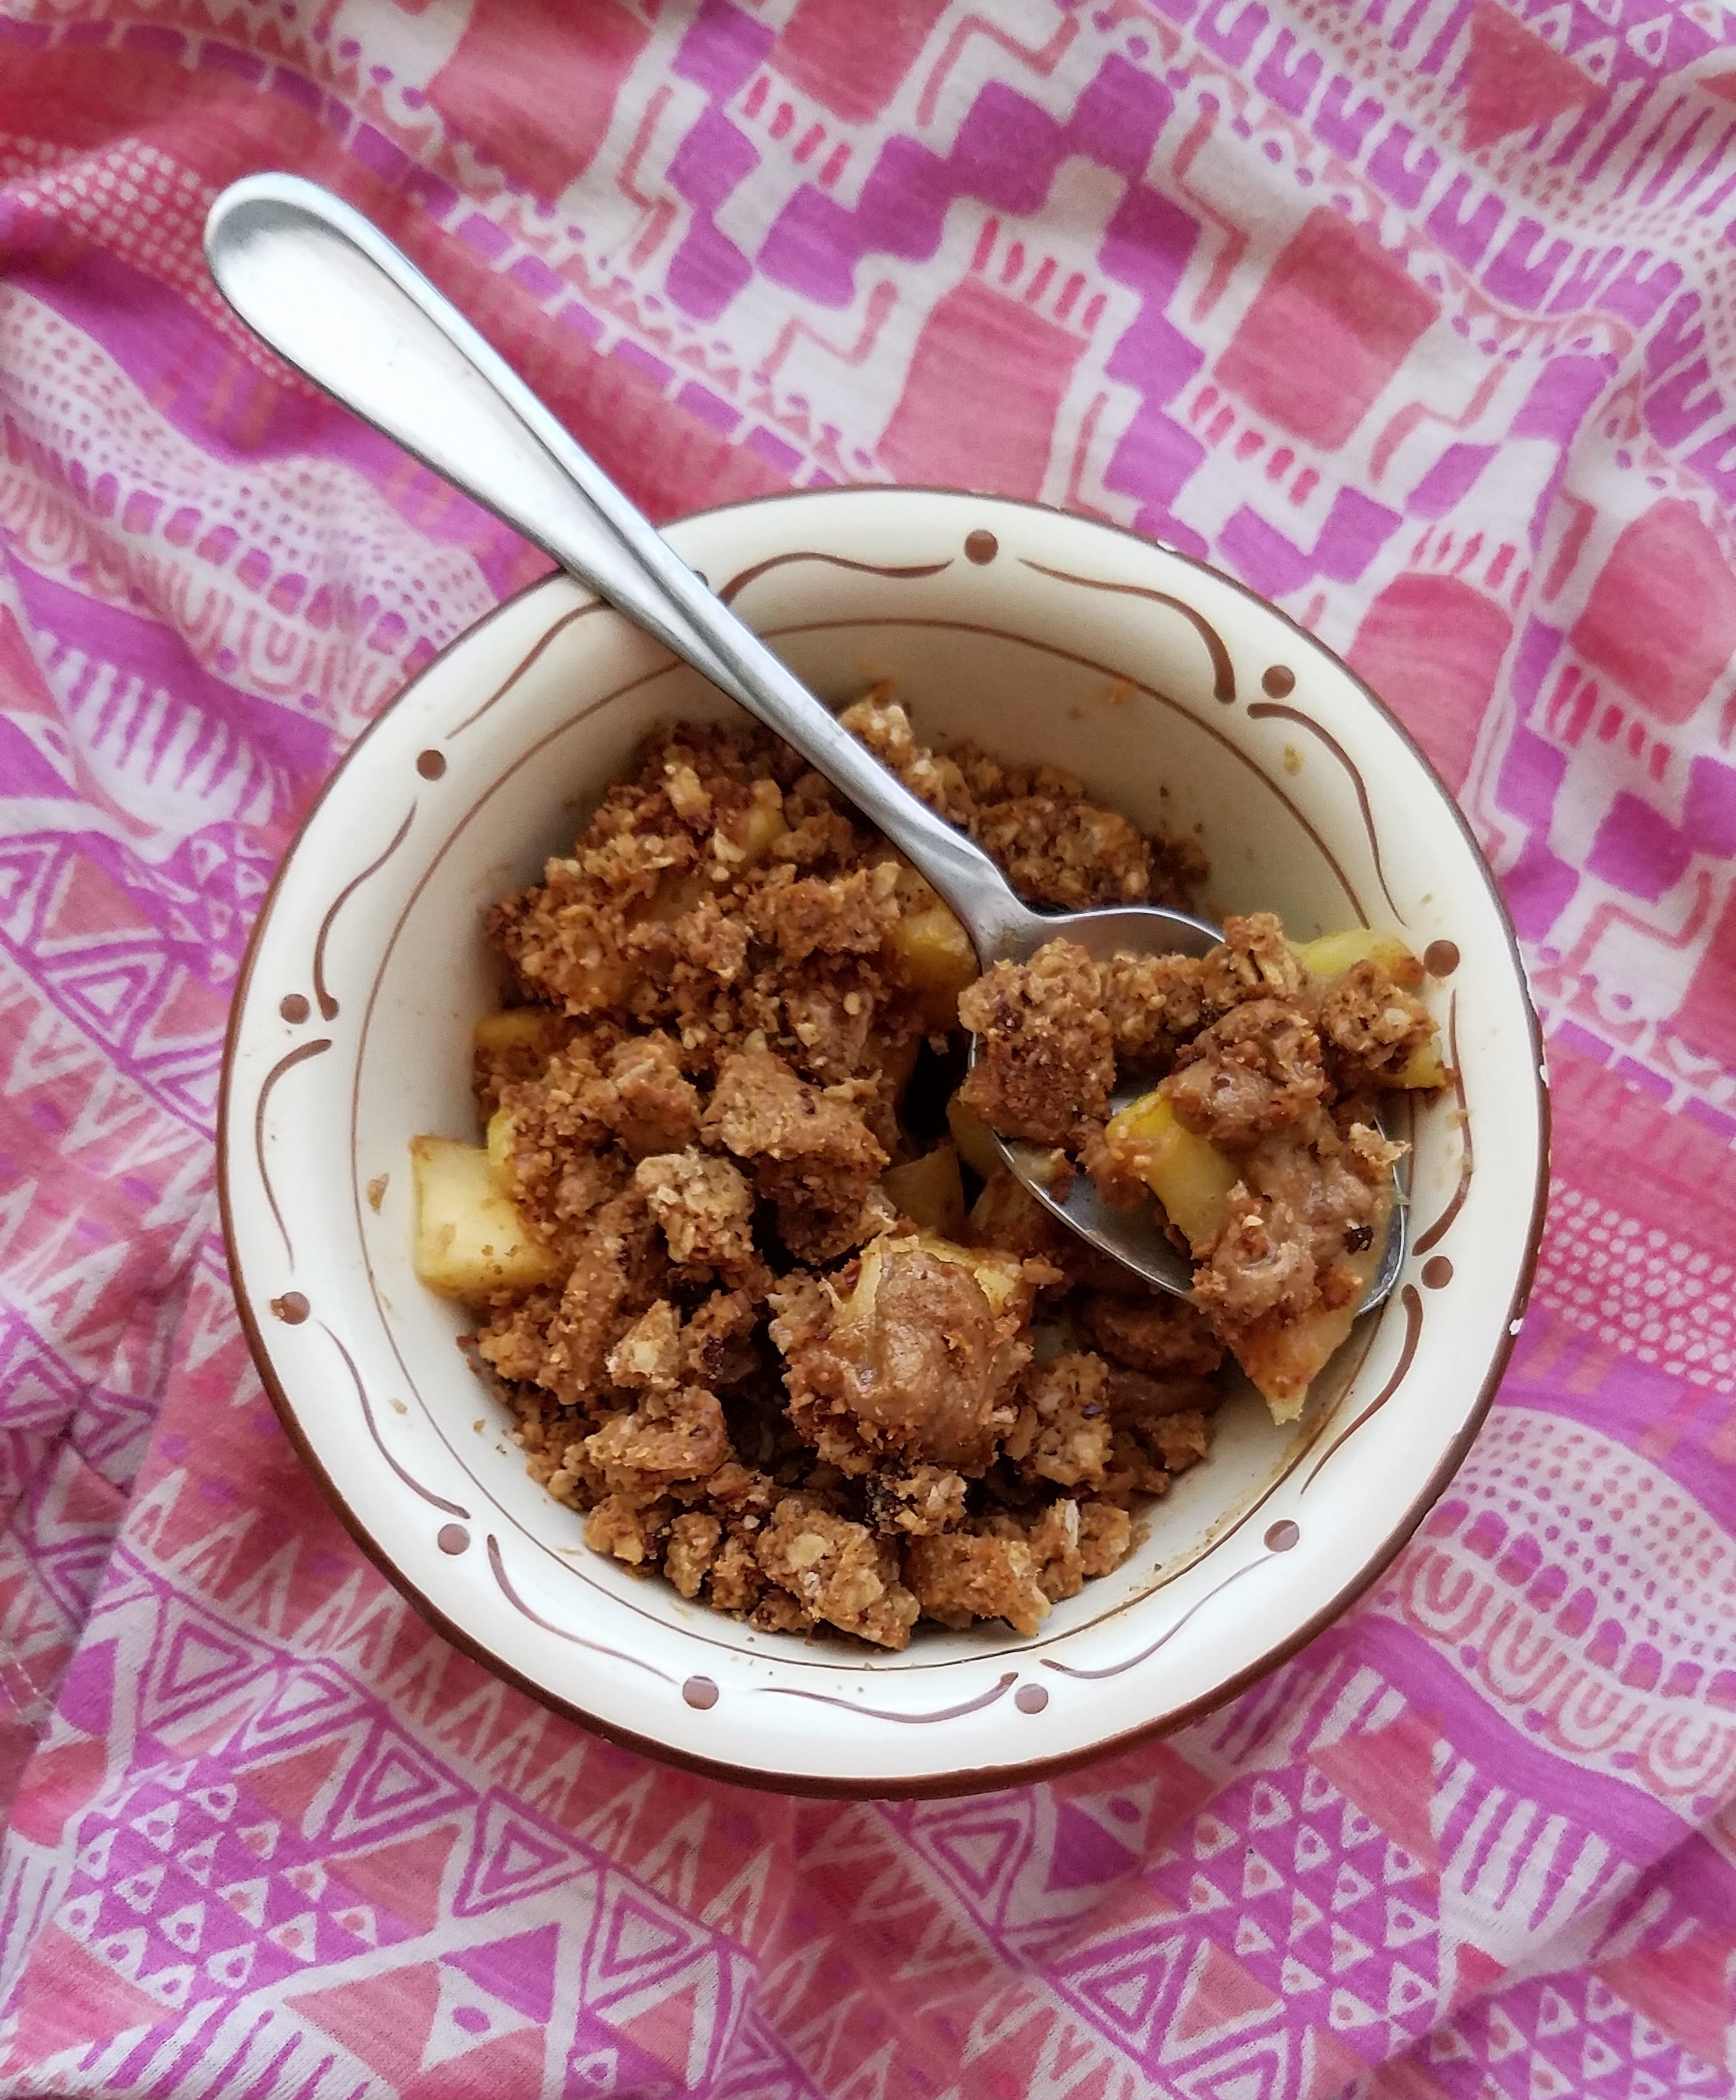
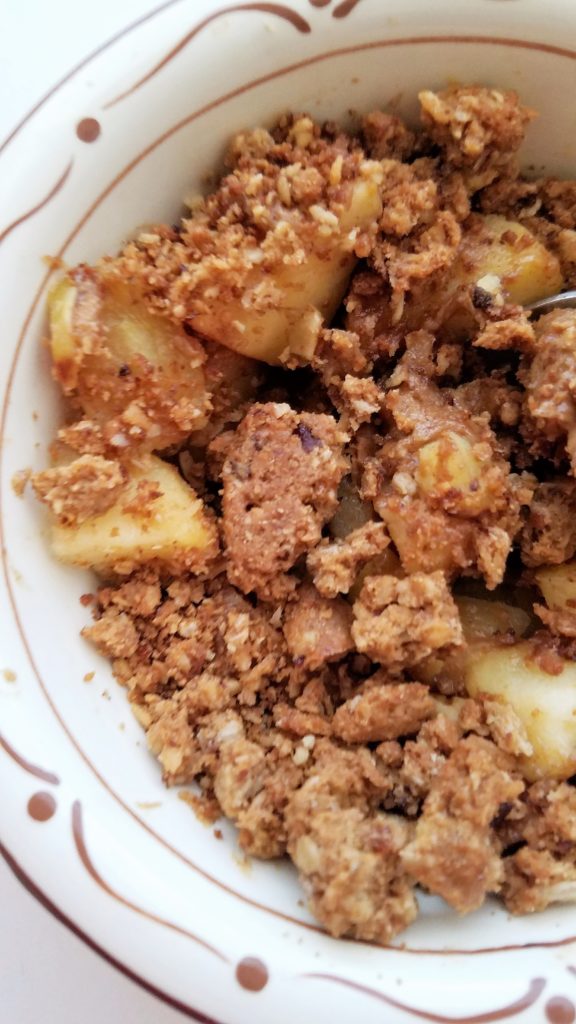
The most delicious crisp texture comes from broken down Ginnybakes cookies. They are very firm, gluten-free cookies. I personally like microwaving them for a few seconds to soften them up, if I’m going to eat them on their own, but their hockey-puck like texture is perfect for adding crunch to this dessert snack!
Also, in the recipe, I used half of a large Gala apple but feel free to use an entire apple if you don’t want to leave half of an apple lying around. Alternatively, double the recipe and share the snack-sized crisp with a friend! 😉
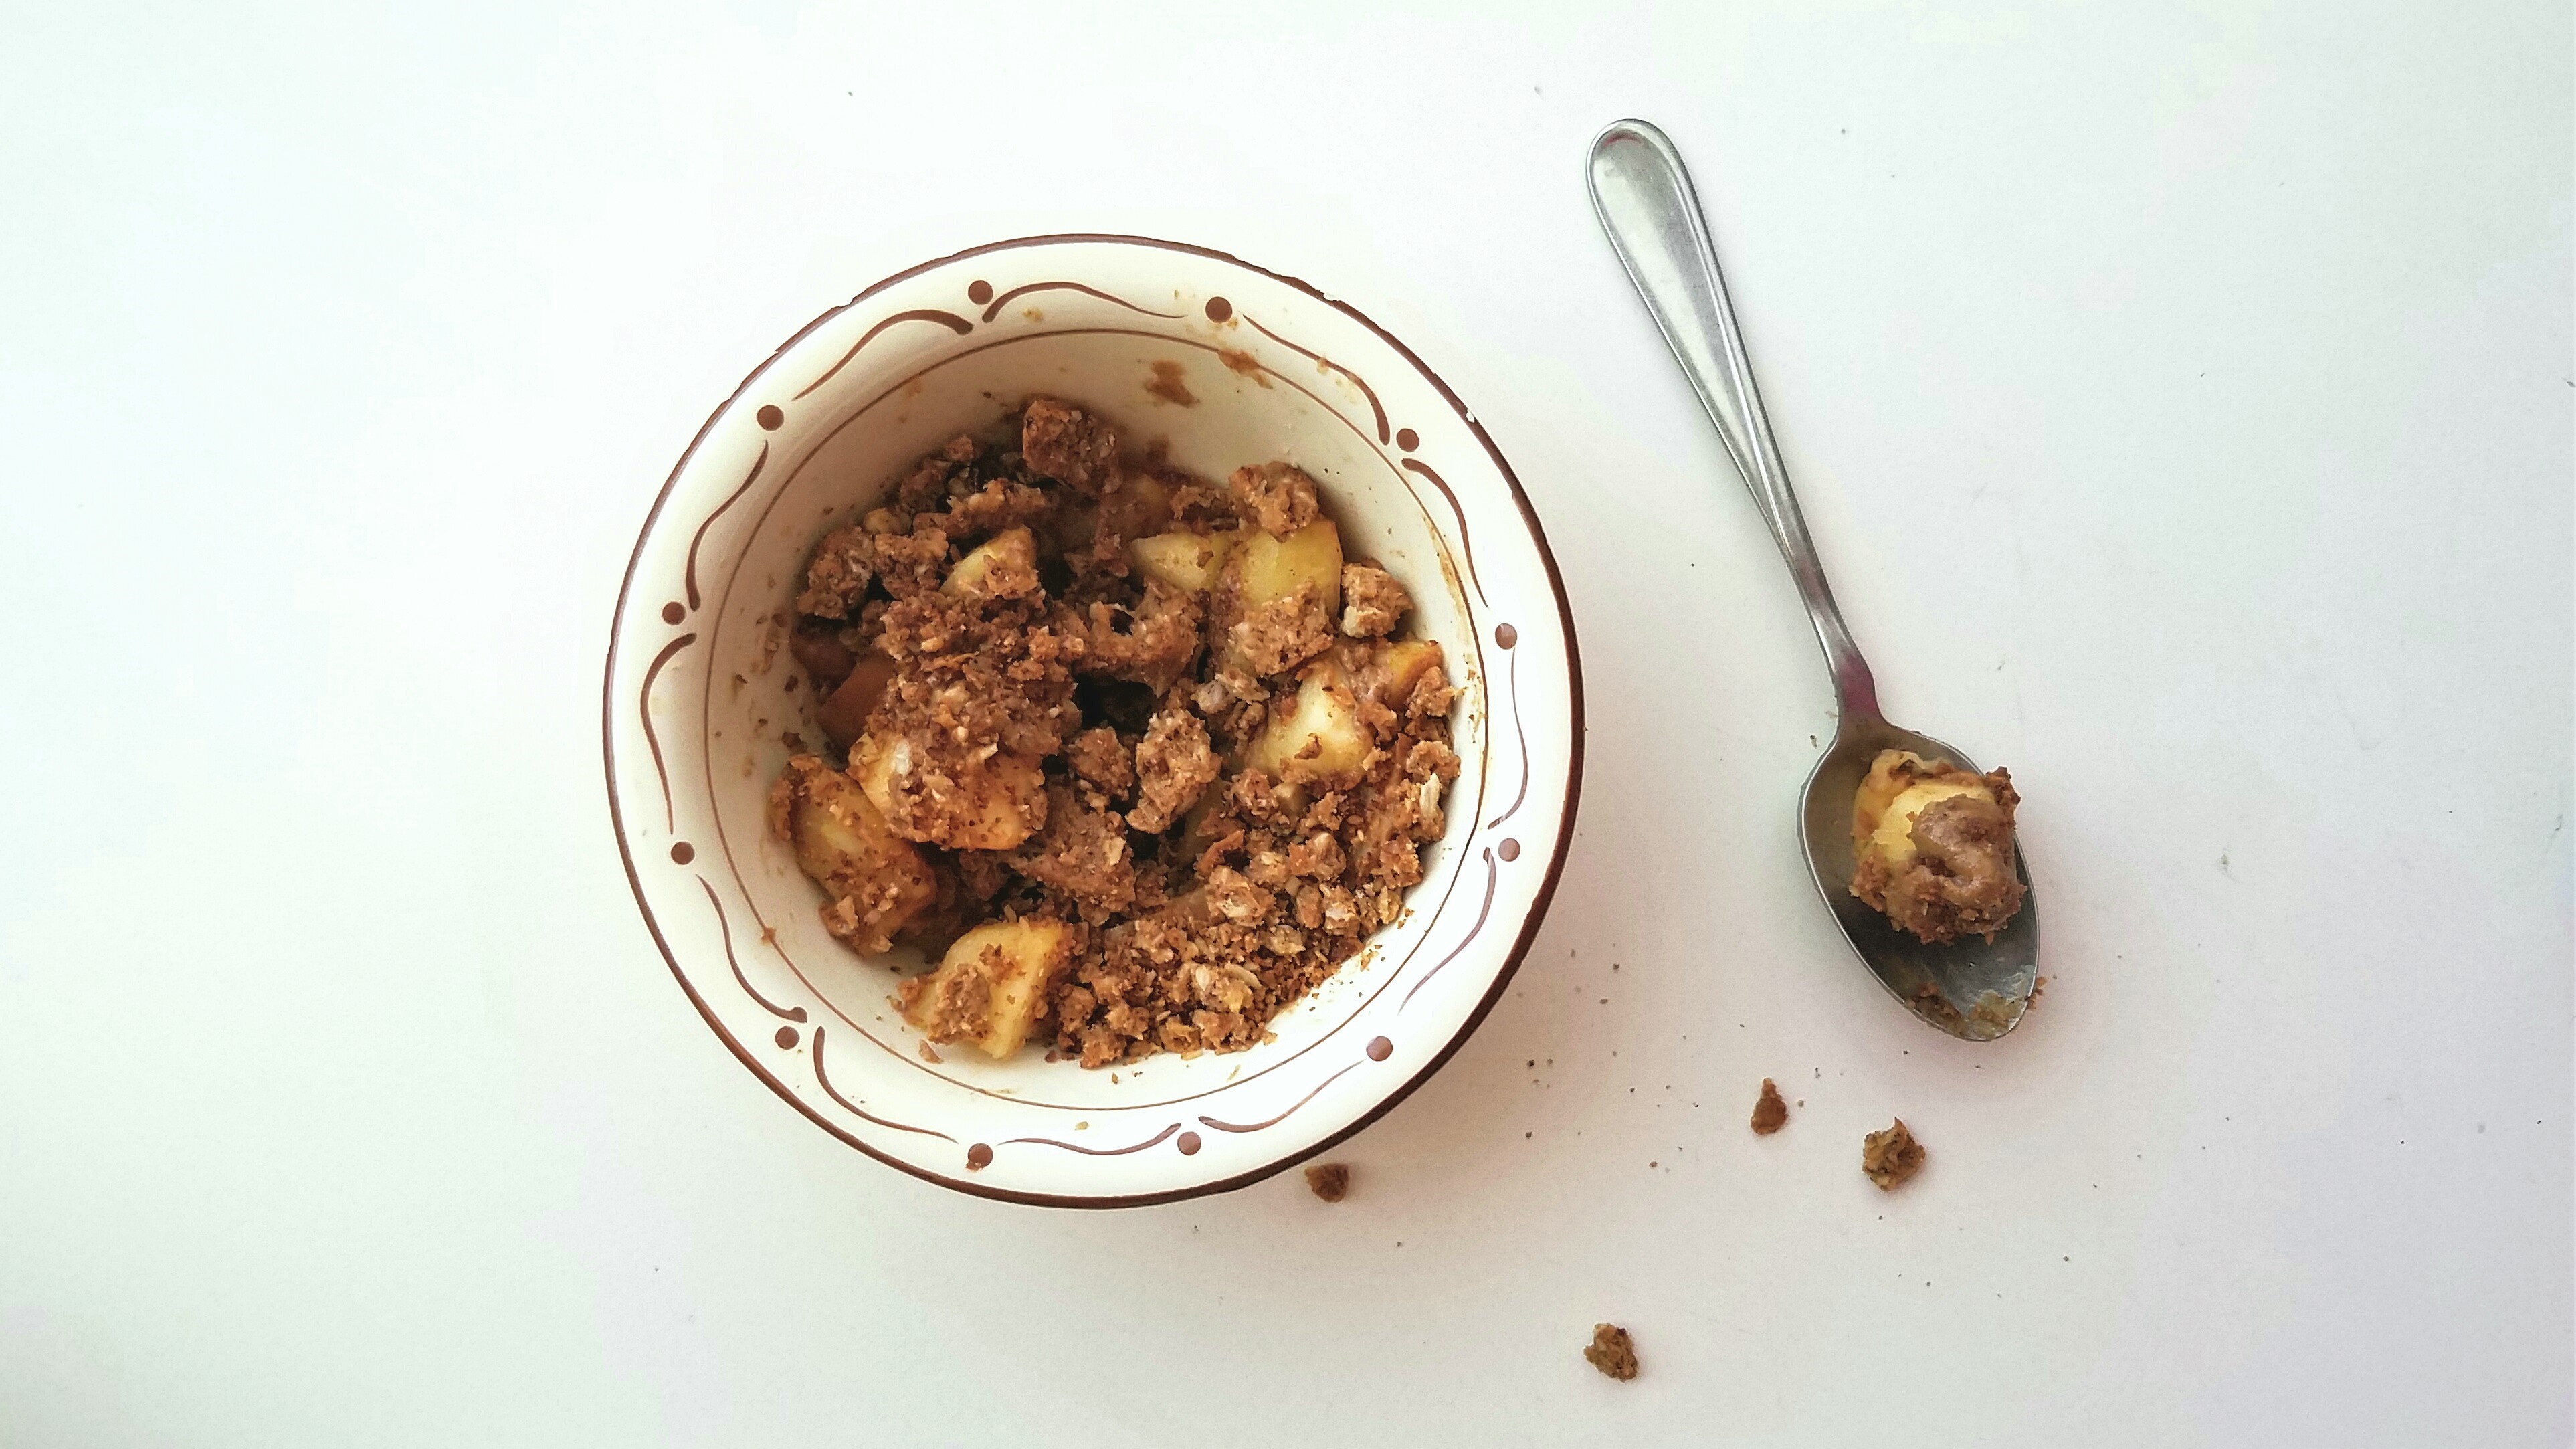
I’m aaaall ready to dive headfirst into this easy to assemble snack! Let’s go!
5 Minute Peanut Butter Apple Crisp for One
Recipe Type: Snacks
Author: Melanie
Prep time:
Cook time:
Total time:
Serves: 1 serving
A quick and easy apple crisp that is healthy enough for a snack and filling enough to satisfy a sweet tooth for dessert.
Ingredients
½ tsp of Nutiva butter flavored coconut oil or plain coconut oil
½ a large Gala apple or apple of choice, chopped
1/8 tsp cinnamon
2 Ginnybakes Coconut Oatmeal Bliss Cookies*
2 tsp of peanut butter (I used Wild Friends Pumpkin Spice peanut butter)
Instructions
In a small, nonstick pan, warm up the coconut oil over medium heat.
Add chopped apples and sprinkle with cinnamon. Stir the apples around in the pan until warm. Pour apples into a serving bowl.
Place the nonstick pan back on the stove, turning the temperature down to the lowest heat. On a cutting board, chop up the 2 cookies until there is a mixture of fine and medium-sized crumbs.
Add cookie crumbs to the pan and turn off the flame. Let sit for 1 minute, swirling the crumbs every few seconds. The crumbs should already be crunchy so they just need to warm up.
While the crumbs warm from the heat of the pan, add the 2 teaspoons of peanut butter to the cinnamon apples and stir until coated.
Remove the pan from the stove and pour cookie crumbs over the apple-peanut butter mixture. Pat yourself on the back and eat!
Notes
*You can use another crunchy cookie of your choosing. The classic Nature Valley granola bars are the kind of firm, crispness that you’re looking for. Alternatively, you can sub 2 tbsp of pre-made granola for the cookie crumbs.
We use cookies on our website to give you the most relevant experience by remembering your preferences and repeat visits. By clicking “Accept”, you consent to the use of ALL the cookies.
This website uses cookies to improve your experience while you navigate through the website. Out of these, the cookies that are categorized as necessary are stored on your browser as they are essential for the working of basic functionalities of the website. We also use third-party cookies that help us analyze and understand how you use this website. These cookies will be stored in your browser only with your consent. You also have the option to opt-out of these cookies. But opting out of some of these cookies may affect your browsing experience.
Necessary cookies are absolutely essential for the website to function properly. These cookies ensure basic functionalities and security features of the website, anonymously.
Cookie
Duration
Description
cookielawinfo-checbox-analytics
11 months
This cookie is set by GDPR Cookie Consent plugin. The cookie is used to store the user consent for the cookies in the category "Analytics".
cookielawinfo-checbox-functional
11 months
The cookie is set by GDPR cookie consent to record the user consent for the cookies in the category "Functional".
cookielawinfo-checbox-others
11 months
This cookie is set by GDPR Cookie Consent plugin. The cookie is used to store the user consent for the cookies in the category "Other.
cookielawinfo-checkbox-necessary
11 months
This cookie is set by GDPR Cookie Consent plugin. The cookies is used to store the user consent for the cookies in the category "Necessary".
cookielawinfo-checkbox-performance
11 months
This cookie is set by GDPR Cookie Consent plugin. The cookie is used to store the user consent for the cookies in the category "Performance".
viewed_cookie_policy
11 months
The cookie is set by the GDPR Cookie Consent plugin and is used to store whether or not user has consented to the use of cookies. It does not store any personal data.
Functional cookies help to perform certain functionalities like sharing the content of the website on social media platforms, collect feedbacks, and other third-party features.
Performance cookies are used to understand and analyze the key performance indexes of the website which helps in delivering a better user experience for the visitors.
Analytical cookies are used to understand how visitors interact with the website. These cookies help provide information on metrics the number of visitors, bounce rate, traffic source, etc.
Advertisement cookies are used to provide visitors with relevant ads and marketing campaigns. These cookies track visitors across websites and collect information to provide customized ads.