Pumpkin Spice and everything nice is what makes fall feel like FALL for me. Please, hold the eye roll. Evidently, the internet is all hyped about fall these days but let me tell you: I’ve been a fan of fall before it was trendy. Yes, I went there. Fall holds meaning for me even without the glamorized PSL which may actually have a new flavor competitor around—see here. Basically, winter and spring are almost nonexistent in southern California. And summer? No thank you, 120 degree weather.
My dear fall, you are what I look forward to each year. All I need are some breezy cool days where I can wear my cardigan and scarf and sip on my eat my pumpkin coconut treats. HOORAY!
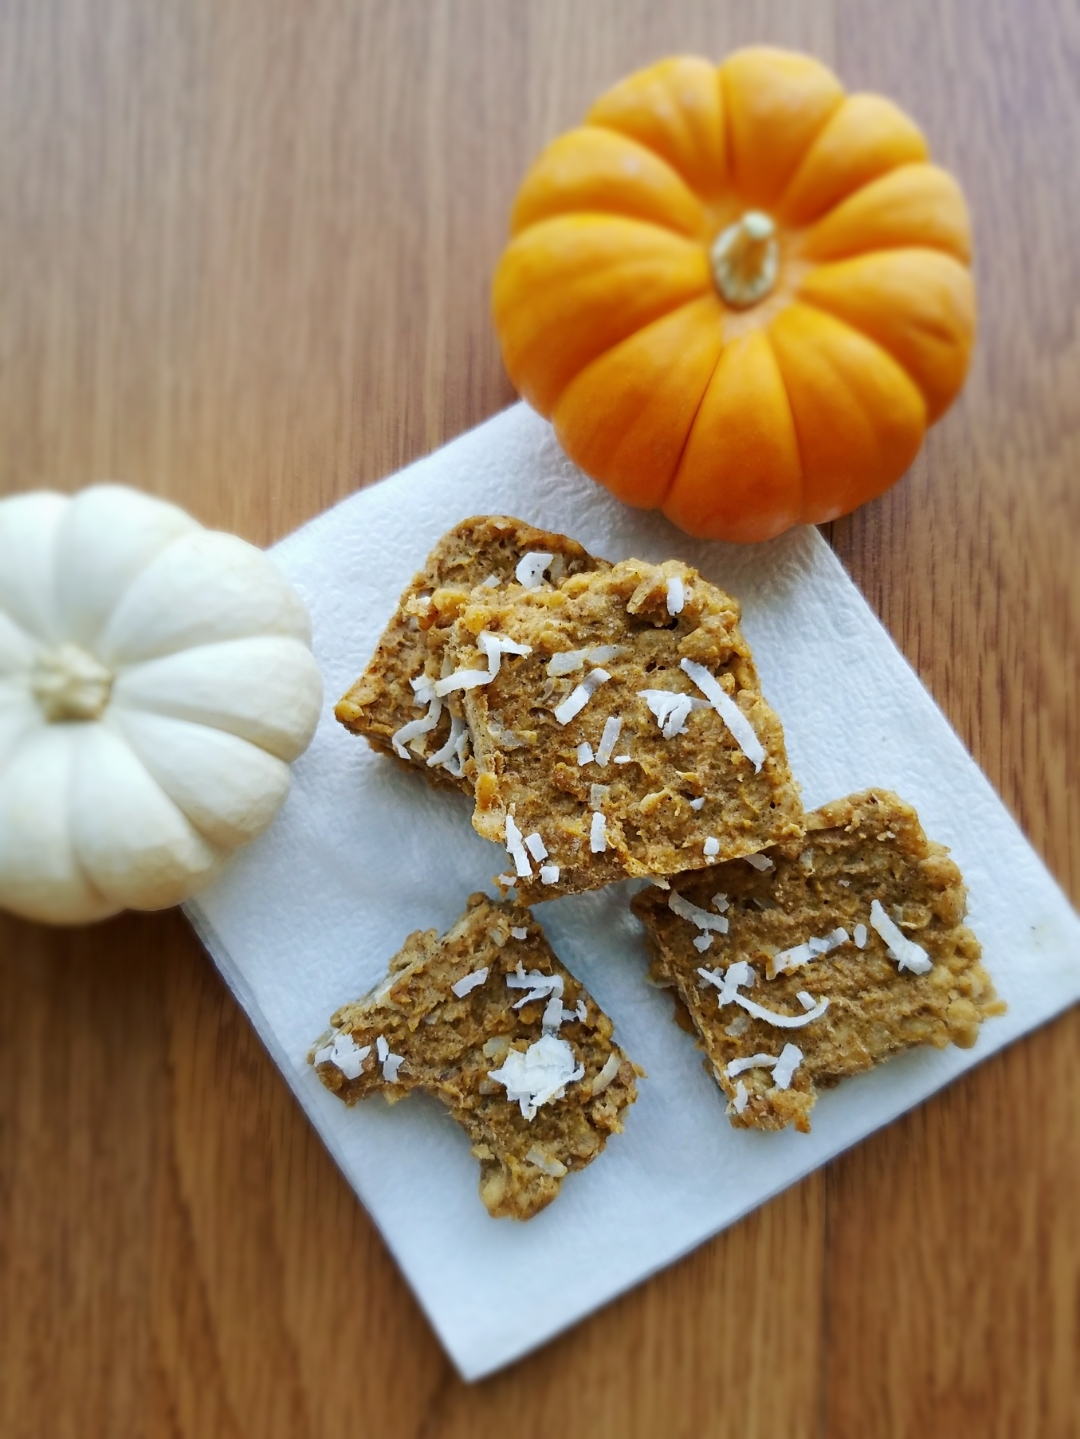
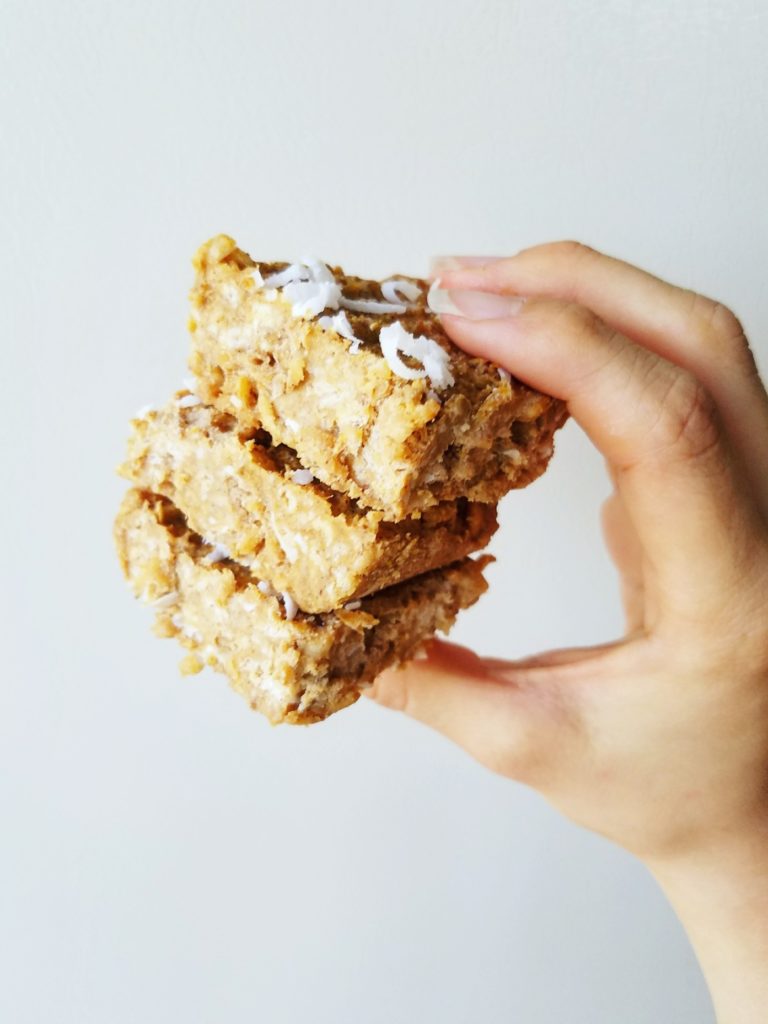
Throwback moment: my favorite childhood snack was the packaged rice krispy treats. Not even the homemade kind! The rice krispy treats in the blue packaging were perfect because of their balance of sweetness and textures—crunchy yet soft! As you know, I like healthifying sweet treats. So, I put a spin on my fave classic WITHOUT marshmallows for some pumpkin coconut NOT SCARY treat fun. I know, it almost sounds sacrilegious. Still, I think you’ll find that these are sweet and satisfying on their own and healthier than the sugar-laden original.
Also, this recipe is a good use for date puree, or, date caramel as Minimalist Baker calls it. Honestly, date caramel is what sweet dreams are made of and I highly recommend making some. Although, if you want to substitute whole dates, you can try 2 (take out the pits!) and blend them up with the pumpkin and coconut oil until smooth.
I know fall is all about baking but make room in your freezer for this no-bake treat! You can thank me later.
Pumpkin Coconut Treat Bars
Recipe Type: Snacks
Author: Melanie
Prep time:
Cook time:
Total time:
Serves: 8 bars
These Pumpkin Coconut Not Scary Treat Bars are made with ingredients you can recognize. They’re wholesome, satisfying, and no marshmallows are required!
Ingredients
¼ cup pumpkin puree
¼ cup melted coconut oil
2 tbsp almond butter
3 tbsp date caramel
1 tsp cinnamon
½ tsp nutmeg
½ tsp allspice
1/8 tsp salt
2 cups Erewhon cinnamon brown rice cereal or other brown rice cereal
2 tbsp sweetened shredded coconut, plus more for topping
Instructions
First up, grease a loaf pan with coconut oil or line with wax paper so that the bars will be easy to remove.
In a medium bowl, combine the pumpkin, coconut oil, almond butter, date caramel, and spices. Stir in the brown rice cereal and shredded coconut. Adjust to taste by adding a pinch of salt or a sprinkle of granulated sugar, if needed.
Press the mixture into the loaf pan, making sure to fill the corners. Then, place in the freezer for 2 hours to solidify.
Remove from freezer and cut into 8 squares. The bars taste best when stored in the freezer. Just leave them out to thaw for a minute before you are ready to eat one!
Notes
I used sweetened shredded coconut because I ran out of the unsweetened kind. You could definitely use unsweetened shredded coconut and perhaps add a teaspoon of granulated sweetener like coconut or brown sugar to make the bars sweeter. I just don’t recommend coconut flakes because those will be too thick and chunky for the bars.[br]Additionally, “cook time” reflects time in the freezer. This is a no-bake recipe.
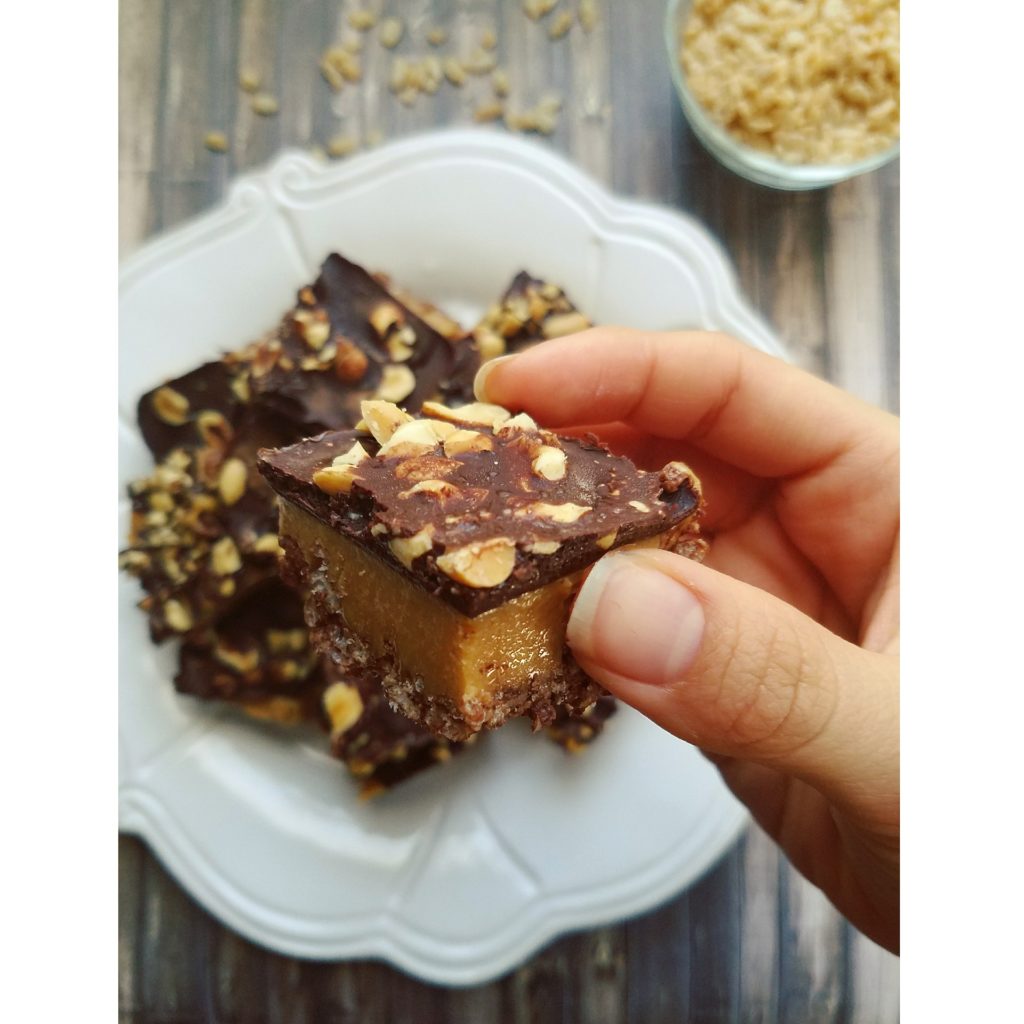
If you’ve been following my A Day of FLO Living posts, then you’ll know I enjoy eating food that is nourishing for me and my cycle. Now, I’m not going to sit here and tell you that chocolate-topped peanut butter crisp bars are “health food” but I’ll say they come close. During my ovulatory phase I was craving sweets LIKE CRAZY—specifically chocolate. Lucky for me, chocolate is on the list of WomanCode approved foods for ovulatory phase. Yippee!
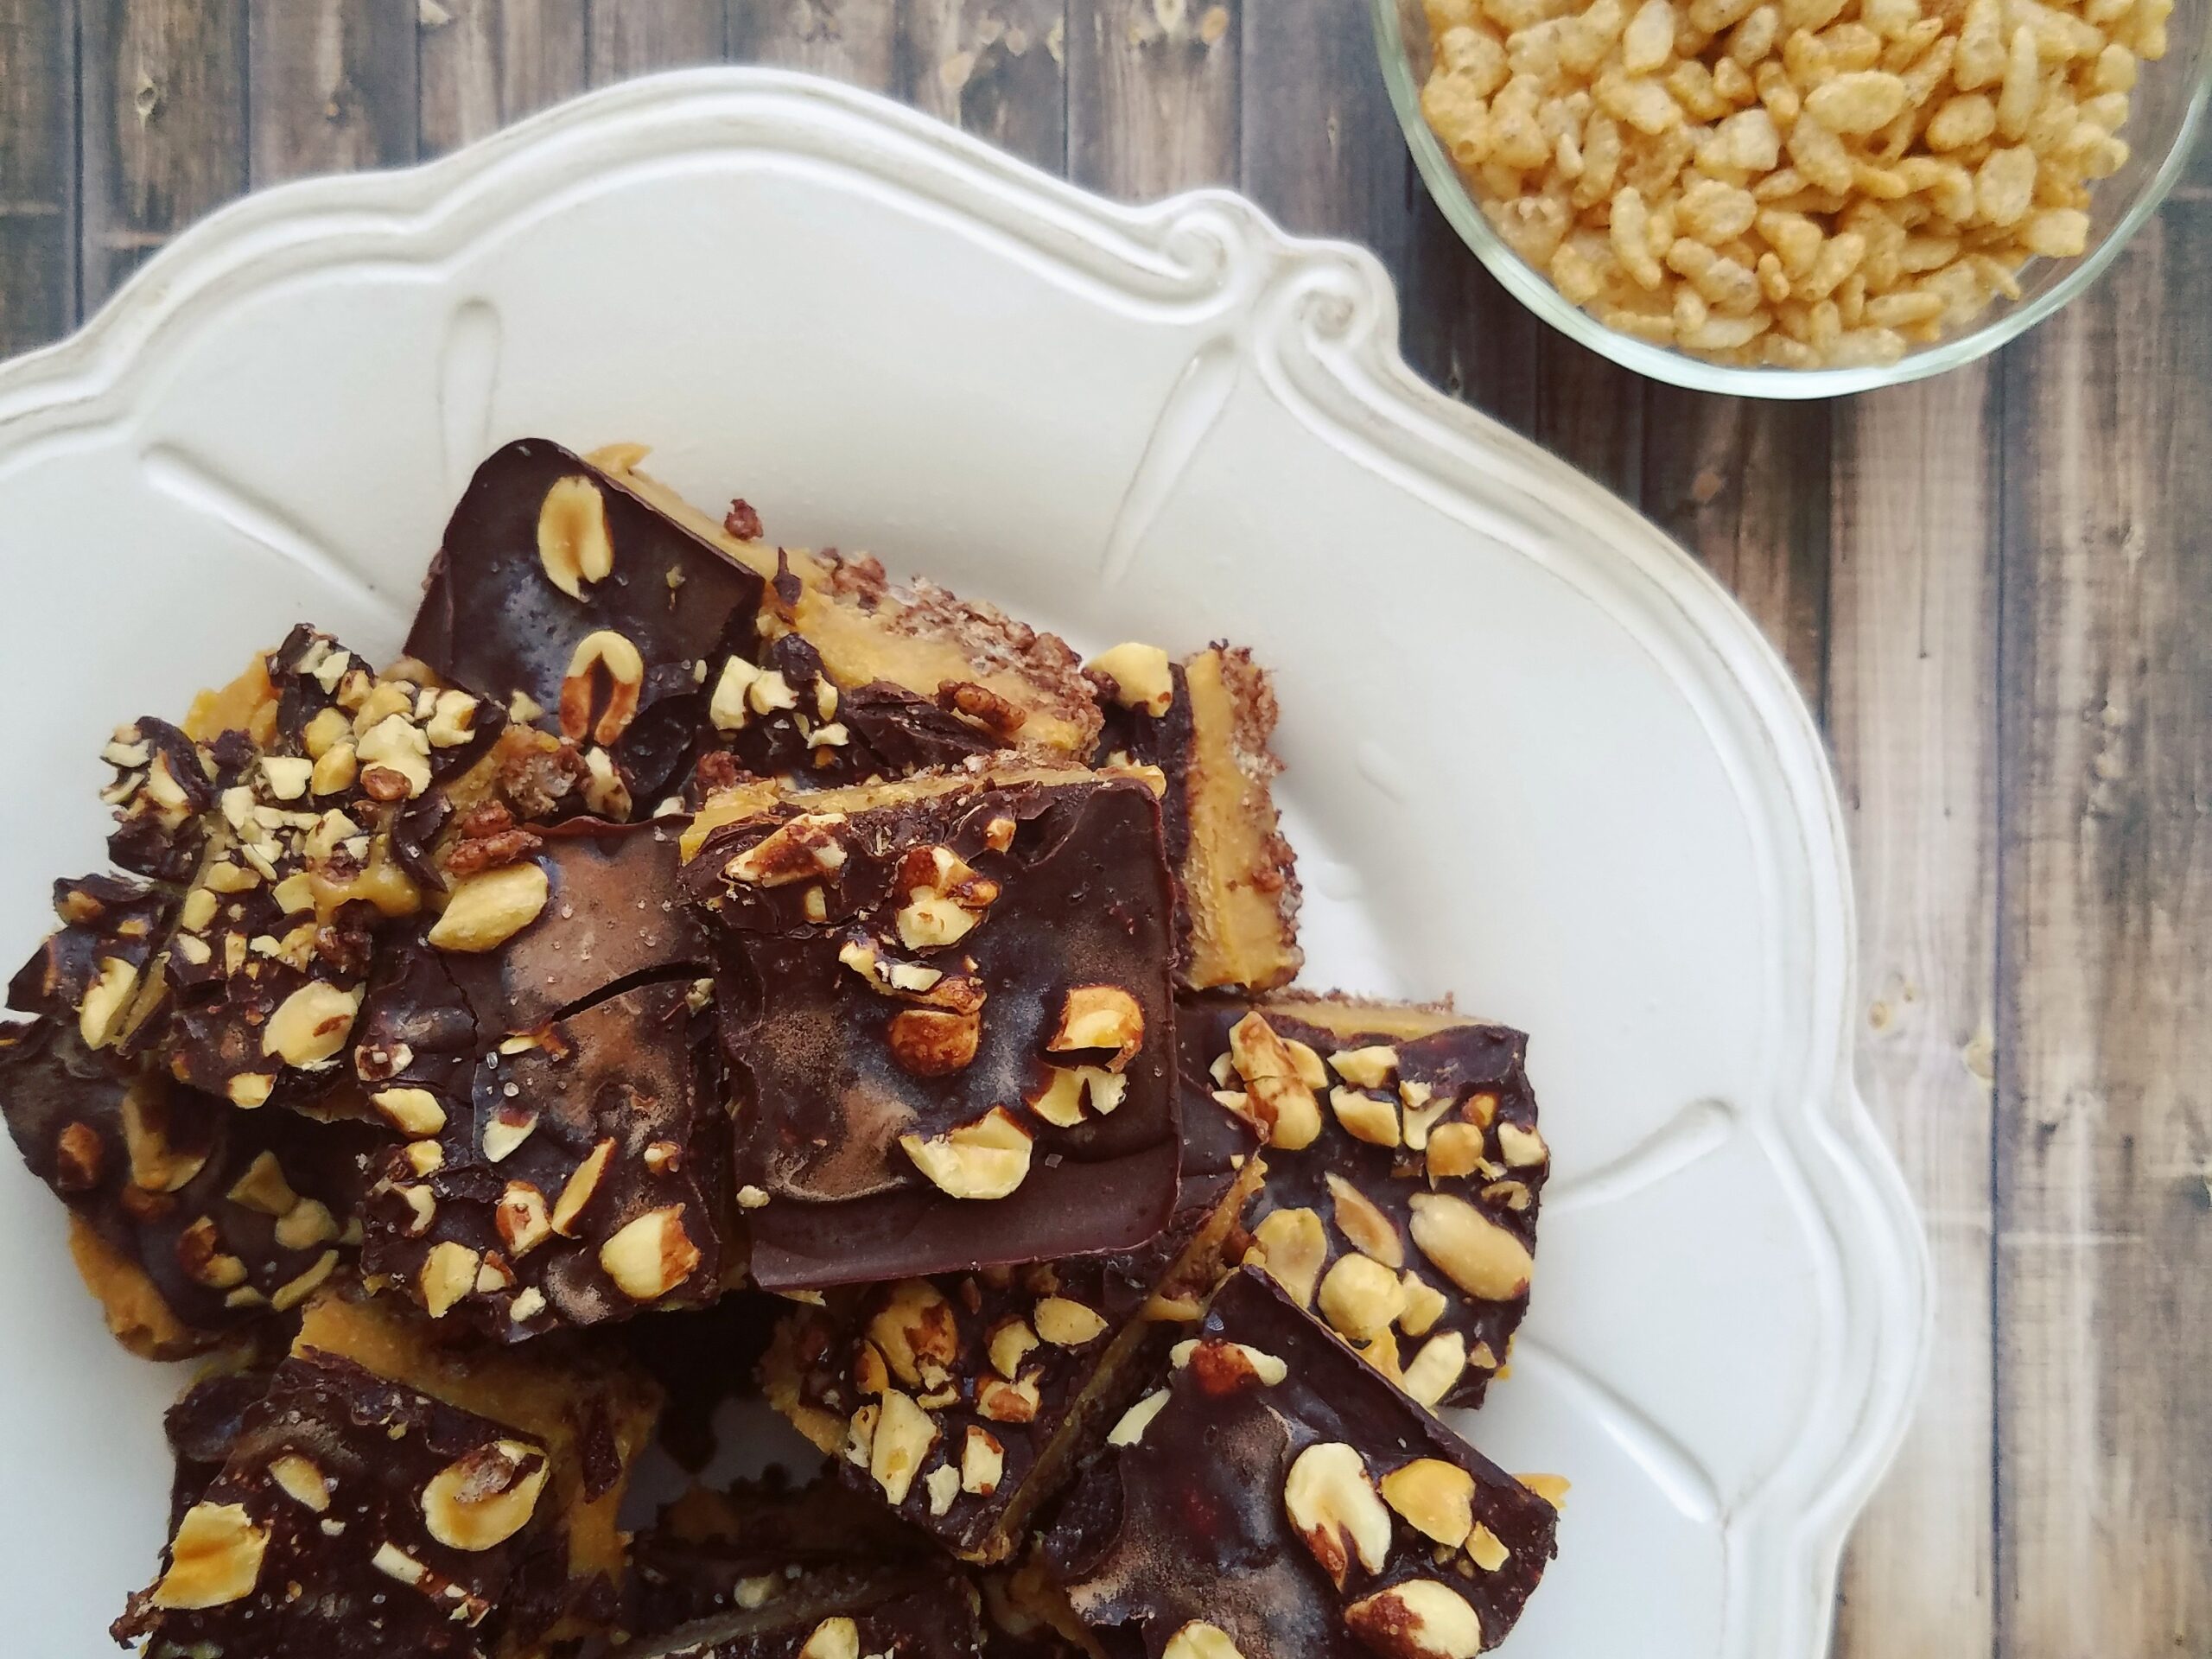
So, I went into the kitchen, with a bit of guidance from Angela Liddons’ Oh She Glows Everyday Cookbook, and got experimenting. I used Angela’s recipe for Nut-Free Dream Bars as a base but I tinkered with the sweetener, salt, and, of course, the nut butter. For me, what makes these bars awesome is the pairing of protein and fat, both of which lessen the sugar punch and make these bars satiating. Of course, macronutrients aside, the chocolate-peanut butter combination is also a huge appeal!
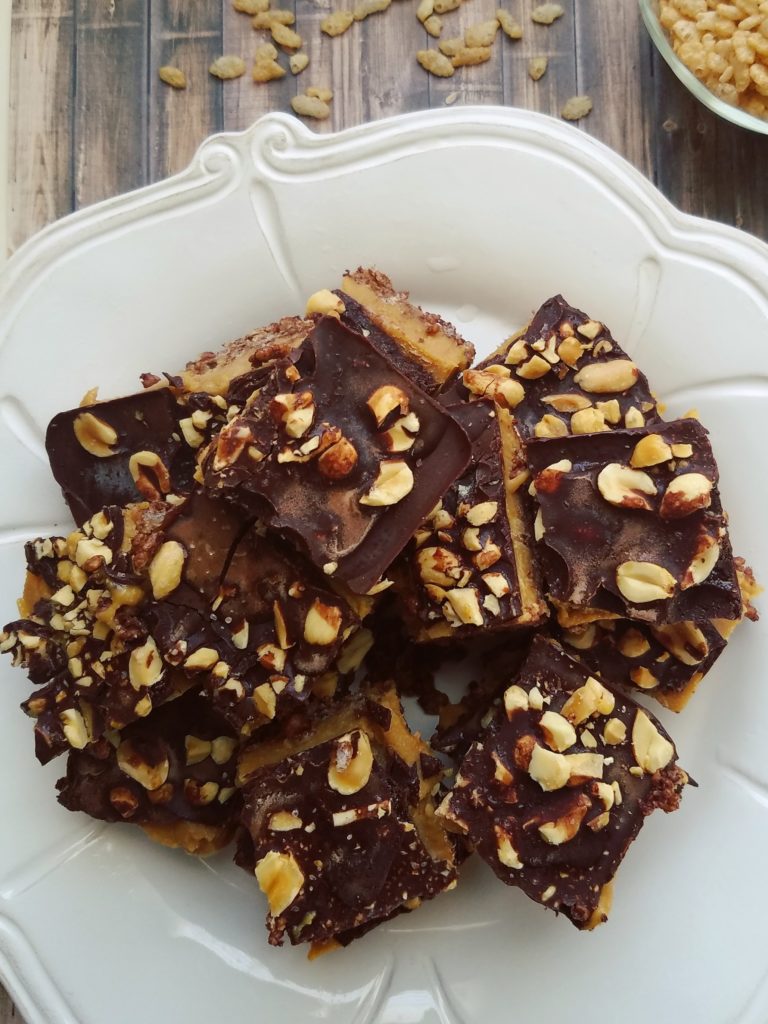
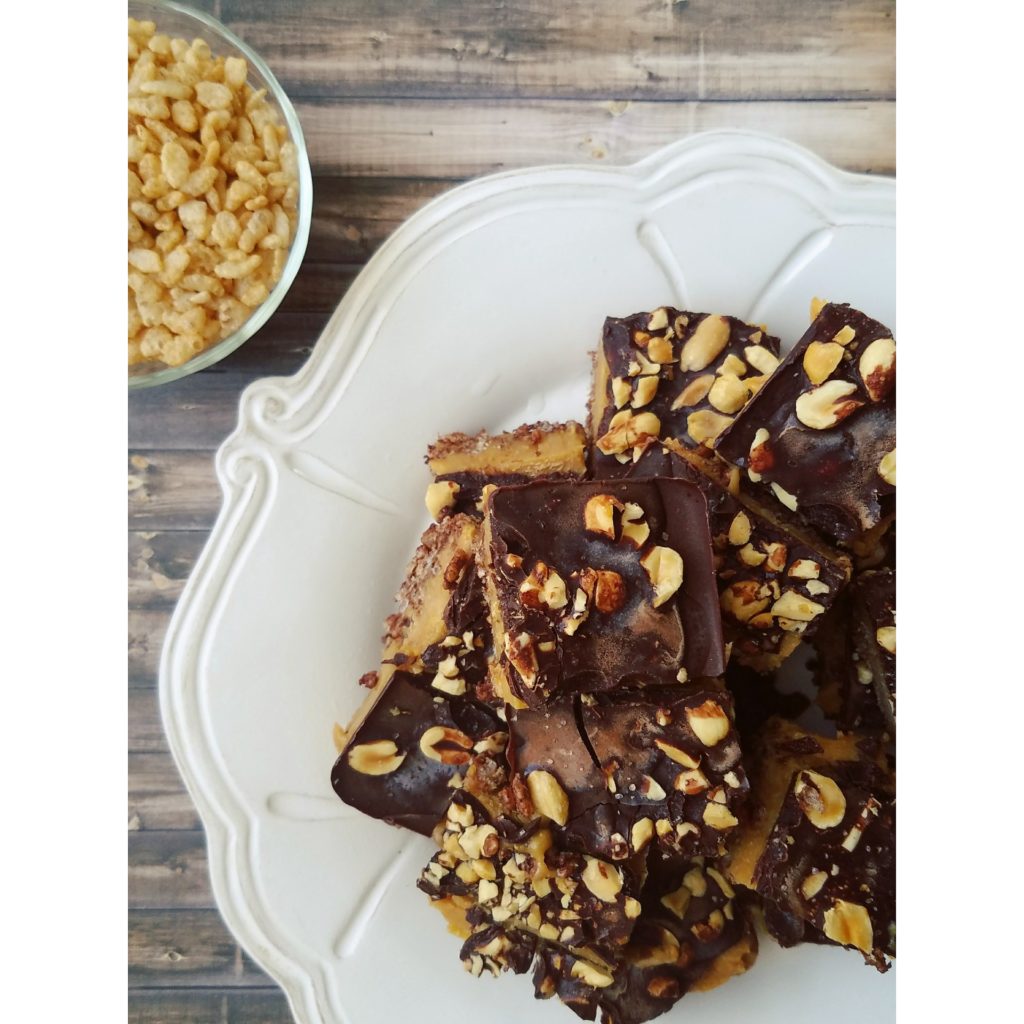
They require a small amount of prep but NO BAKING. This is a freezer treat at its finest. Plus, once made, they will last forever in the freezer! Just let them defrost for a few minutes before biting into them. If you can exercise restraint, let them defrost for five to ten minutes and the peanut butter filling gets extra creamy and oozy. In fact, the filling contrasts so nicely in that state with the crisp crust and solid chocolate topping. Together, the three layers make for one delightfully decadent and delicious dessert or snack.
Let me know if you give these bars a try! Just writing this post makes me crave one so I’ll be at my freezer if you need me! 👋
Creamy Peanut Butter Chocolate Crisp Bars
Recipe Type: Dessert
Cuisine: American
Author: Melanie
Prep time:
Cook time:
Total time:
Serves: 18-20 bars
These rich and creamy no-bake bars, adapted from Angela Liddon’s recipe, make for a satisfying dessert or snack when those chocolate peanut butter cravings kick in! The combination of crispiness from the crust and creaminess from the bars just can’t be beat!
Ingredients
Crust Ingredients:
1 ½ tbsp melted virgin coconut oil
1 ½ cups Erewhon Organic Cinnamon Brown Rice Cereal
2 tbsp cacao powder or cocoa powder
2 tbsp maple syrup
a pinch of salt
Filling Ingredients:
1 cup natural peanut butter
¼ cup maple syrup
¼ cup melted virgin coconut oil
¼ to ½ tsp salt, depending on the saltiness of the peanut butter
1 tsp vanilla extract
Chocolate Topping Ingredients:
1/3 cup melted virgin coconut oil
1/3 cup cacao or cocoa powder
1 tbsp maple syrup
1/3 cup unsalted dry-roasted peanuts, chopped, for topping
Sea salt, for topping, optional
Instructions
Line a large loaf tin (see notes) with parchment paper and lightly grease with coconut oil.
In a bowl, combine the first 5 ingredients for the crust. With a rubber spatula, mash up the cereal until it looks crumby and thoroughly coated. Then, press the crust down into the bottom of the loaf tin. Place it in the freezer while you prepare the filling.
In the same bowl, rinsed and wiped clean, combine the next five ingredients. As a precaution, make sure the ingredients for the filling are all room temperature. If the maple syrup or peanut butter are cold then that will make the coconut oil seize up. The mixture should be smooth. Adjust salt to taste.
Remove the crust from the freezer and pour the filling on top. Gently swivel the pan so that the filling covers the crust completely and so that the top is flat and even. Now, the filling will set in the freezer for an hour before the final topping.
After waiting the appropriate amount of time for the filling to solidify, begin making the chocolate topping. Whisk together melted coconut oil, cacao powder, and maple syrup until no clumps remain. Chop the peanuts and keep them at the ready.
Remove the loaf tin from the freezer and pour the chocolate over the filling. Be warned: it freezes almost instantaneously! While the chocolate is still wet, throw on the peanuts and a sprinkle of sea salt. The chocolate layer will soon solidify from the cold from the loaf tin.
You may then remove the bars, using the parchment paper to lift them out. Move them to a cutting board and slowly cut into 18-20 squares. If the bars seem melty in any way, do put them back into the freezer for 10 minutes or so. They may fall apart if you try cutting them while soft.
The peanut butter chocolate dream bars are best stored in the freezer. Pull one out when you want to enjoy a bar and let it sit at room temperature for up to 3-5 minutes. They will soften to an easier-to-bite state. Wait a little longer and the peanut butter filling gets extra oozy and delicious!
Notes
My baking tin is 9.5 x 5 inches though Angela’s recipe uses a 10 x 6 inch pan. I believe that a standard 9 x 5 loaf tin could work, too but your bars will just be a bit thicker.[br]Cooking time also reflects freezing time in this recipe.
Do you remember a year or two back when yogurt bowls were super trendy? It seemed like yogurt was all the rage for breakfast and healthy snacking—especially once Greek yogurt hit the scene. How, you might be thinking, can a food be trendy? Well, sorry, folks, that is a question for someone else. I don’t start the food trends I just utilize them.
In early 2016, I was on the biggest Greek yogurt kick and would start each day with a bowl. I’d eat it with berries and granola, melon, or stone fruit—oh, yogurt could do no wrong! Though, sometime during the summer, I had one too many bowls and got turned off. Now, it has been months since I’ve consumed it but recently I found myself craving the creamy, refreshing, gut-healthy food.
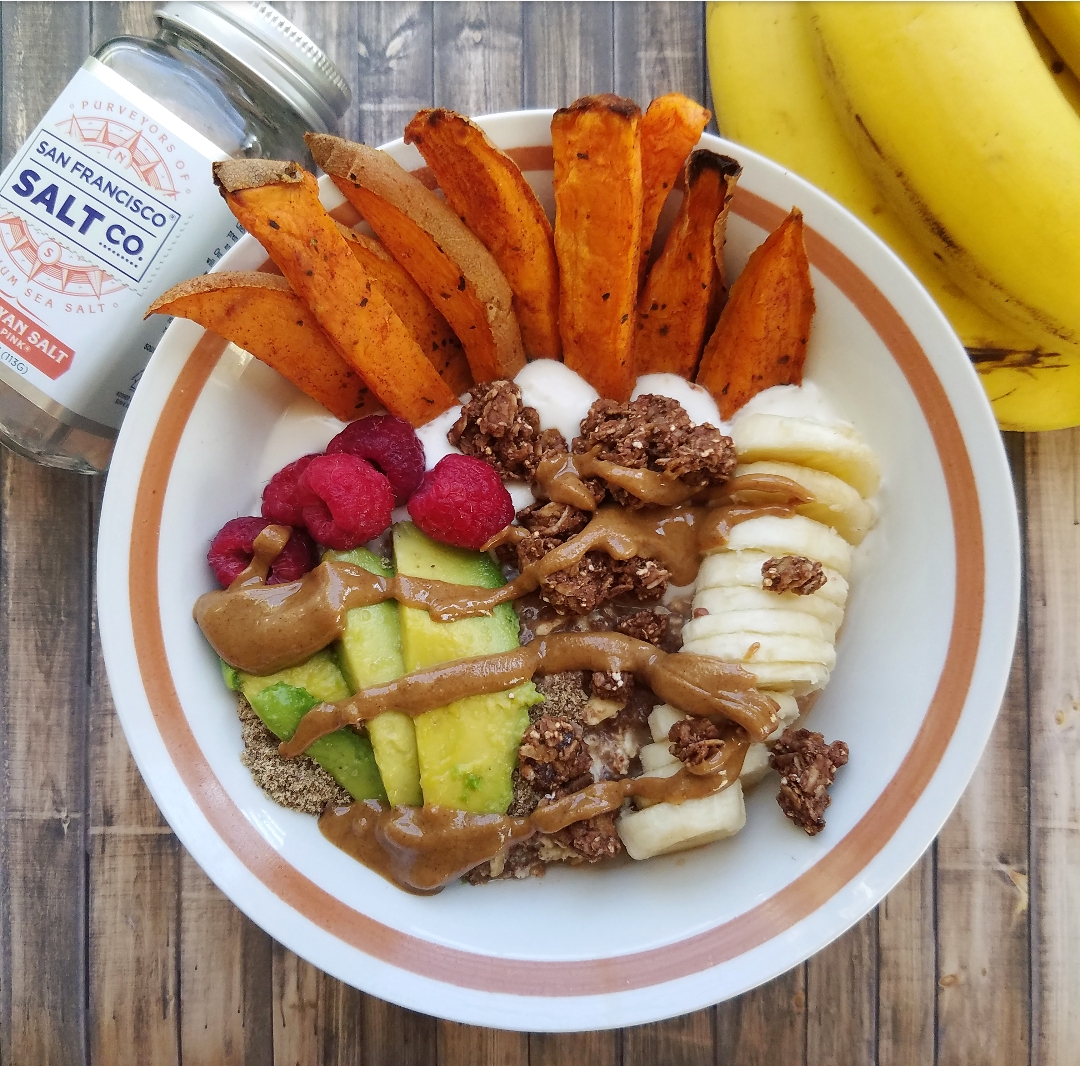
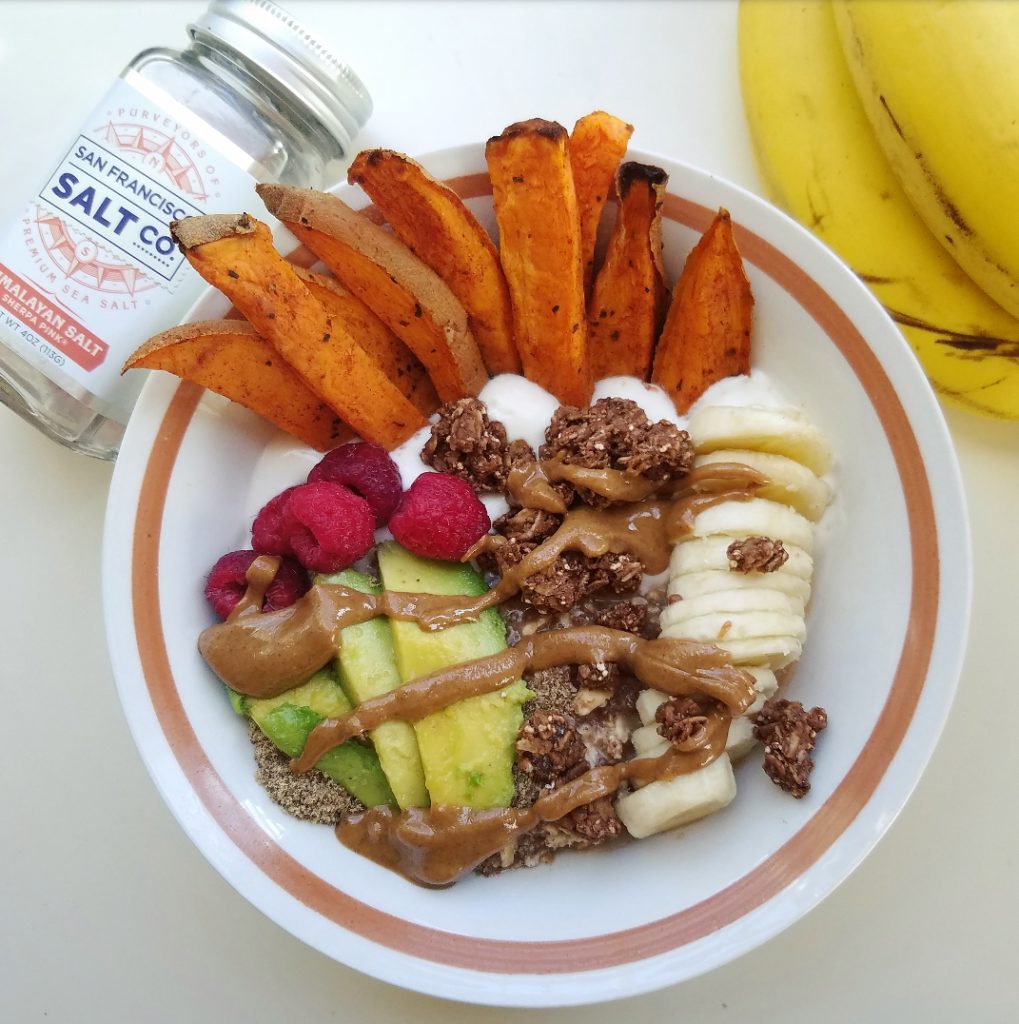
First things first, I picked up individual serving containers of Silk’s blueberry soy yogurt and Kite Hill’s plain almond milk yogurt. For the yogurt bowl shown above, I used the almond milk one but you can see me use blueberry coconut flavor in this Instagram post. I think I like the coconut version the most out of the two but use whatever non-dairy or regular yogurt you like.
As I previously mentioned, yogurt with fruit is an easy pairing. Nowadays, I want a little more out of my yogurt bowls so I like to add sweet potato, oatmeal, and nut butter to tackle all the food groups at once! Side note: I like to give credit whree credit is due so, I first saw the idea from @olive.eeeats on Instagram. It’s hearty, comforting, and a breakfast I can get behind. It’s a total Yogurt Pro Bowl, if you will. Also, if some of the items I included aren’t your thing, I’ve included suggestions at the end of this post on how to jazz up your yogurt bowl in an unconventional way.
For a well-rounded yogurt bowl, I like to include:
Whole grains
Vegetables
Berries or other fruit
Fats
Admittedly, my yogurt bowls turn out different each time so, while I’ve provided my recipe, this is just a guideline. If you want more or less food, adjust as needed. There’s no wrong way to measure or plate any of these foods so just eat according to what you’re craving and enjoy!
Yogurt Pro Bowl
Recipe Type: Breakfast
Cuisine: American, Vegan, Vegetarian
Author: Melanie
Prep time:
Total time:
Serves: 1 yogurt bowl
The yogurt pros (that’s us!) prep their ingredients ahead of time. So, use your breakfast yogurt as a chance to toss in some roasted veggies, fruit of choice, and healthy fats. It will give your mind and body the fuel it needs to tackle the day!
Ingredients
Overnight oats: 1/3 cup oats, 2 tsp chia seeds, 1/2 cup water or milk, 1/2 tsp maca powder, 1/2 tsp cacao powder
1 tbsp of peanut butter (I used Wild Friends Pumpkin Spice)
2 tbsp granola, optional but recommended for texture (I used Purely Elizabeth Chocolate Probiotic)
A pinch of Himalayan pink sea salt, recommended to sprinkle on avocado (I used San Francisco Salt Company)
Instructions
For the oats, combine all of the ingredients the night before. Alternatively, warm, stovetop oats could be substituted.
For the yogurt bowl, first add the oatmeal to one half of the bowl and the yogurt to the other half.
Then, I like to strategically lay out all of the toppings in different sections of the bowl but feel free to toss them all in together. Though, I should say, the sweet potato fries are best left on the sides of the bowl to utilize as yogurt dippers. 😉
Lastly, sprinkle salt on avocado, drizzle nut butter, and add a few clumps of granola before taking a spoon and devouring!
3.5.3226
In my opinion, what makes this elevated yogurt bowl different is that it doesn’t solely rely on fruit to make it awesome. Plus, it doesn’t shy away from carbs or fat. Normally yogurt is considered the low-calorie, dieter’s choice breakfast. Which it can be but I’d like to prove yogurt can be fun so long as you know how to jazz it up! 🙂 Actually, as a matter of fact,…
There are many choices for yogurt bowl add-ins!
Whole grains:Stovetop oats or overnight oats, buckwheat, quinoa cooked in coconut milk, warm barley, or simply use a homemade whole grain muffin—YES!
Vegetables: Roasted or sautéed carrots, sweet potato, butternut squash, cauliflower, or Brussels sprouts if you’re feeling adventurous!
Spice it up: Cinnamon, nutmeg, turmeric, rosemary, paprika, or sweeten with maple syrup or raw/coconut sugar.
Fruit: As you probably know, ANY fresh, frozen, or sautéed fruit you like will work!
Fats: 1-2 tbsp peanut, almond, or sunflower seed butter; toasted walnuts or pumpkin seeds, cinnamon-maple glazed pecans, ¼ of an avocado, or coconut flakes will do.
Bonus: Granola, hemp seeds, adaptogens, flax or chia seeds.
Here are some pairing ideas I cannot wait to try:
Roasted carrots with blackberries, quinoa, and sunflower seed butter; crispy roasted Brussels, with cinnamon maple-glazed pecans, blueberries, and barley; also, sautéed turmeric butternut squash with coconut oil sautéed apples, and toasted walnuts.
Of course, those are just a few ideas. Mix and match according to your taste buds! Also, please let me know how you enjoy yogurt or if you’ve got any wild yogurt pairings. I’d love to try out something new!
Alright, alright, alright! How is everyone doing today? It is Tuesday and it’s time to break out the tahini! Can that be a thing? Move over tacos, it’s Tahini Tuesday! 😆
It’s no secret that smoothies are my favorite thing ever and if I can sneak some vegetables in them, that’s even better. Too much fruit in a smoothie can spike my blood sugar and leave me crashing with hanger mid-morning. That doesn’t mean fruit is a no-go, it just means I need to include a little something extra to stabilize my energy and keep hunger at bay. A recent discovery that I’ve made in regards to my smoothies is the power of HEALTHY FATS.
I used to be so scared of using oil or eating peanut butter and avocados (not necessarily together), but now I know that a moderate amount of fat is A-okay! Plus, I eat mostly plant-based so when I include healthy fats, I’m add a satiating element to my meals.
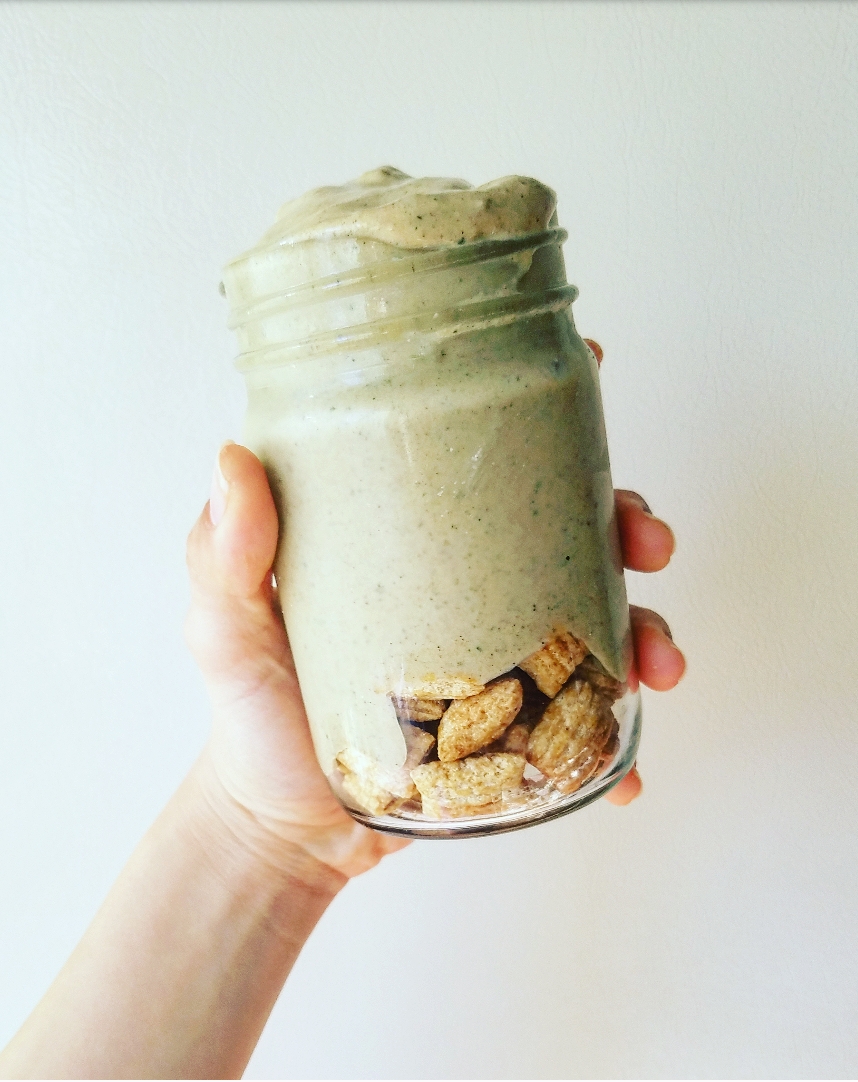
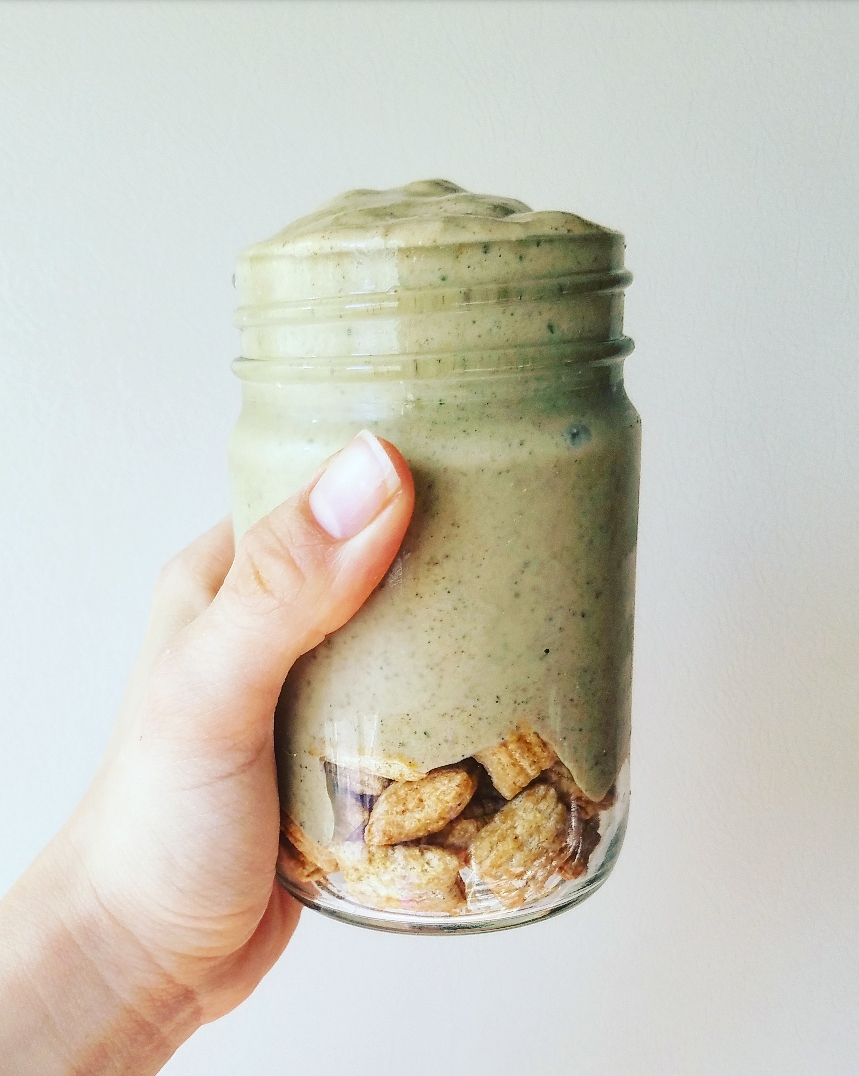
So, back to the Banana Tahini Shake! Technically it could fall under the “smoothie” category but it is so rich and comforting that it feels like a shake to me. Shakes are usually loaded up with ice cream, dairy milk, and sugar but mine is sweetened with banana. It’s more than healthy enough for breakfast for sure! Plus, the addition of tahini really helps round out the smoothie/shake. It is…
Uniquely satisfying,
Subtly sweet,
And perfectly thick.
I have been digging this for weeks now and I’m very excited to share it! Let me know if you try it out 🙂
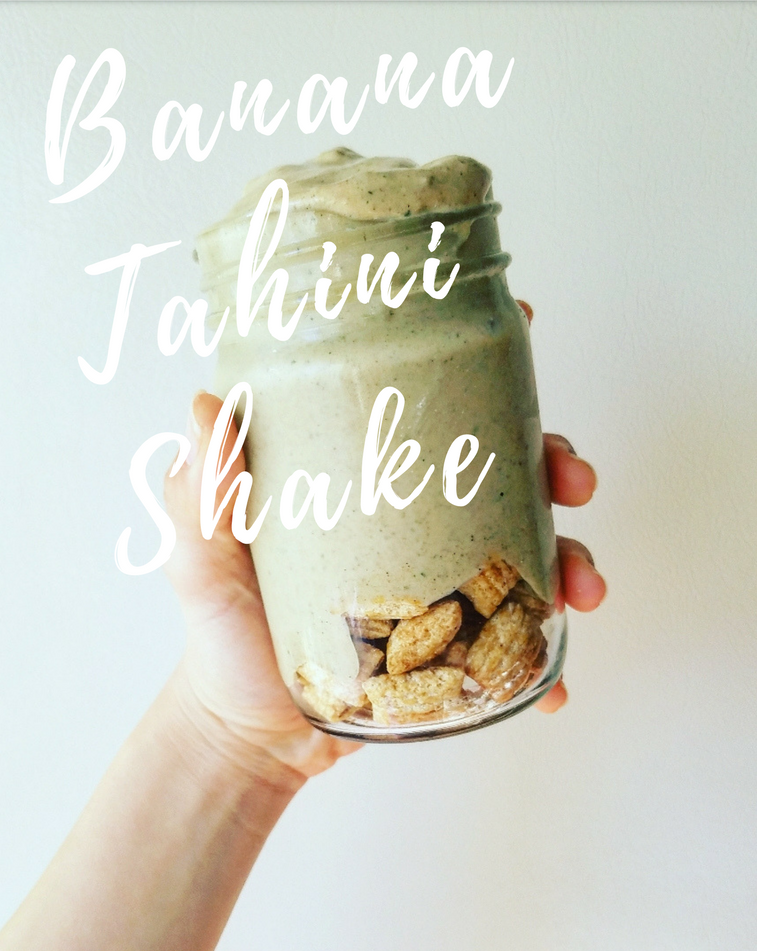
Banana Tahini Shake
Recipe Type: Breakfast
Author: Melanie
Prep time:
Cook time:
Total time:
Serves: 1
Zucchini adds fiber, tahini adds satiating fats, and banana brings home the sweetness in this simple Banana Tahini Shake.
Ingredients
¼ large frozen zucchini (about ½ cup chopped)
1 med frozen banana
½ tsp cinnamon
¼ tsp turmeric
a dash of black pepper
½ inch knob of fresh ginger, frozen (I like the zestiness of it but you can sub ground)
1-2 tbsp of tahini,
1 serving of plant-based protein powder, optional
¾ cup – 1 cup unsweetened almond milk
Barbara’s Bakery Puffins or other cereal, optional
Instructions
Add zucchini, banana, and ginger to a blender or food processor and 3/4 cup of almond milk. Blend away! Then add the spices, tahini, and protein powder. Add more milk, if needed.
Serve the smoothie in a glass with some low-sugar cereal of choice, if desired. Best enjoyed with a spoon and straw.
Notes
I used The Natural Citizen Organic Protein but any other plant-based protein should work just fine!
We use cookies on our website to give you the most relevant experience by remembering your preferences and repeat visits. By clicking “Accept”, you consent to the use of ALL the cookies.
This website uses cookies to improve your experience while you navigate through the website. Out of these, the cookies that are categorized as necessary are stored on your browser as they are essential for the working of basic functionalities of the website. We also use third-party cookies that help us analyze and understand how you use this website. These cookies will be stored in your browser only with your consent. You also have the option to opt-out of these cookies. But opting out of some of these cookies may affect your browsing experience.
Necessary cookies are absolutely essential for the website to function properly. These cookies ensure basic functionalities and security features of the website, anonymously.
Cookie
Duration
Description
cookielawinfo-checbox-analytics
11 months
This cookie is set by GDPR Cookie Consent plugin. The cookie is used to store the user consent for the cookies in the category "Analytics".
cookielawinfo-checbox-functional
11 months
The cookie is set by GDPR cookie consent to record the user consent for the cookies in the category "Functional".
cookielawinfo-checbox-others
11 months
This cookie is set by GDPR Cookie Consent plugin. The cookie is used to store the user consent for the cookies in the category "Other.
cookielawinfo-checkbox-necessary
11 months
This cookie is set by GDPR Cookie Consent plugin. The cookies is used to store the user consent for the cookies in the category "Necessary".
cookielawinfo-checkbox-performance
11 months
This cookie is set by GDPR Cookie Consent plugin. The cookie is used to store the user consent for the cookies in the category "Performance".
viewed_cookie_policy
11 months
The cookie is set by the GDPR Cookie Consent plugin and is used to store whether or not user has consented to the use of cookies. It does not store any personal data.
Functional cookies help to perform certain functionalities like sharing the content of the website on social media platforms, collect feedbacks, and other third-party features.
Performance cookies are used to understand and analyze the key performance indexes of the website which helps in delivering a better user experience for the visitors.
Analytical cookies are used to understand how visitors interact with the website. These cookies help provide information on metrics the number of visitors, bounce rate, traffic source, etc.
Advertisement cookies are used to provide visitors with relevant ads and marketing campaigns. These cookies track visitors across websites and collect information to provide customized ads.