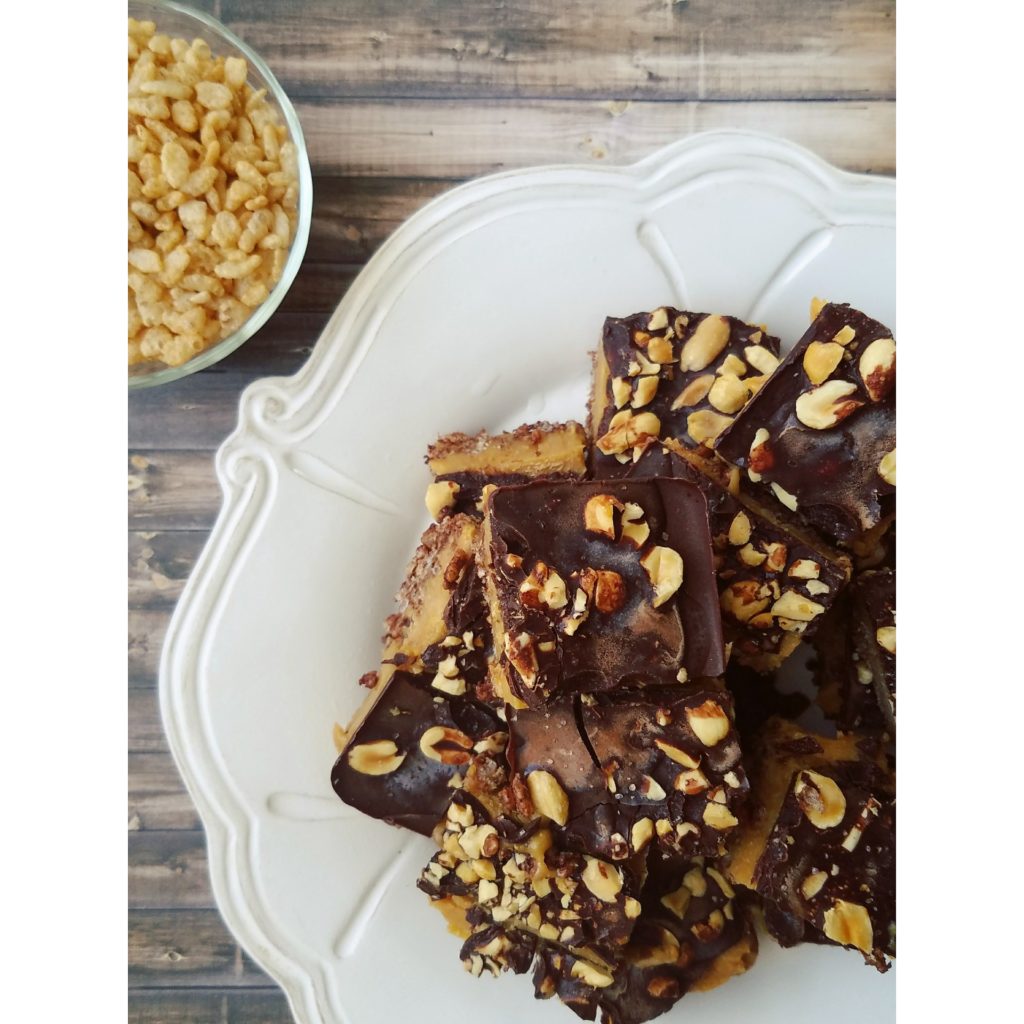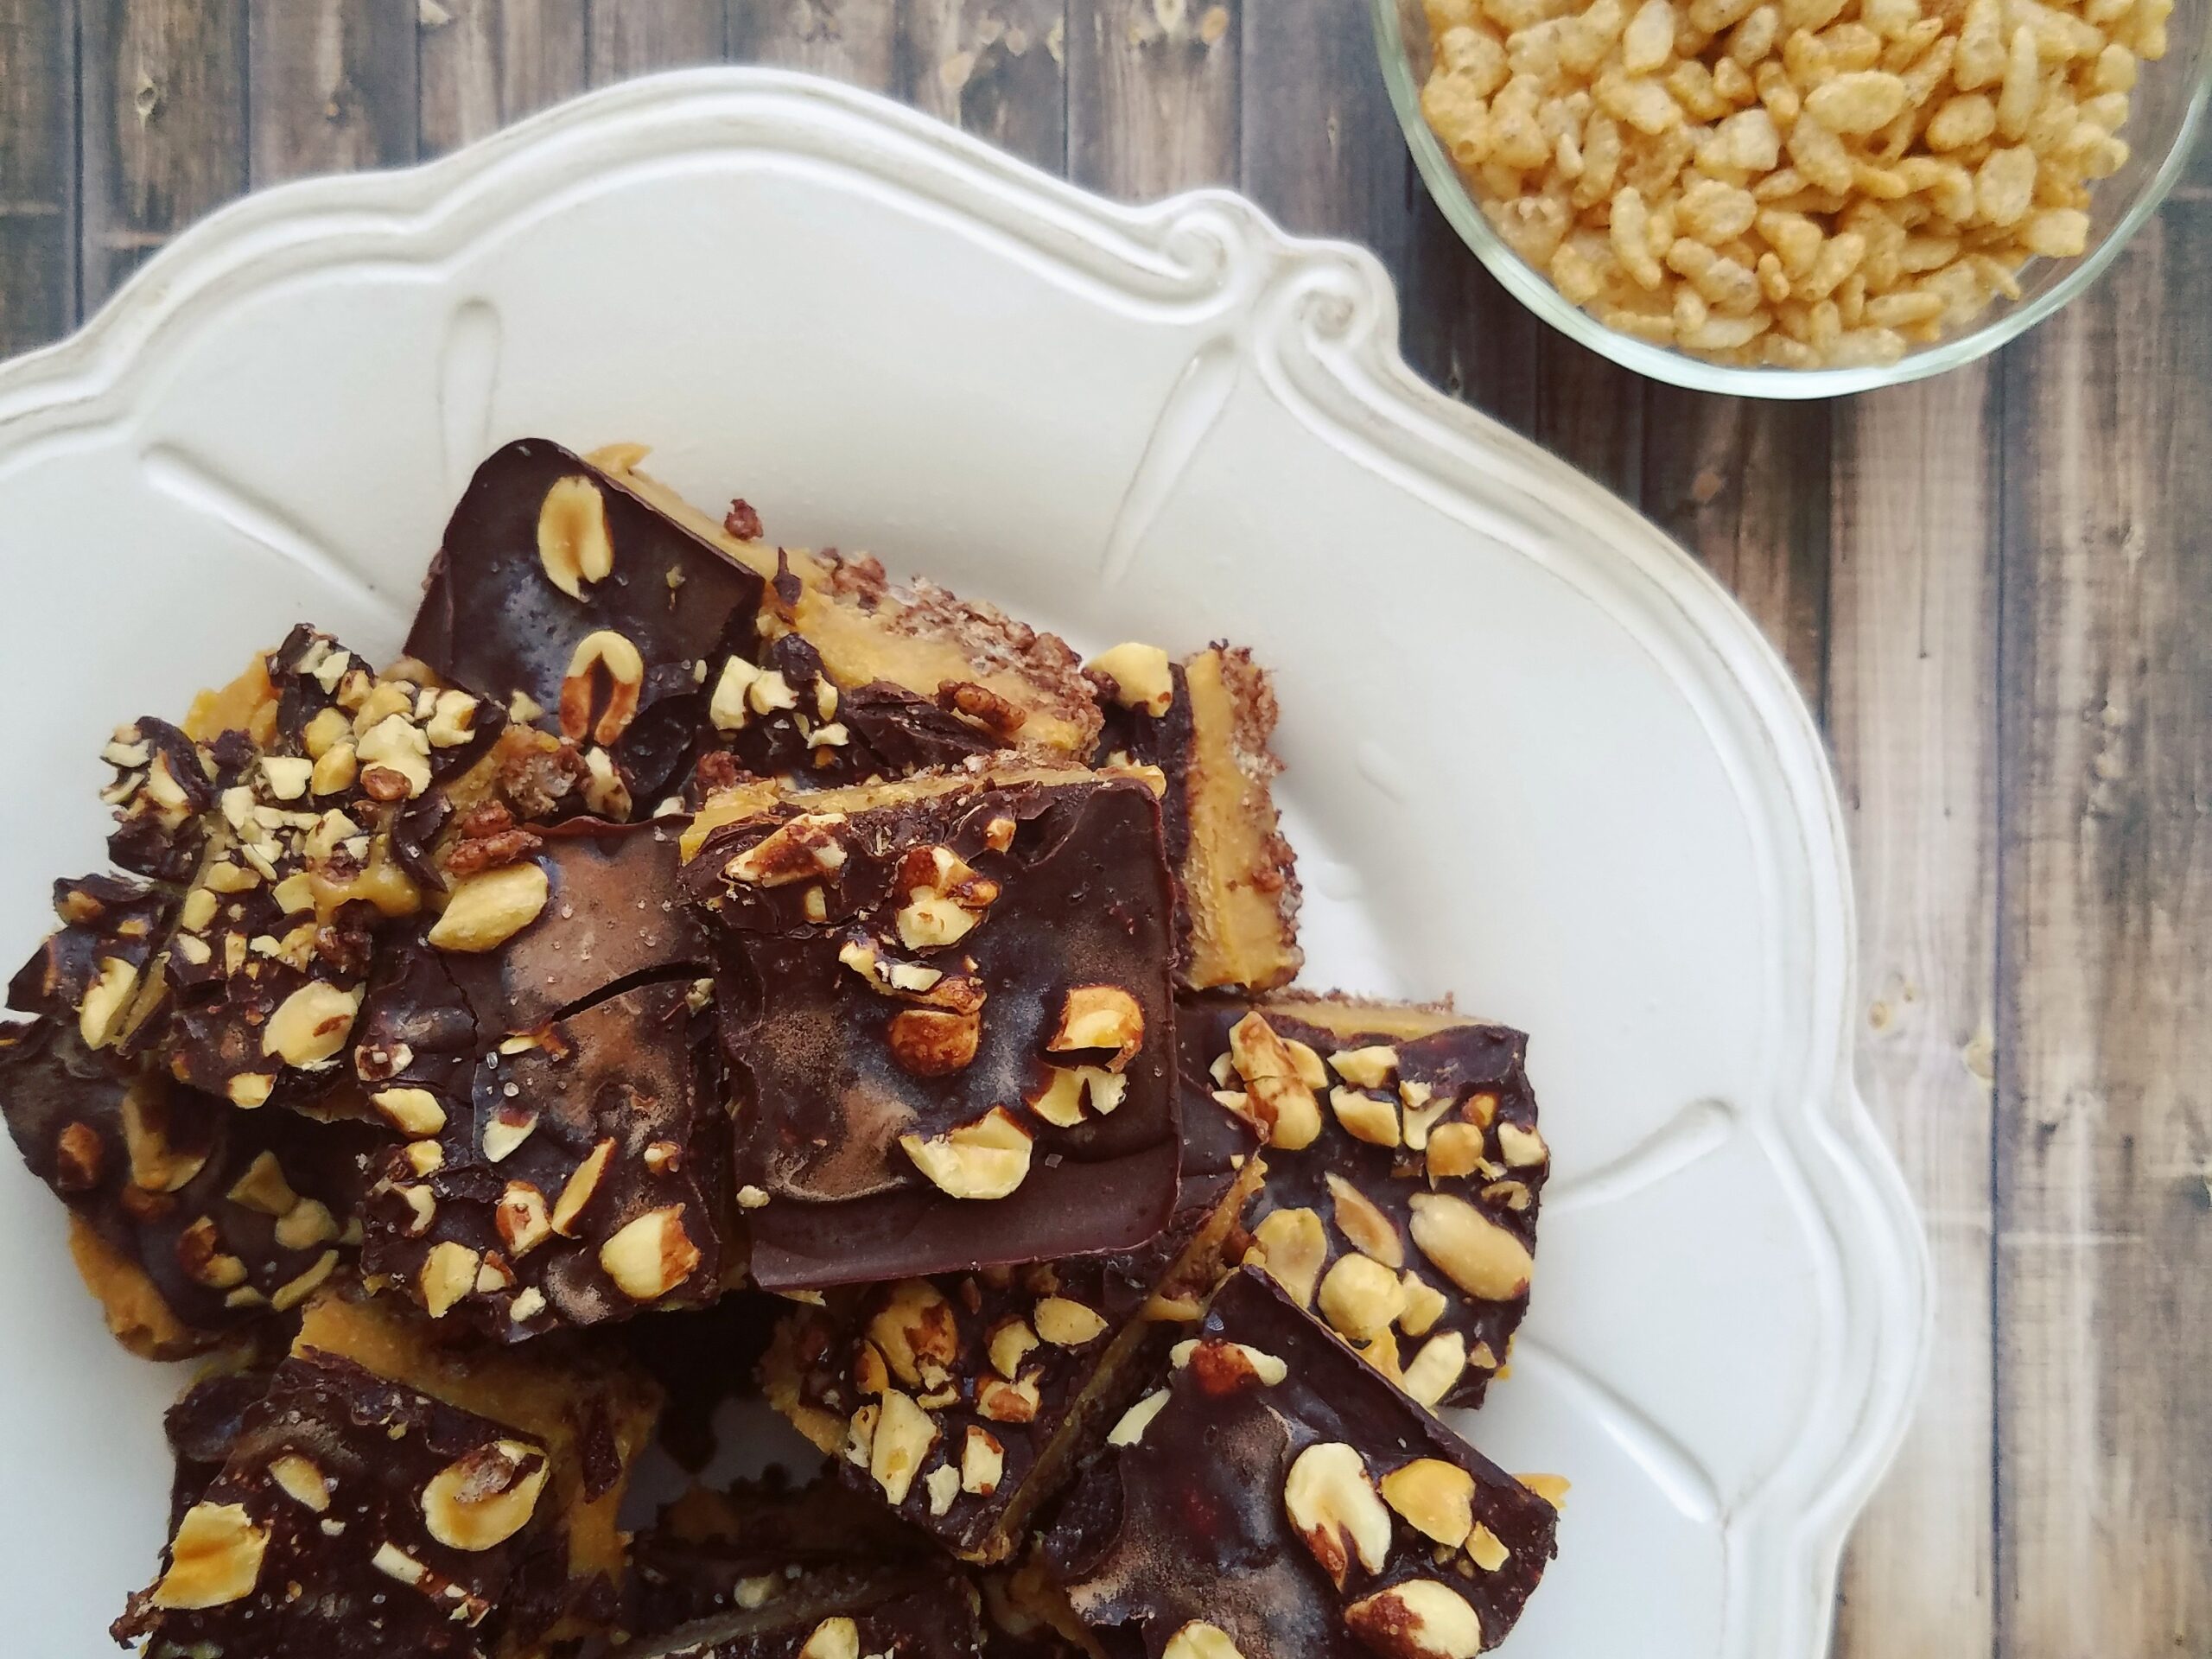
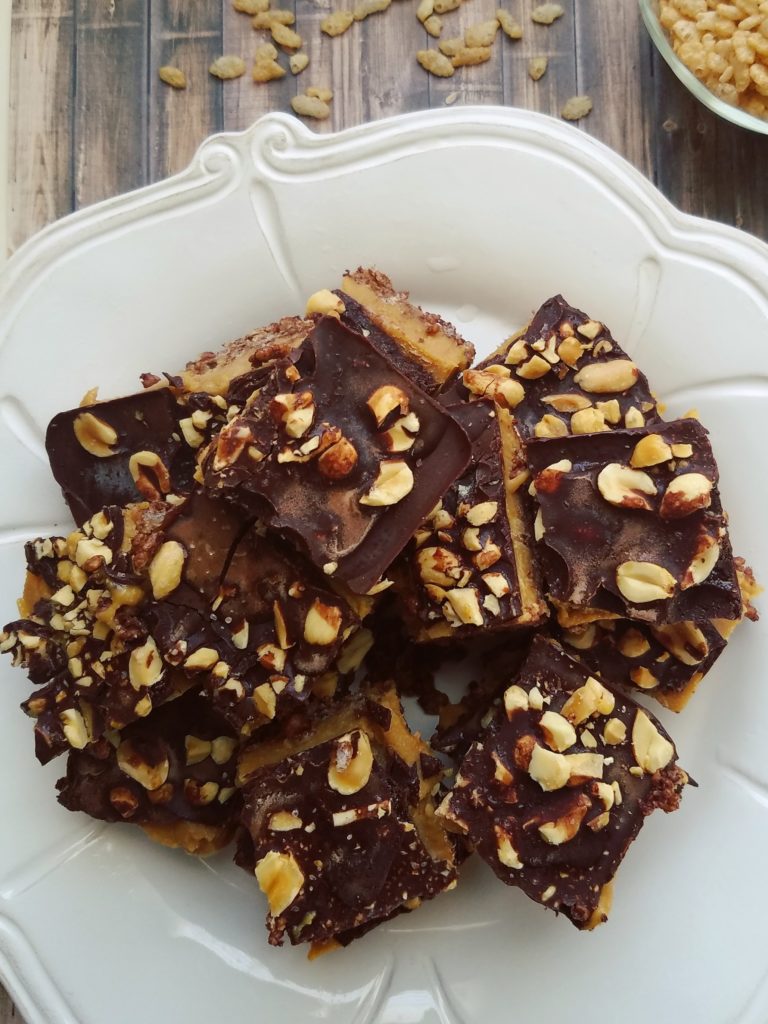
Creamy Peanut Butter Chocolate Crisp Bars
Today I’m bringing you guys some magical Creamy Peanut Butter Chocolate Crisp Bars made with Erewhon Organic’s Cinnamon Crispy Brown Rice Cereal.
If you’ve been following my A Day of FLO Living posts, then you’ll know I enjoy eating food that is nourishing for me and my cycle. Now, I’m not going to sit here and tell you that chocolate-topped peanut butter crisp bars are “health food” but I’ll say they come close. During my ovulatory phase I was craving sweets LIKE CRAZY—specifically chocolate. Lucky for me, chocolate is on the list of WomanCode approved foods for ovulatory phase. Yippee!
So, I went into the kitchen, with a bit of guidance from Angela Liddons’ Oh She Glows Everyday Cookbook, and got experimenting. I used Angela’s recipe for Nut-Free Dream Bars as a base but I tinkered with the sweetener, salt, and, of course, the nut butter. For me, what makes these bars awesome is the pairing of protein and fat, both of which lessen the sugar punch and make these bars satiating. Of course, macronutrients aside, the chocolate-peanut butter combination is also a huge appeal!
The result is a large number of bars that are:
Creamy,
Fatty (eh-hem, I mean rich!),
Peanut buttery,
And crunchy from the peanuts and crispy brown rice cereal crust.
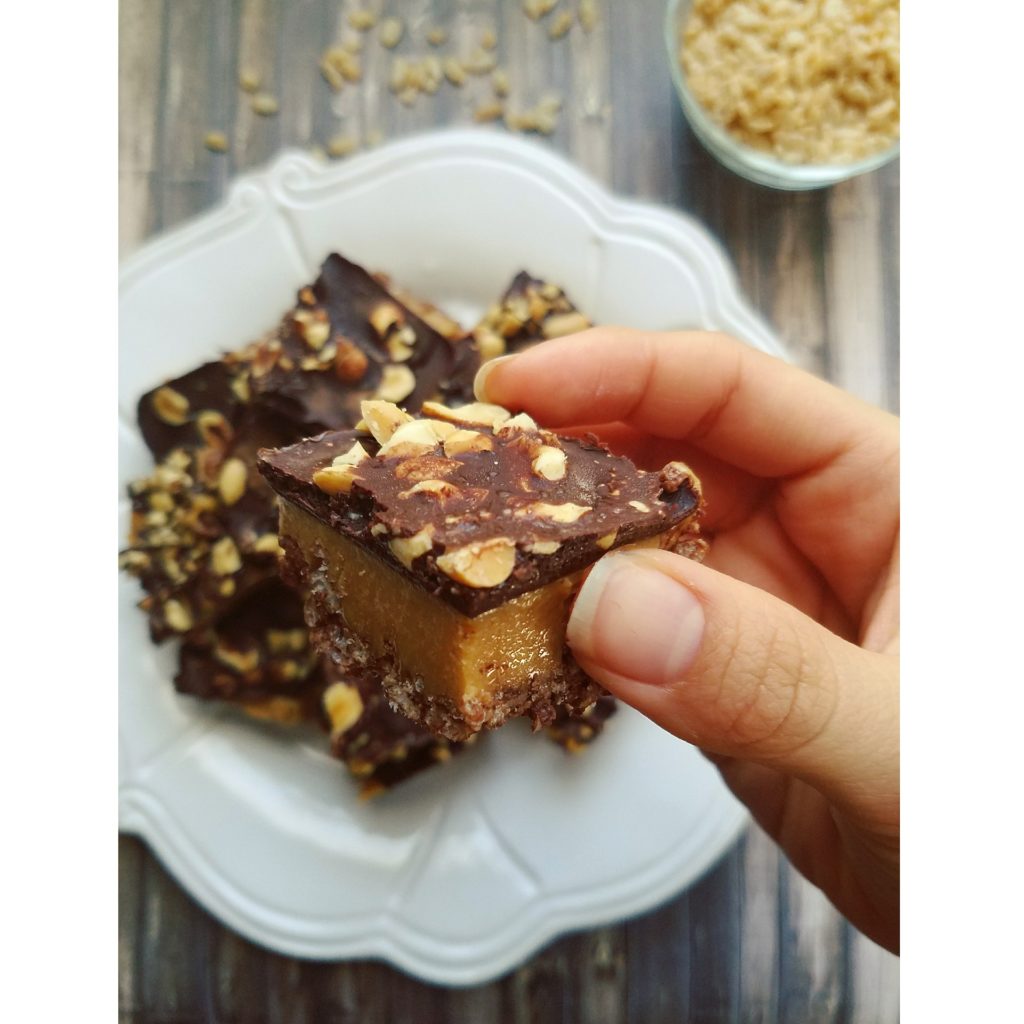
They require a small amount of prep but NO BAKING. This is a freezer treat at its finest. Plus, once made, they will last forever in the freezer! Just let them defrost for a few minutes before biting into them. If you can exercise restraint, let them defrost for five to ten minutes and the peanut butter filling gets extra creamy and oozy. In fact, the filling contrasts so nicely in that state with the crisp crust and solid chocolate topping. Together, the three layers make for one delightfully decadent and delicious dessert or snack.
Let me know if you give these bars a try! Just writing this post makes me crave one so I’ll be at my freezer if you need me! 👋
- Crust Ingredients:
- 1 ½ tbsp melted virgin coconut oil
- 1 ½ cups Erewhon Organic Cinnamon Brown Rice Cereal
- 2 tbsp cacao powder or cocoa powder
- 2 tbsp maple syrup
- a pinch of salt
- Filling Ingredients:
- 1 cup natural peanut butter
- ¼ cup maple syrup
- ¼ cup melted virgin coconut oil
- ¼ to ½ tsp salt, depending on the saltiness of the peanut butter
- 1 tsp vanilla extract
- Chocolate Topping Ingredients:
- 1/3 cup melted virgin coconut oil
- 1/3 cup cacao or cocoa powder
- 1 tbsp maple syrup
- 1/3 cup unsalted dry-roasted peanuts, chopped, for topping
- Sea salt, for topping, optional
- Line a large loaf tin (see notes) with parchment paper and lightly grease with coconut oil.
- In a bowl, combine the first 5 ingredients for the crust. With a rubber spatula, mash up the cereal until it looks crumby and thoroughly coated. Then, press the crust down into the bottom of the loaf tin. Place it in the freezer while you prepare the filling.
- In the same bowl, rinsed and wiped clean, combine the next five ingredients. As a precaution, make sure the ingredients for the filling are all room temperature. If the maple syrup or peanut butter are cold then that will make the coconut oil seize up. The mixture should be smooth. Adjust salt to taste.
- Remove the crust from the freezer and pour the filling on top. Gently swivel the pan so that the filling covers the crust completely and so that the top is flat and even. Now, the filling will set in the freezer for an hour before the final topping.
- After waiting the appropriate amount of time for the filling to solidify, begin making the chocolate topping. Whisk together melted coconut oil, cacao powder, and maple syrup until no clumps remain. Chop the peanuts and keep them at the ready.
- Remove the loaf tin from the freezer and pour the chocolate over the filling. Be warned: it freezes almost instantaneously! While the chocolate is still wet, throw on the peanuts and a sprinkle of sea salt. The chocolate layer will soon solidify from the cold from the loaf tin.
- You may then remove the bars, using the parchment paper to lift them out. Move them to a cutting board and slowly cut into 18-20 squares. If the bars seem melty in any way, do put them back into the freezer for 10 minutes or so. They may fall apart if you try cutting them while soft.
- The peanut butter chocolate dream bars are best stored in the freezer. Pull one out when you want to enjoy a bar and let it sit at room temperature for up to 3-5 minutes. They will soften to an easier-to-bite state. Wait a little longer and the peanut butter filling gets extra oozy and delicious!
Recipe adapted from Oh She Glows Everyday Cookbook Nut-Free Dream Bars.
Thank you to Attune Foods for providing me with Erewhon Organic Cinnamon Brown Rice Cereal to make this recipe possible.